Cinema 4D, Corona
More about Corona rendering in Cinema 4D

Corona for Cinema 4D Home, Chaos Docs
I checked out the Corona renderer for Cinema 4D.
Corona Renderer is a state-of-the-art high-performance photorealistic renderer available for Autodesk 3ds Max and MAXON Cinema 4D as a standalone application. The program provides high quality, physically based shading for production rendering.
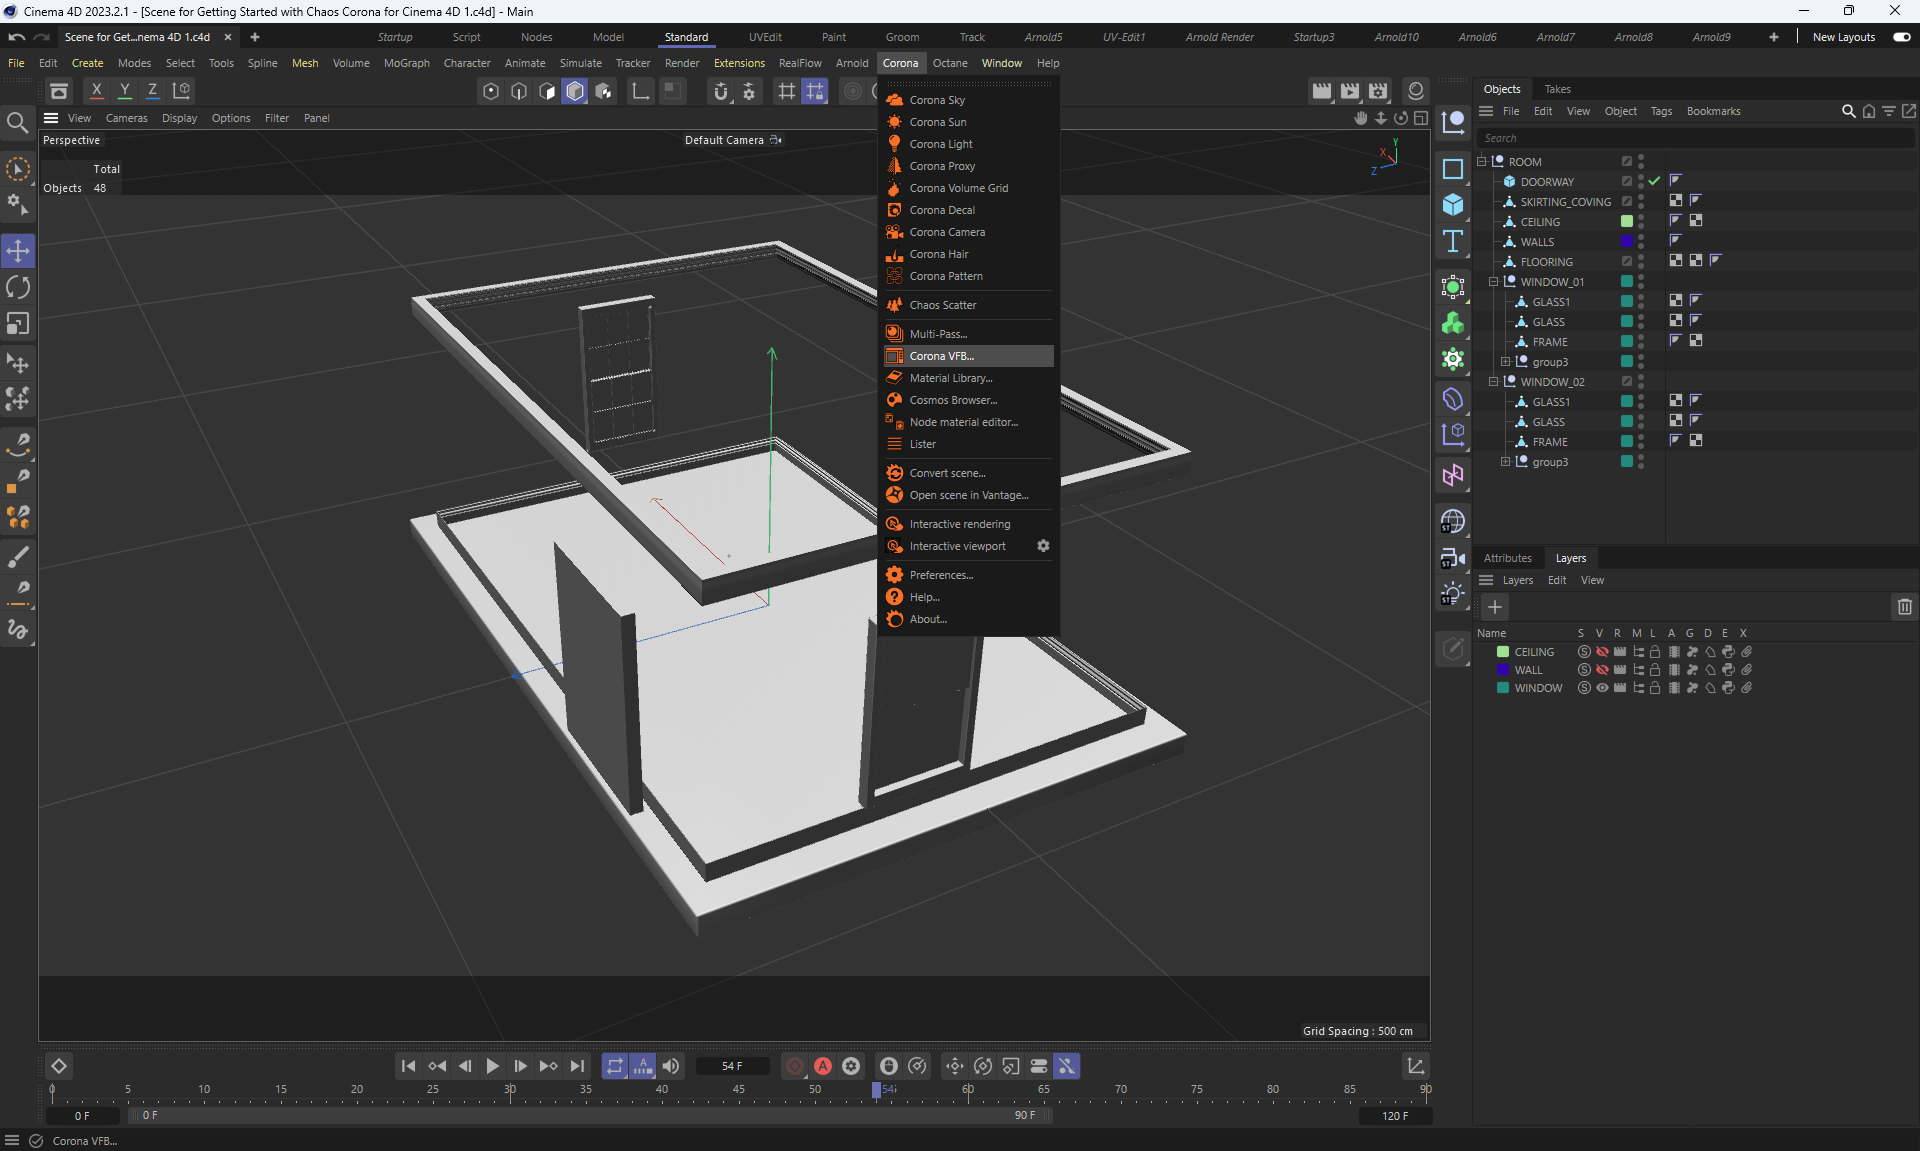
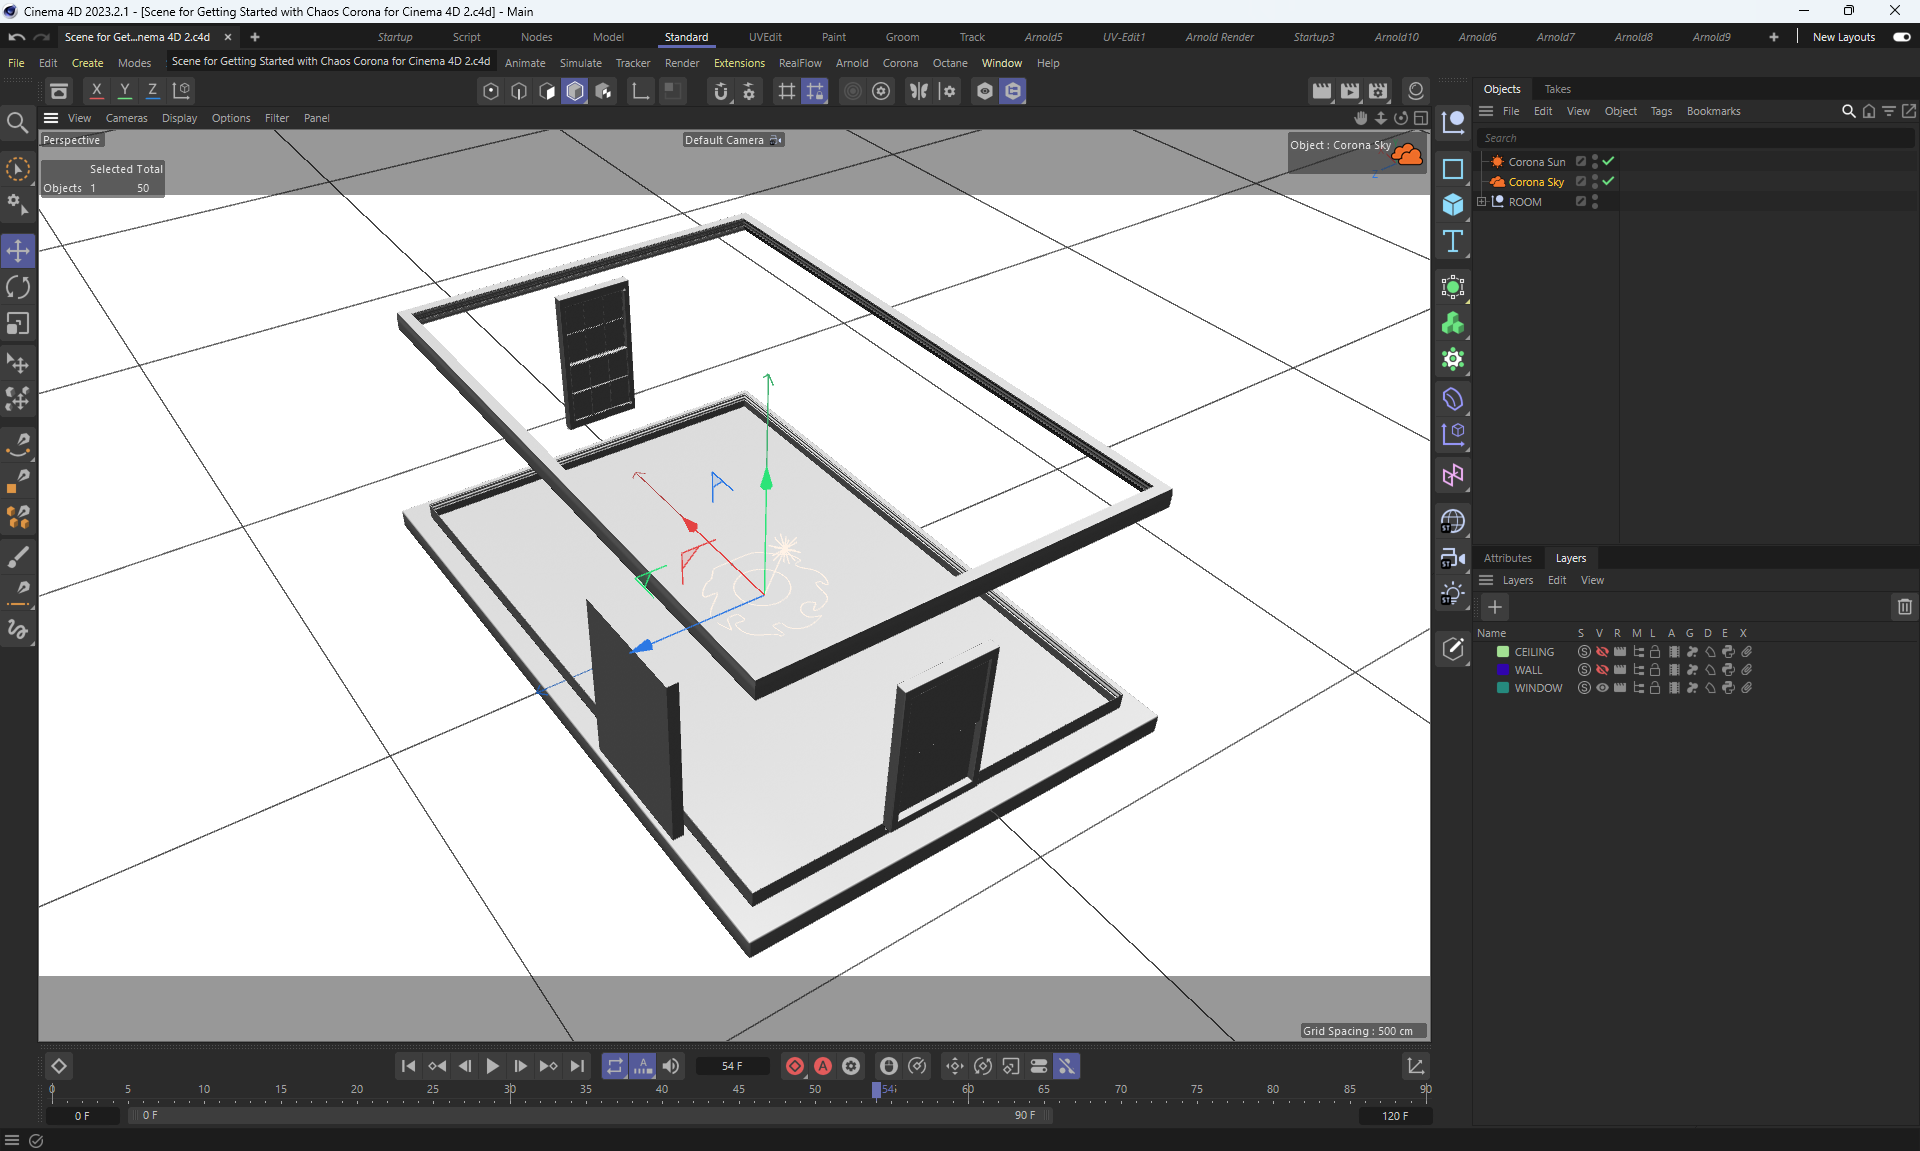
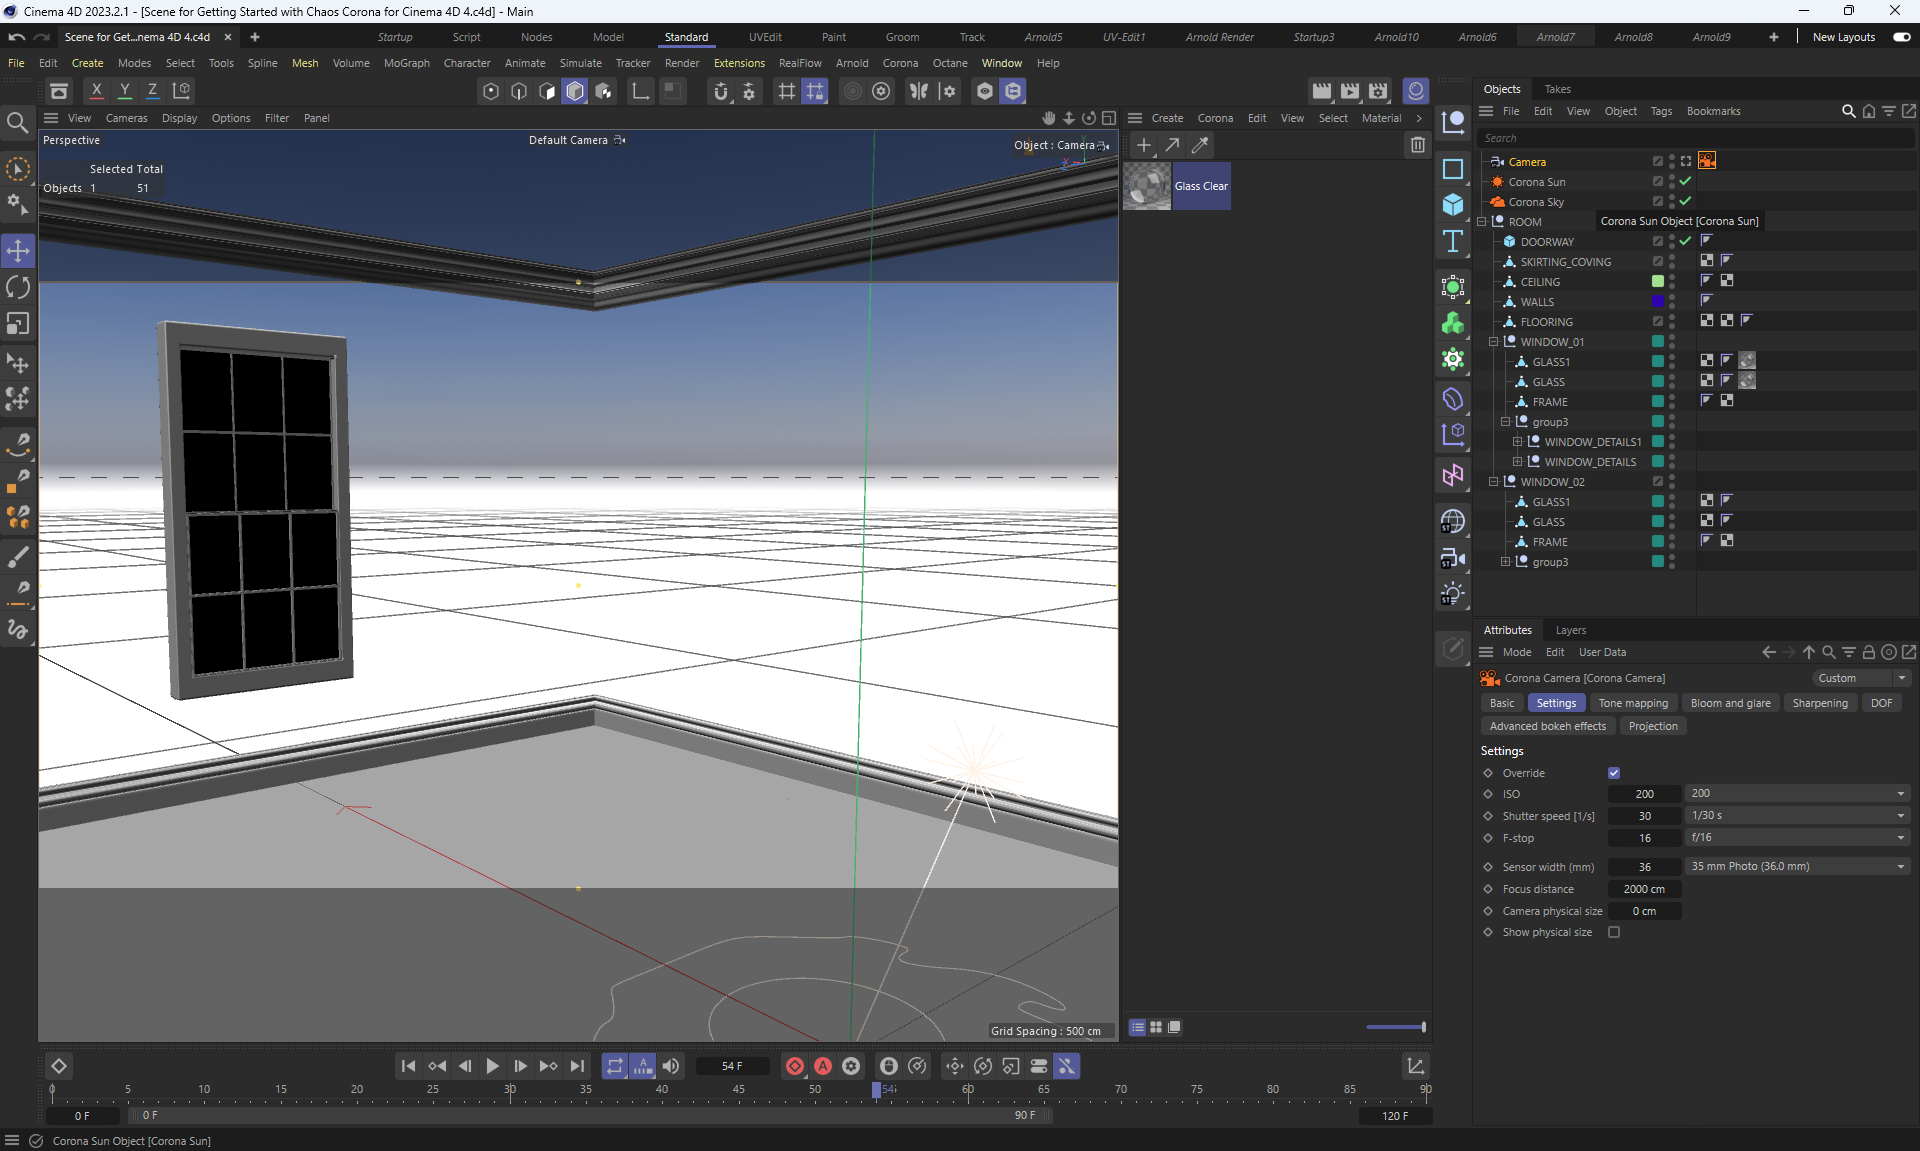
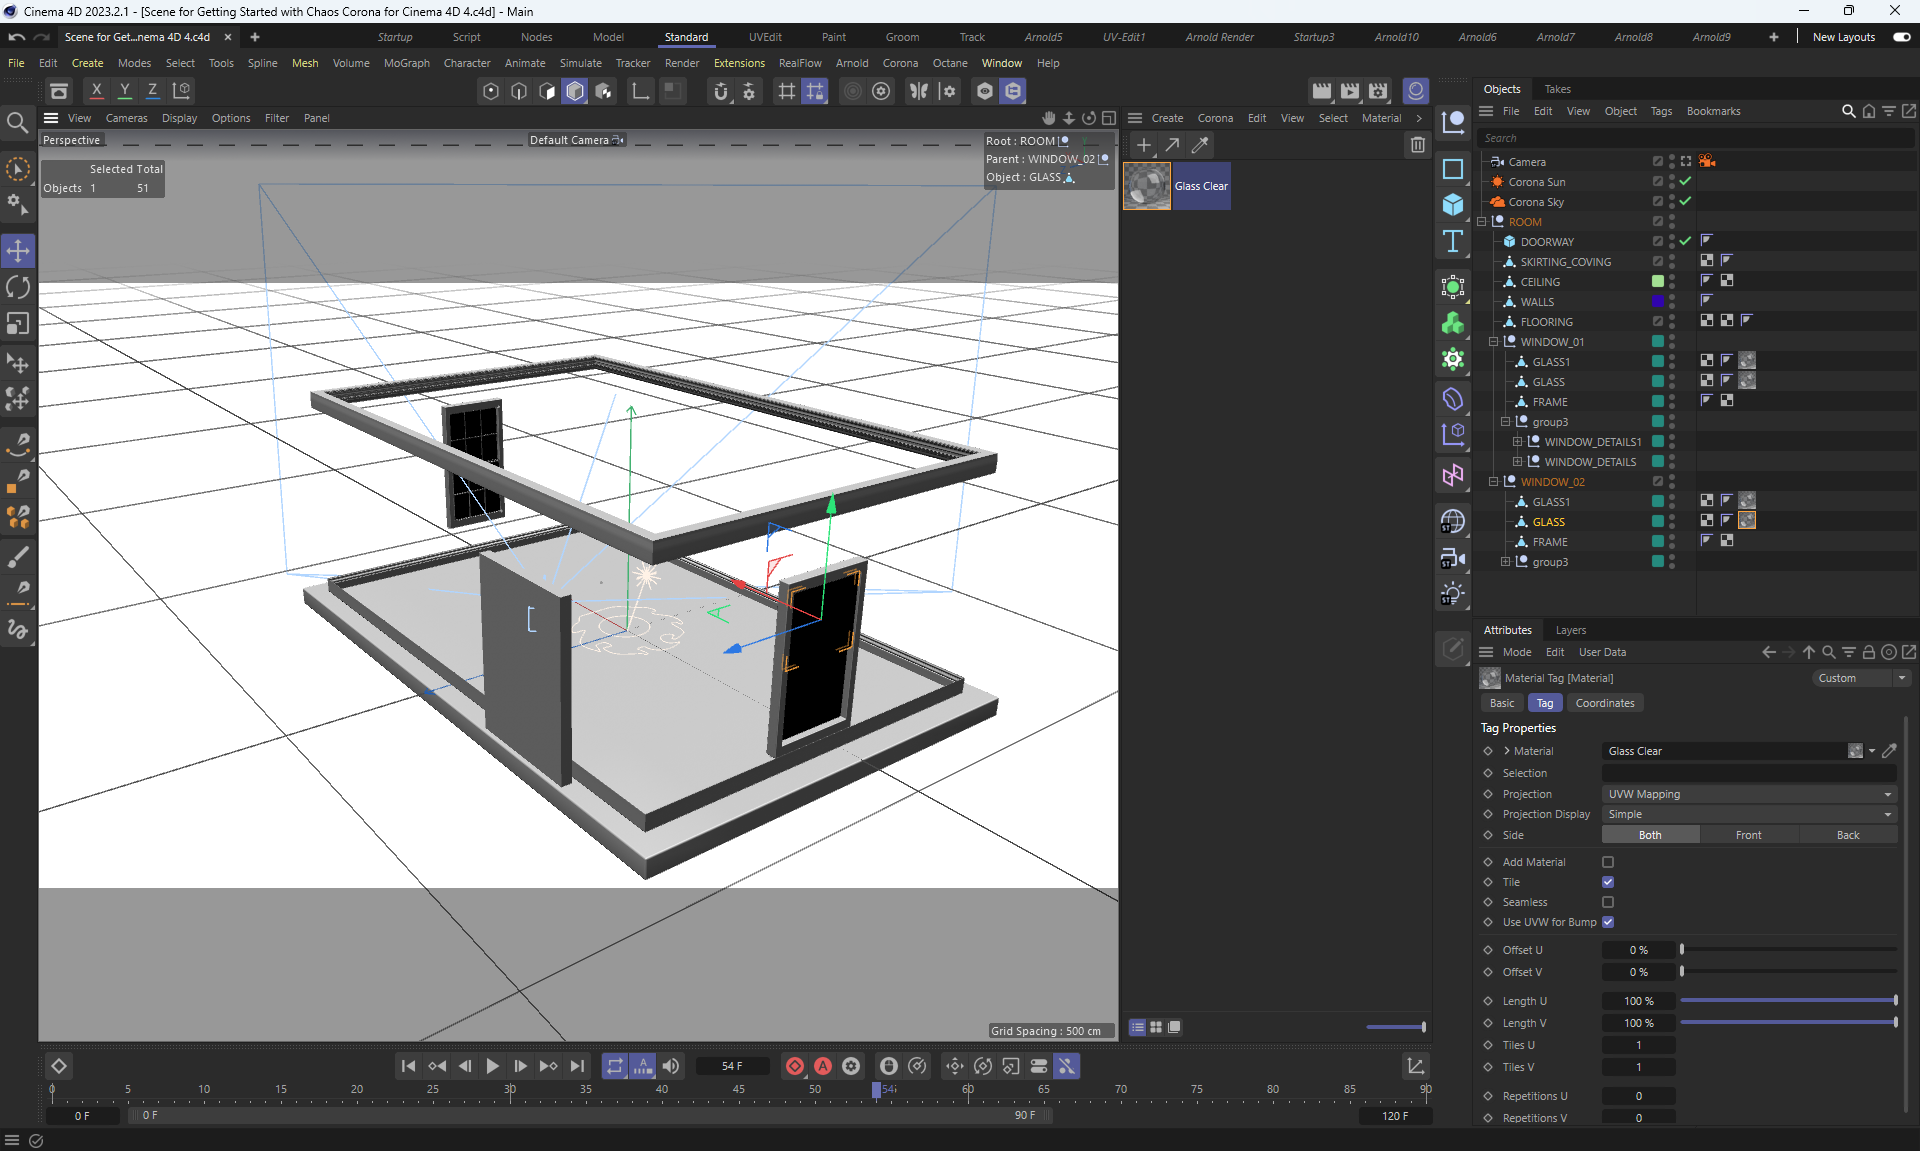
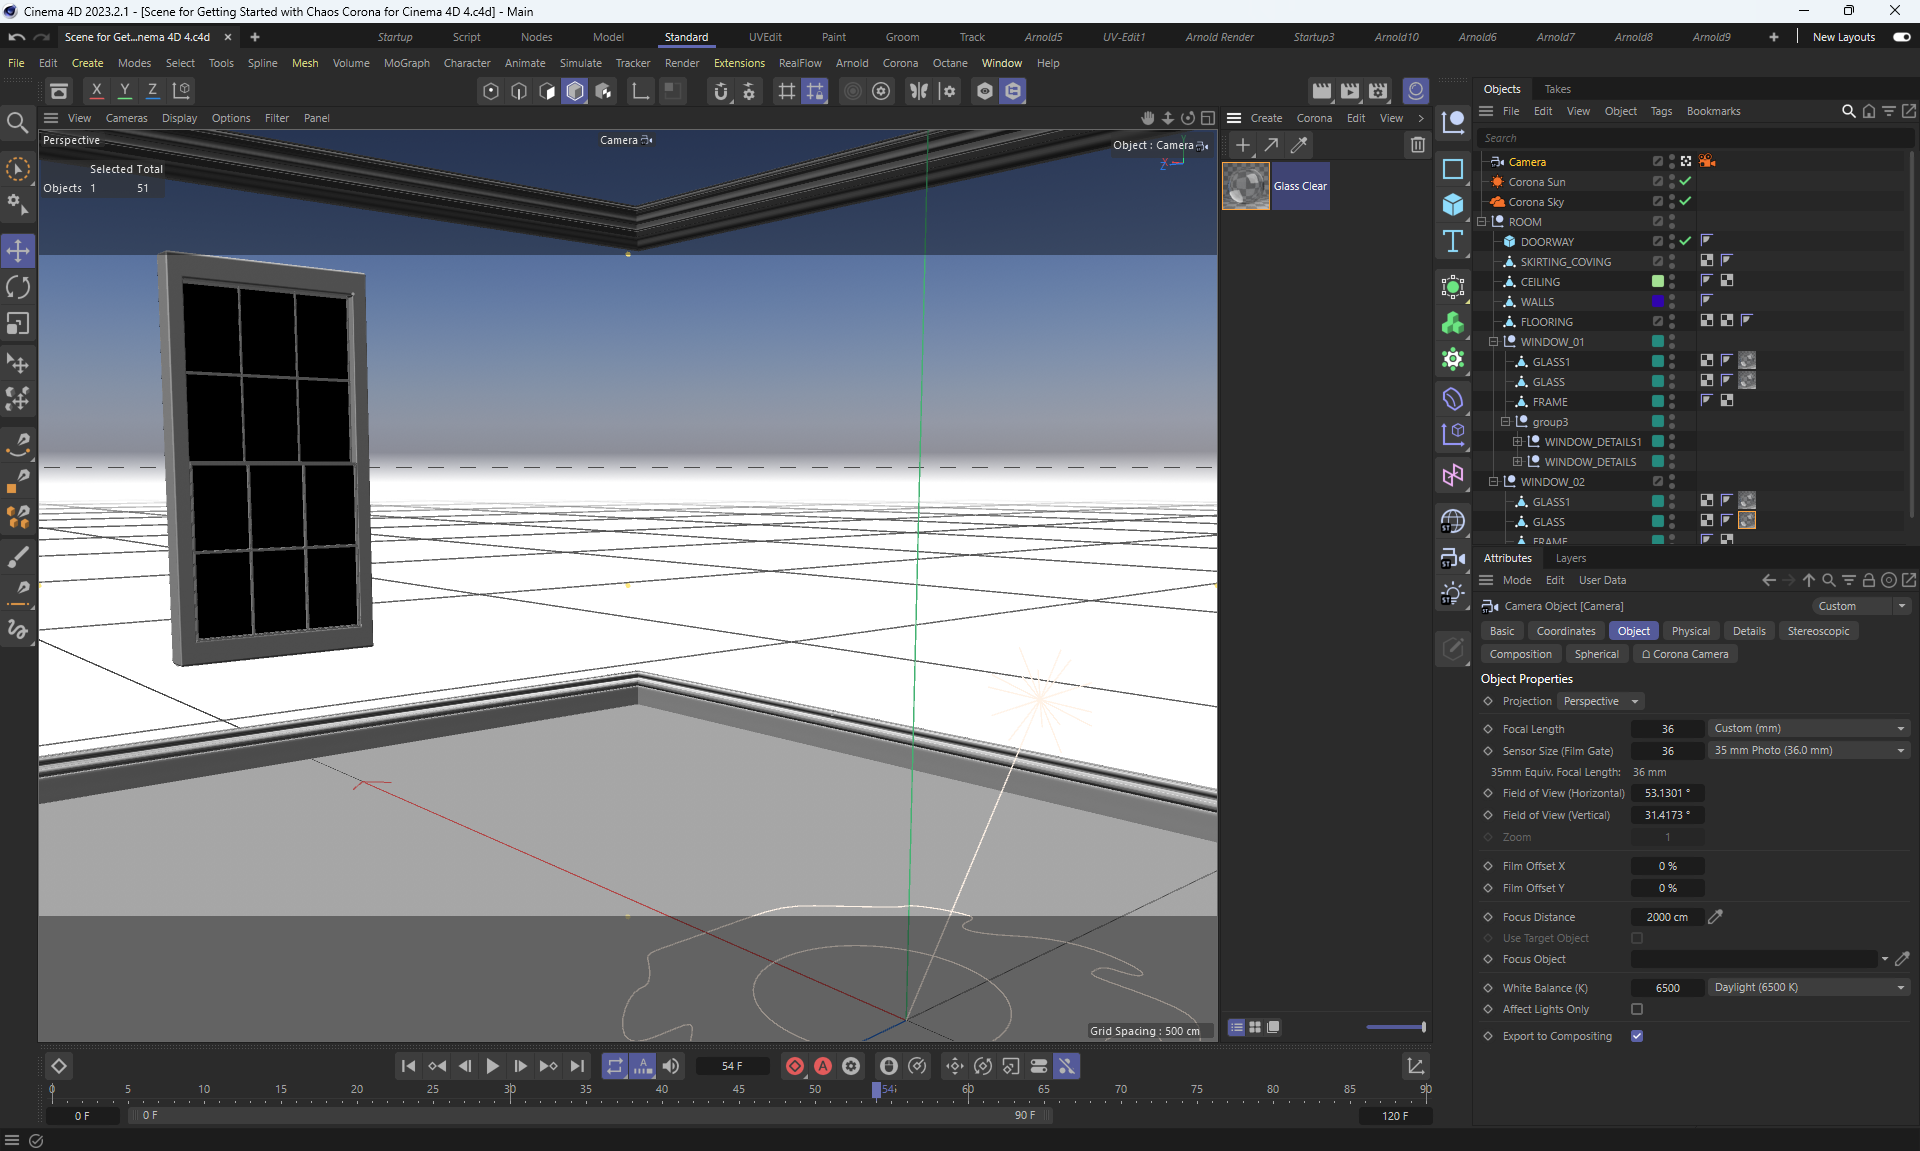
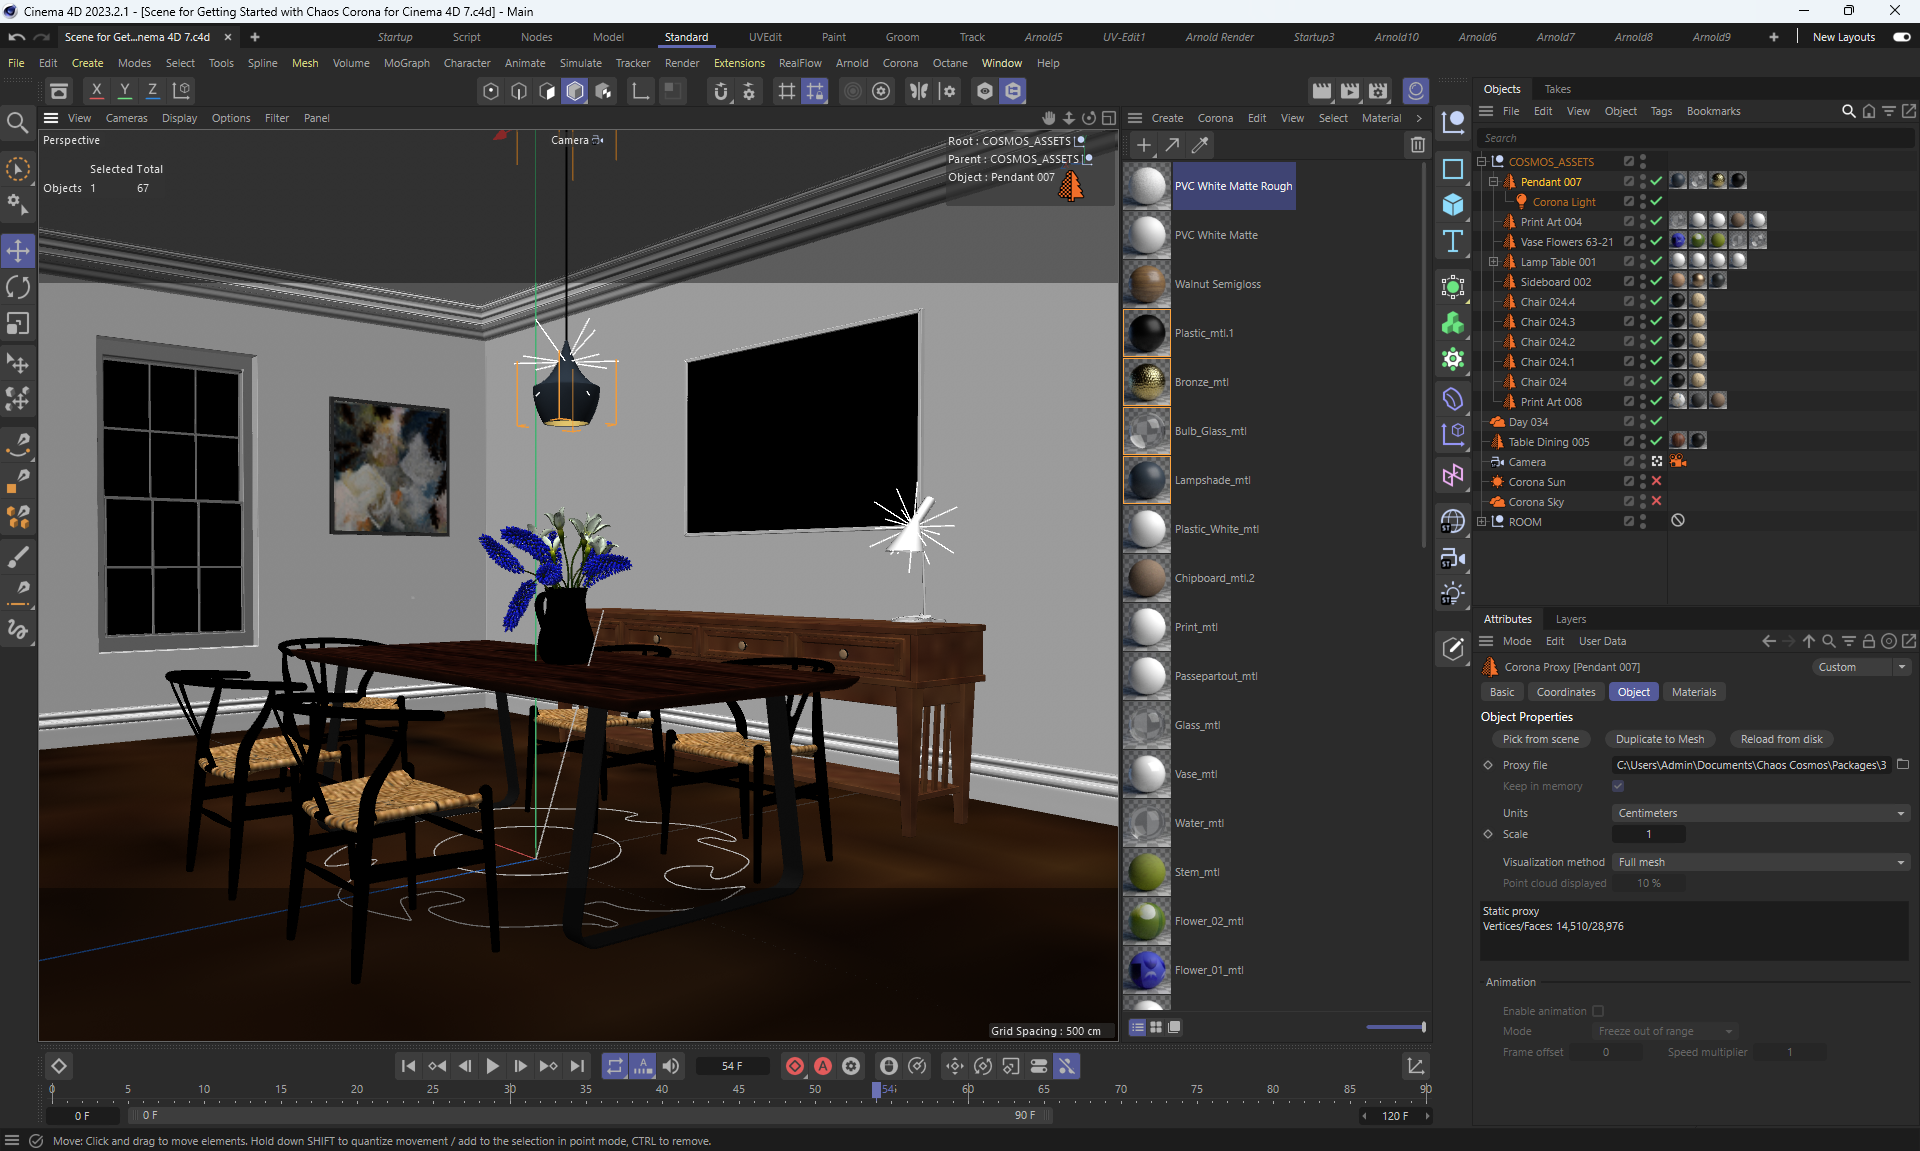
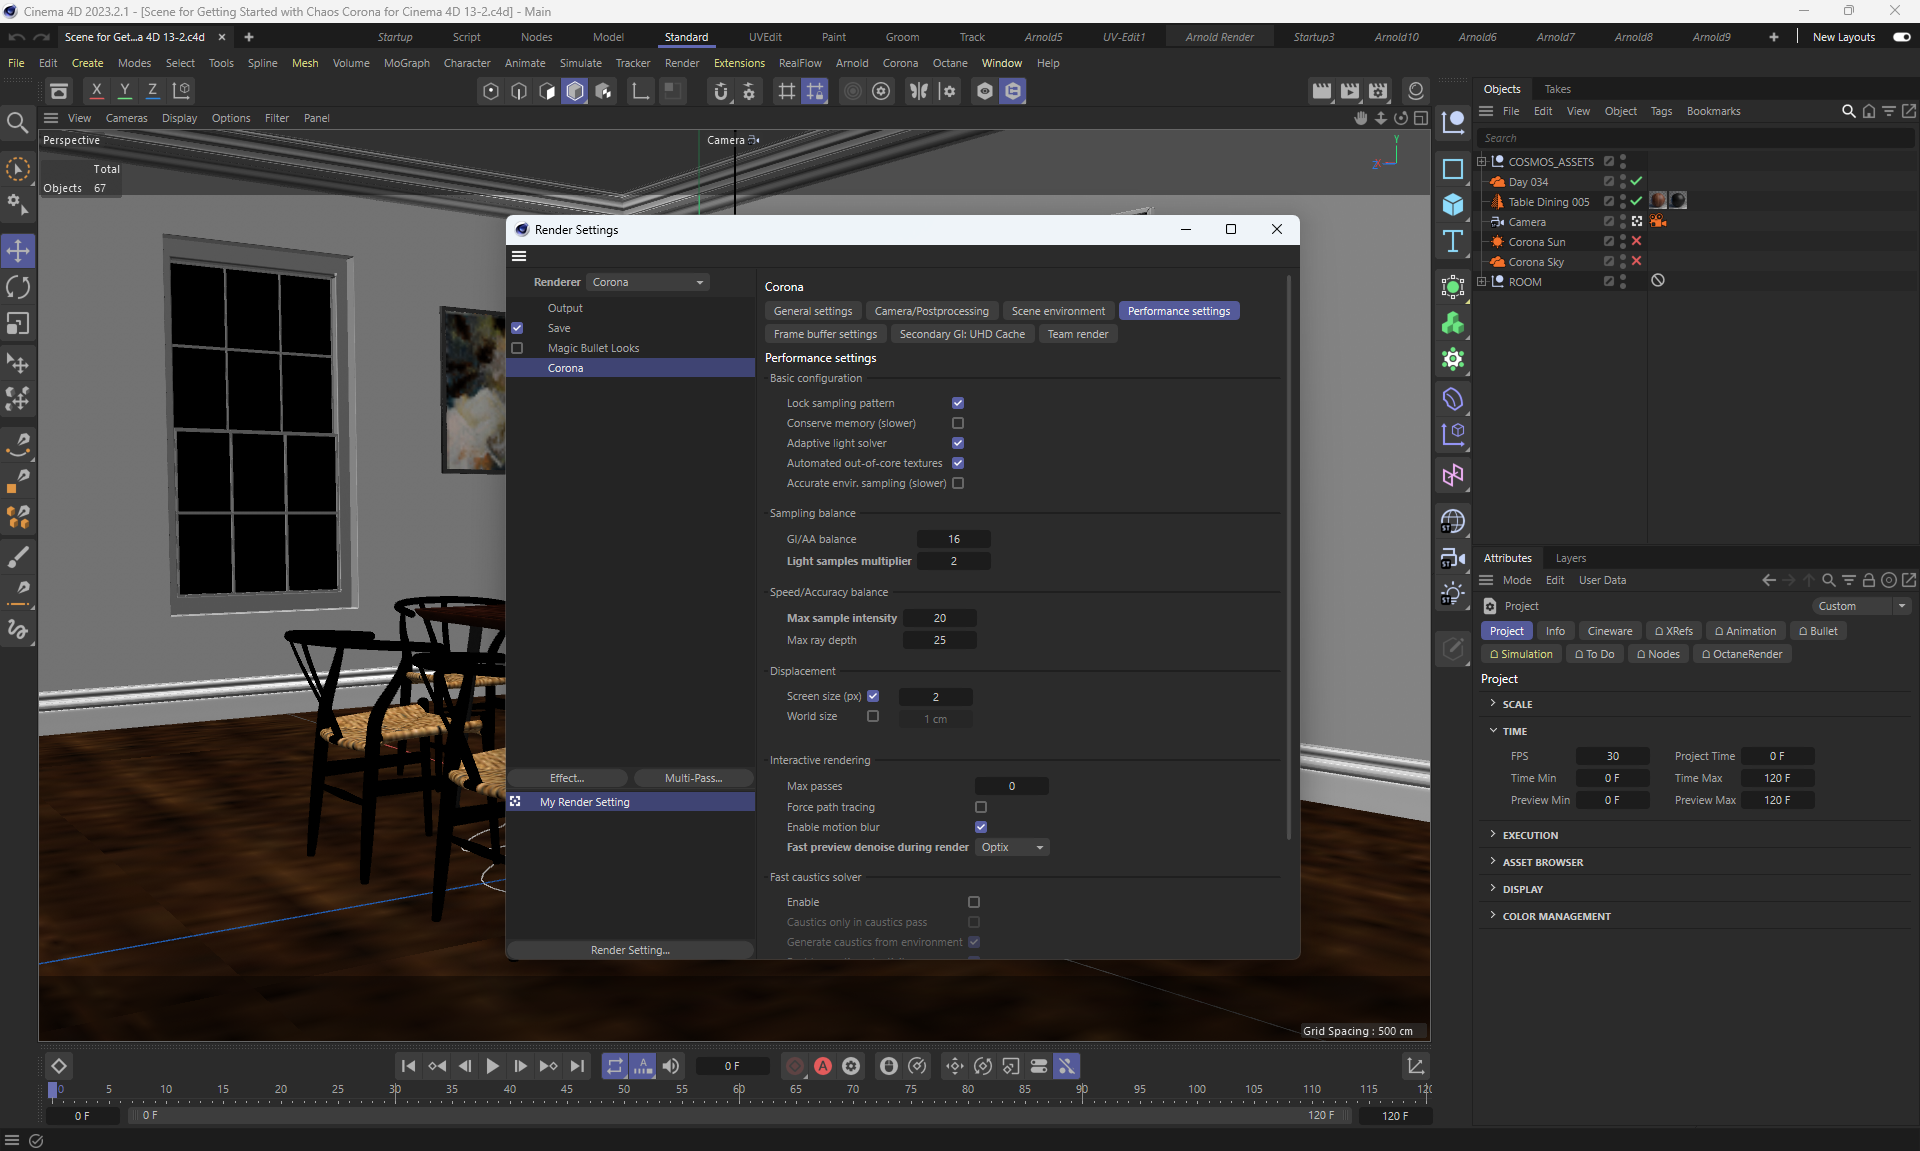
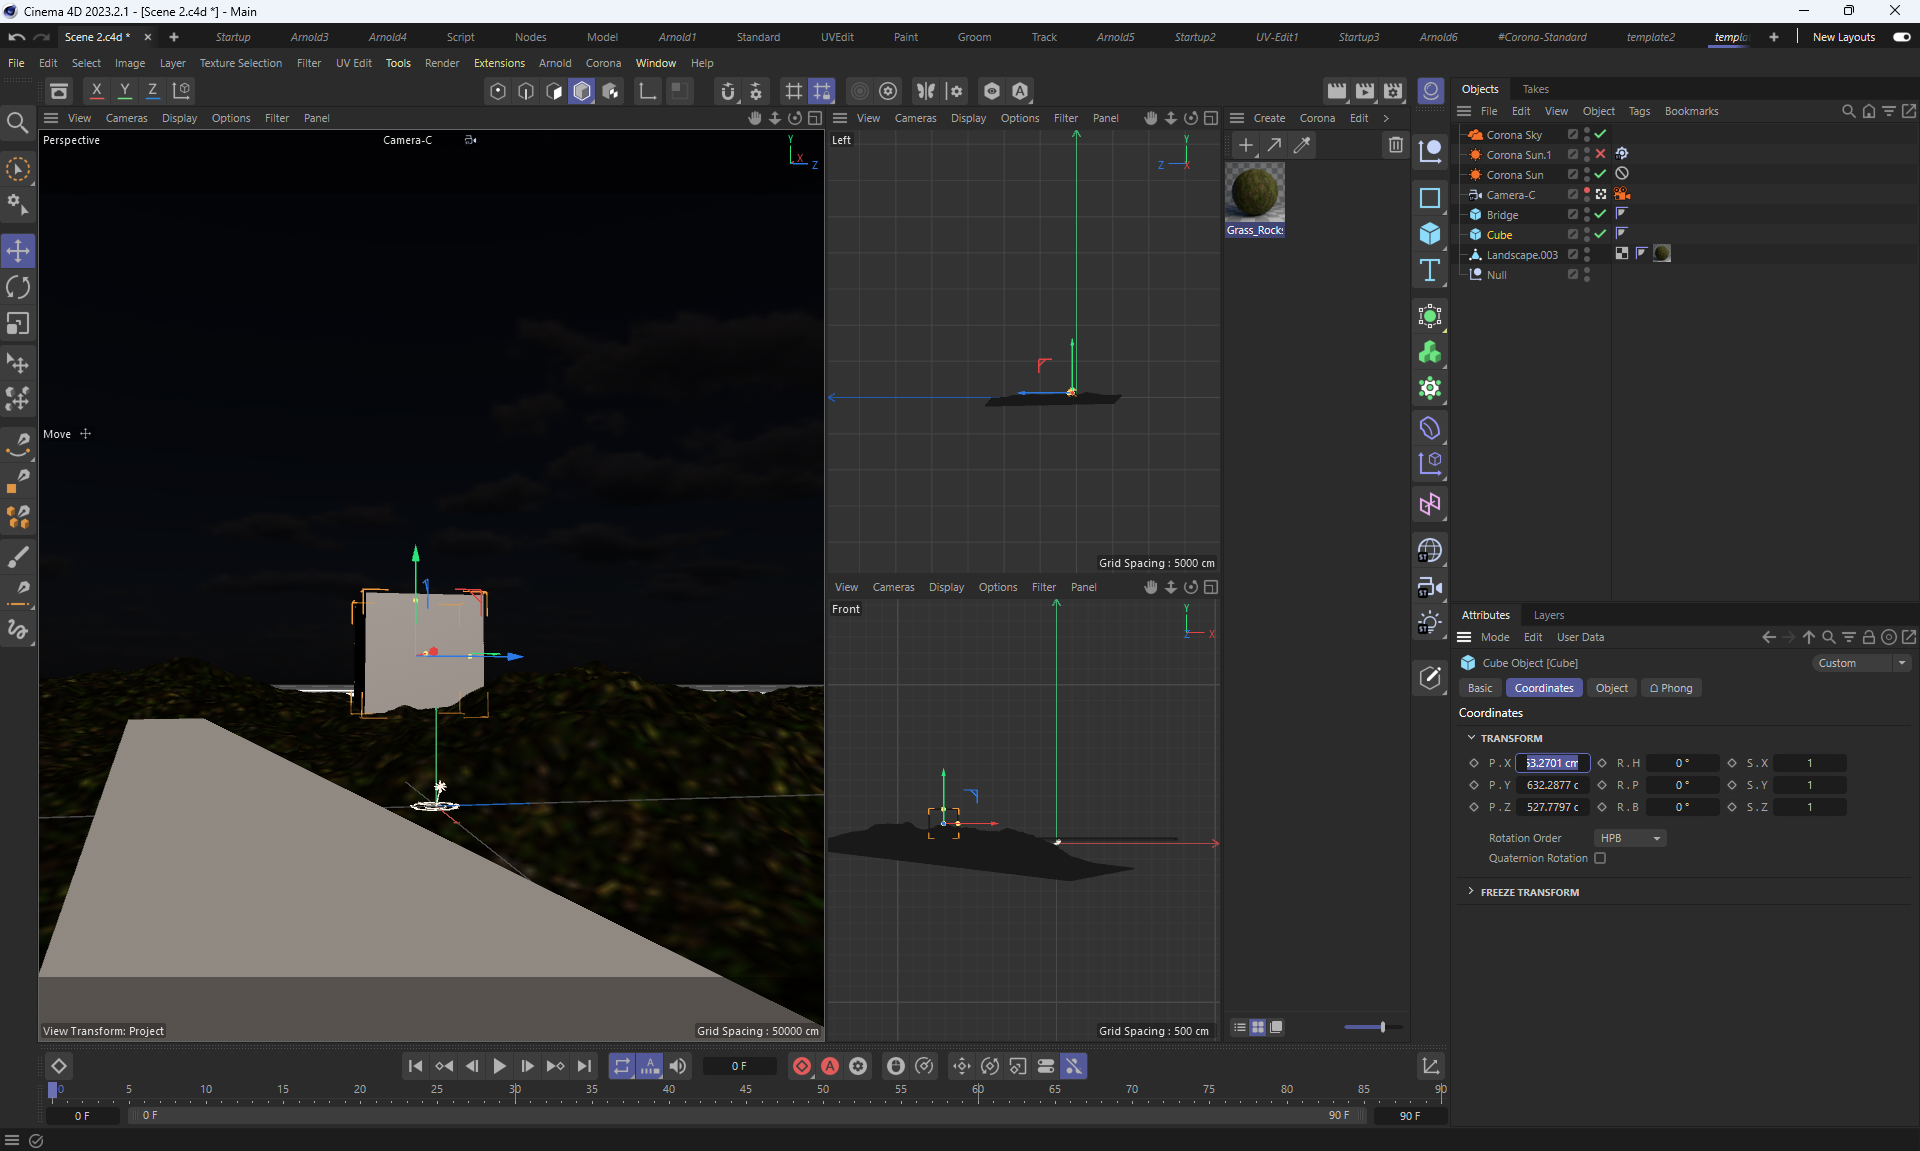
Rendering in Cinema 4D with Corona
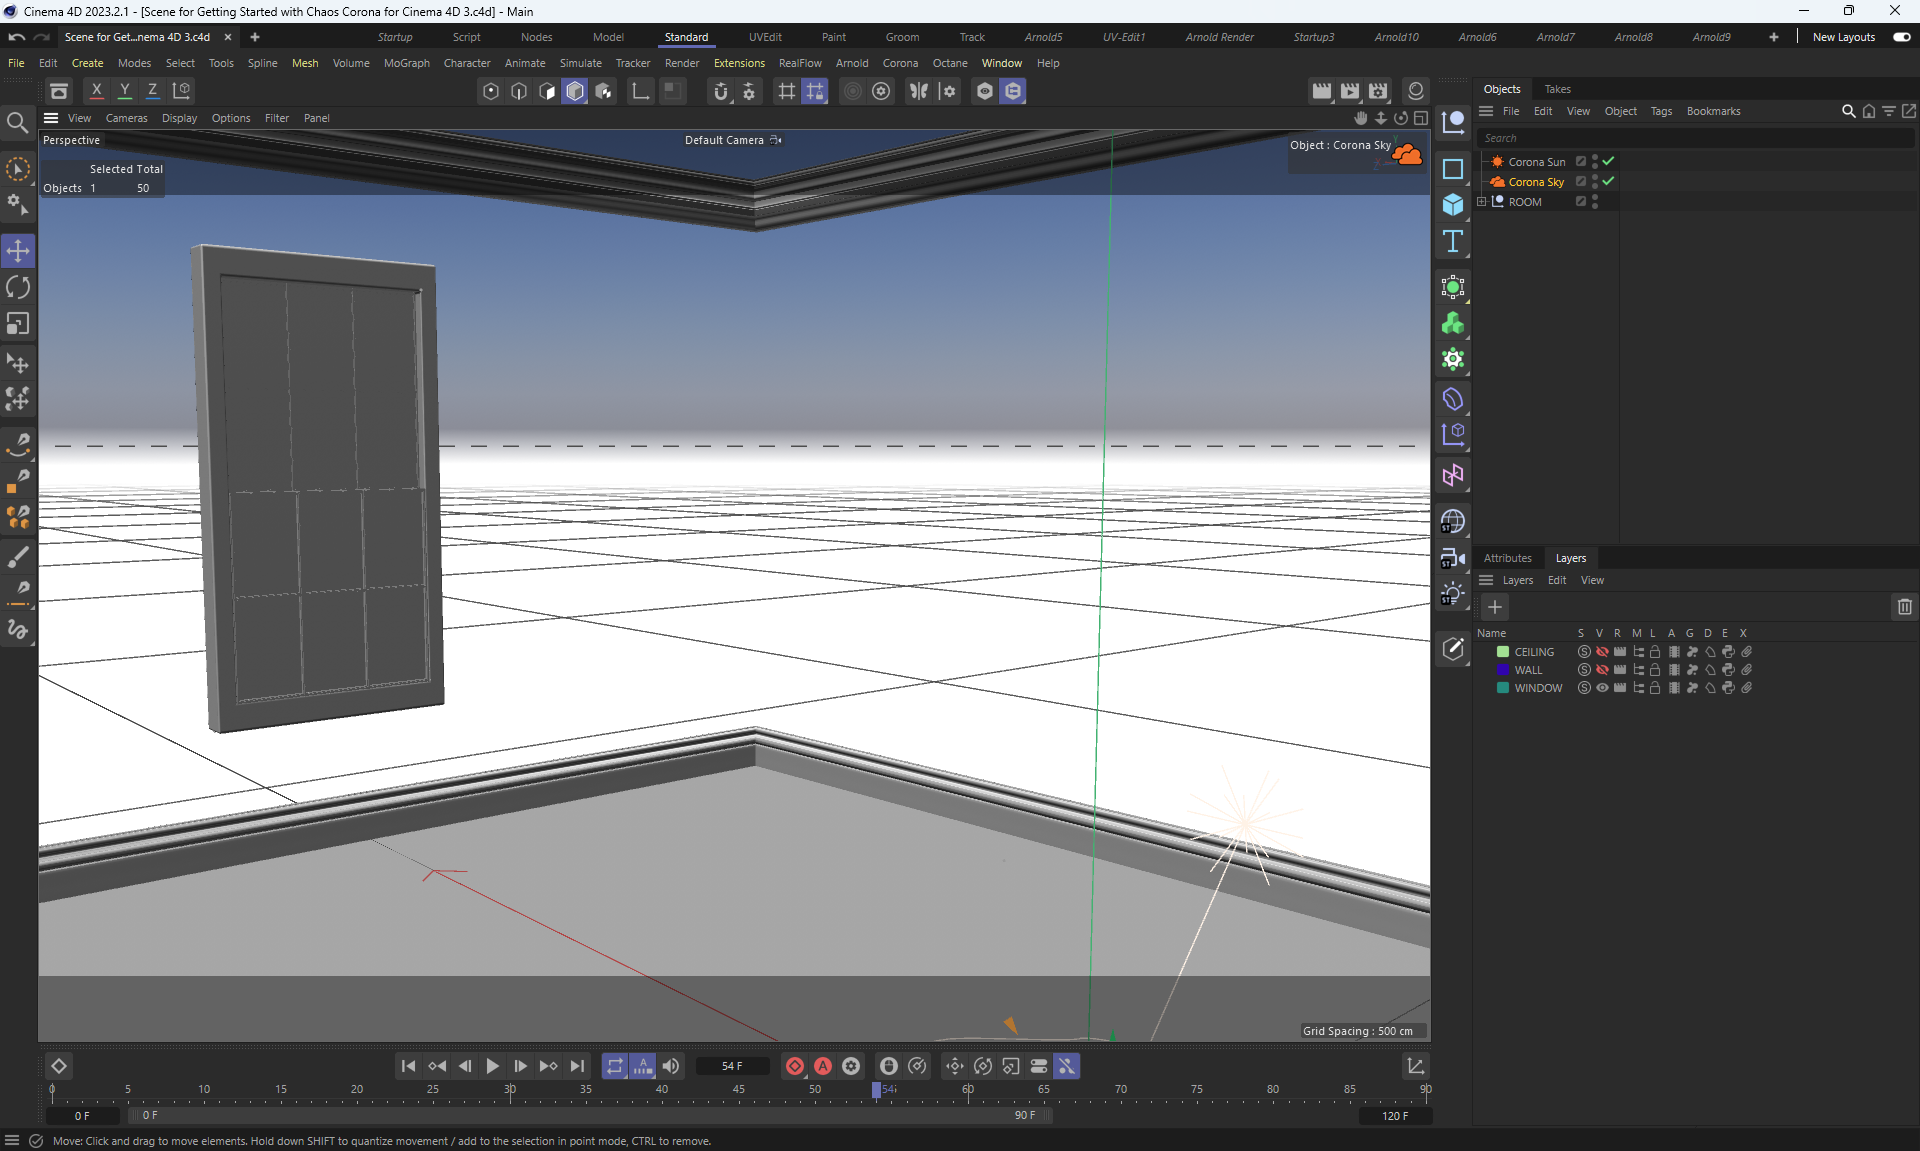
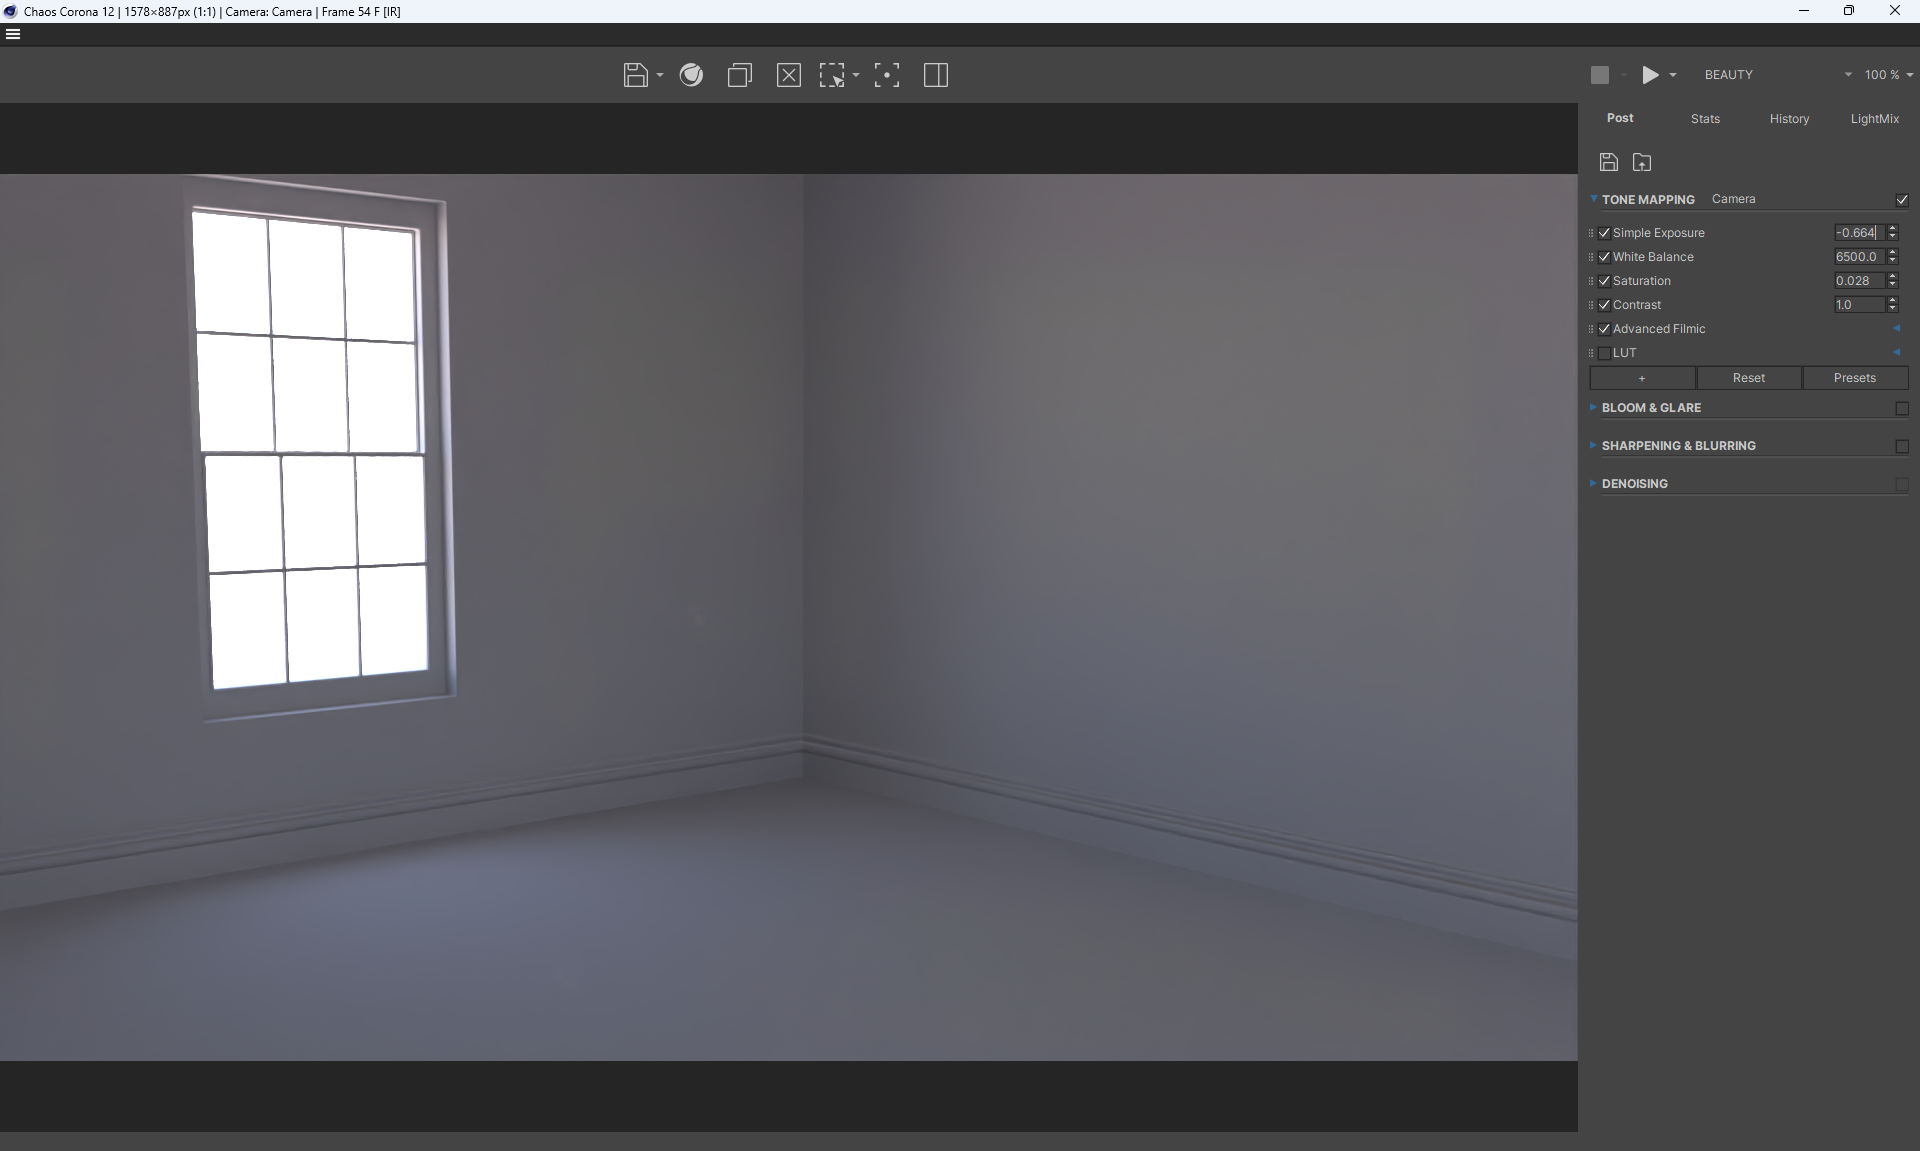
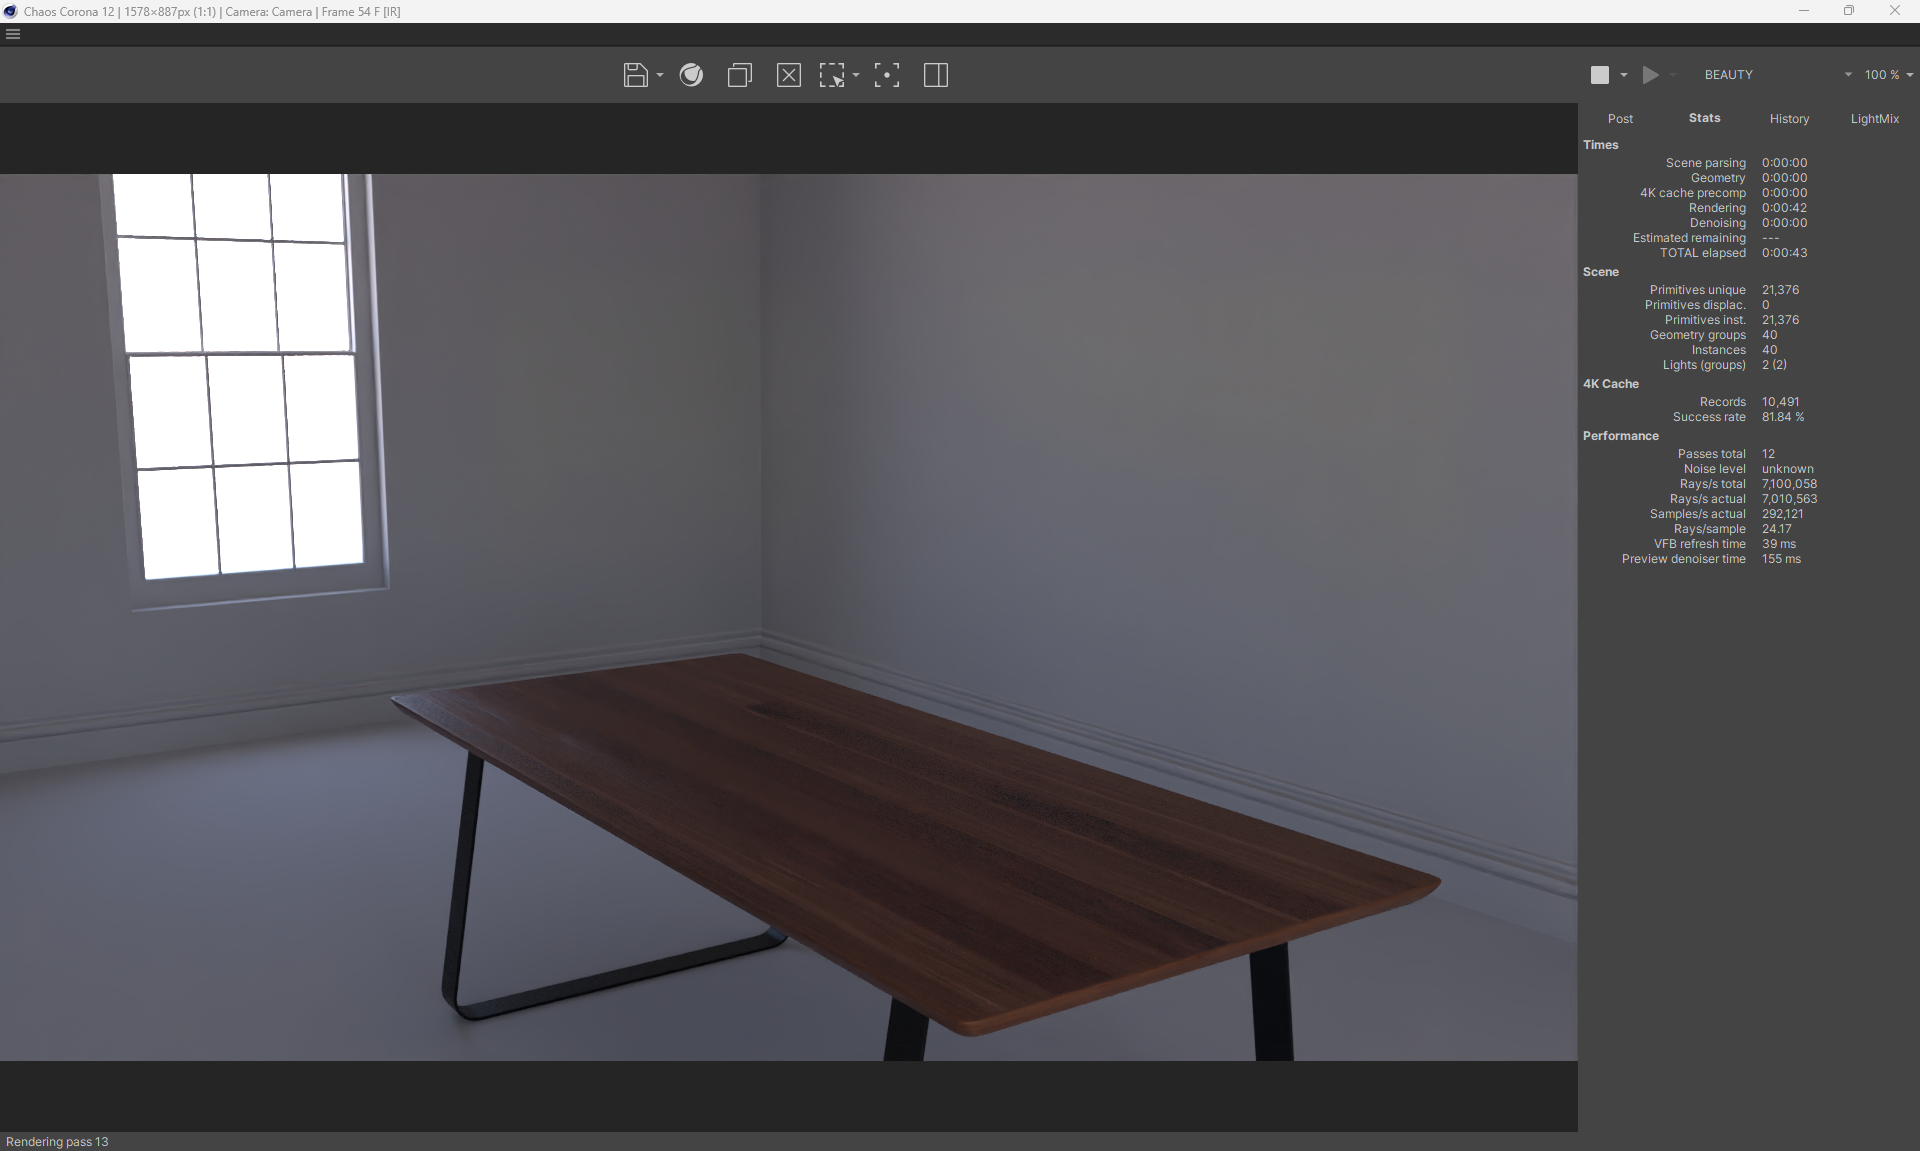
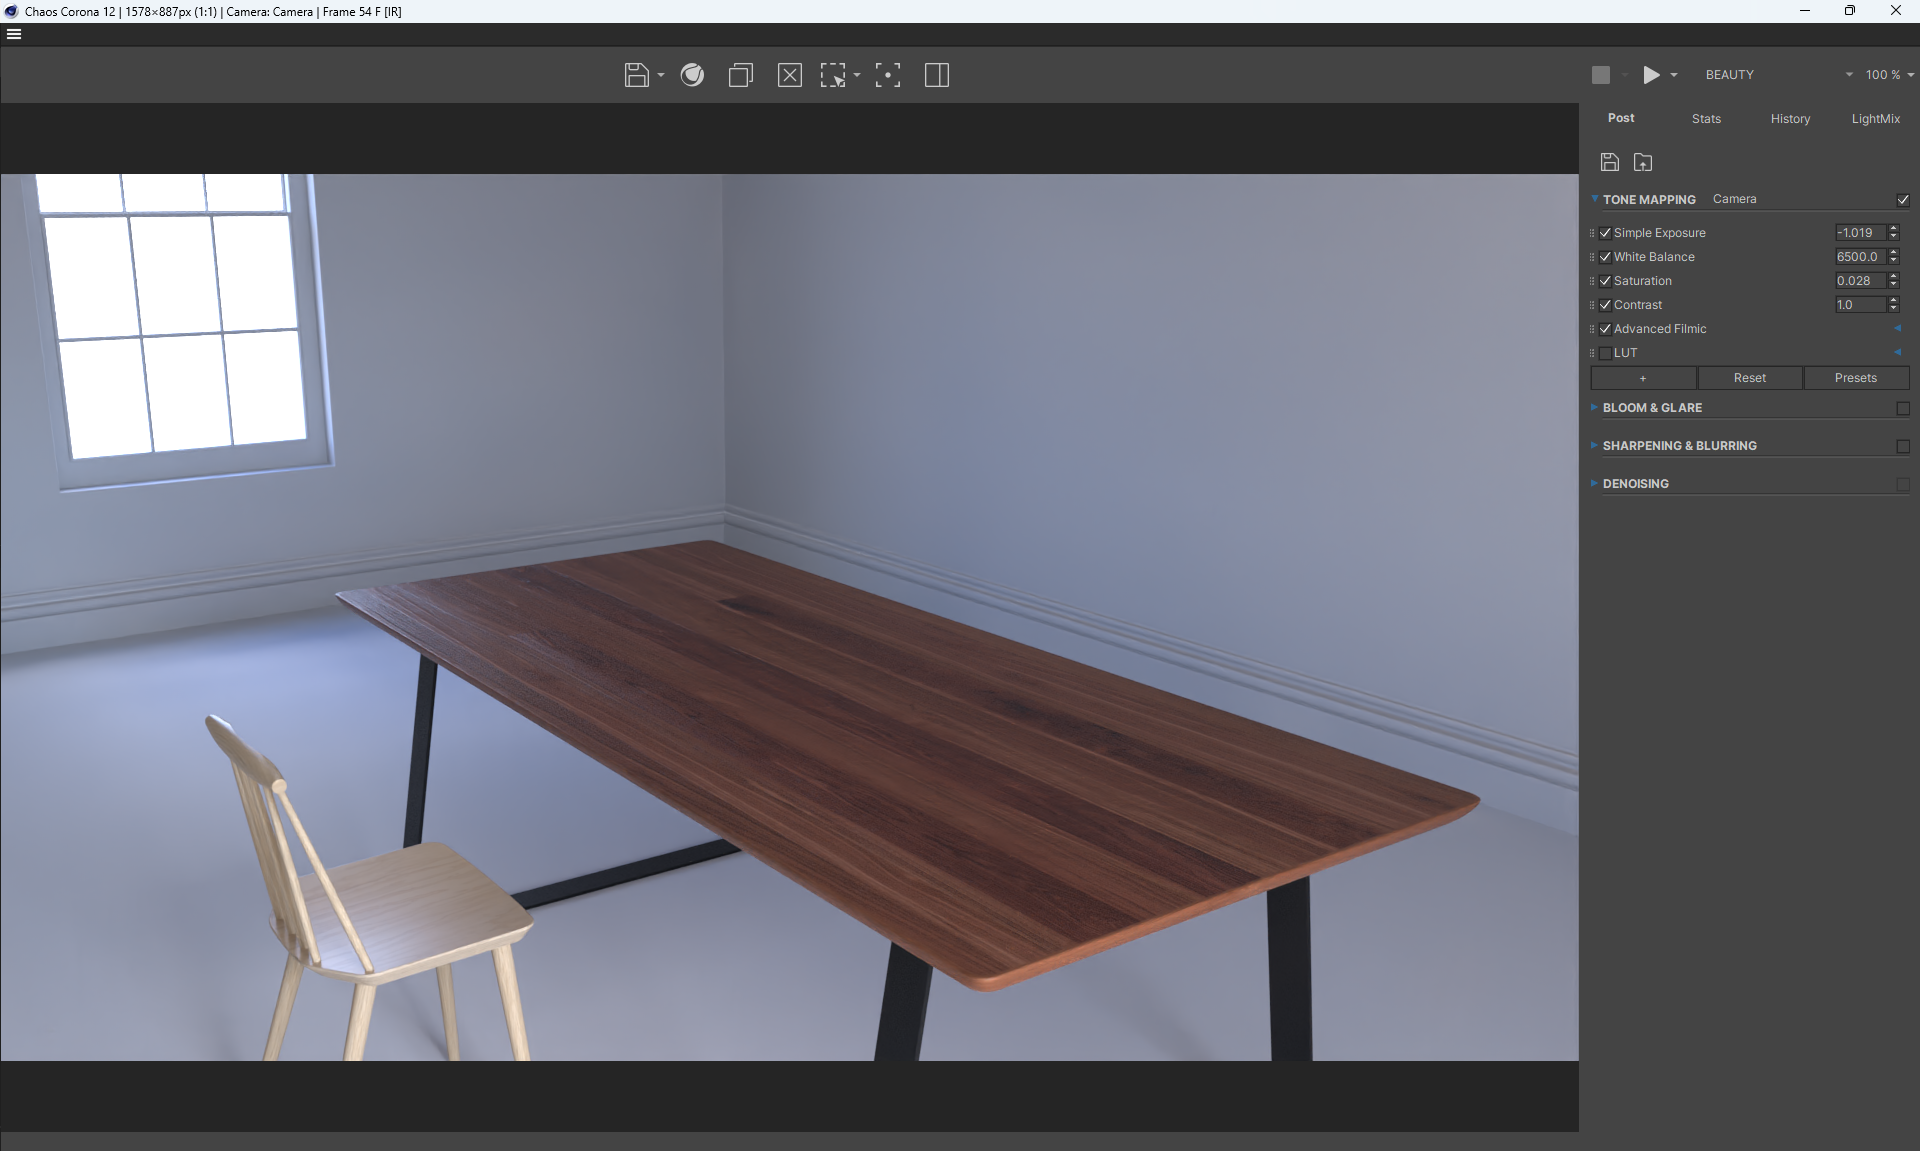
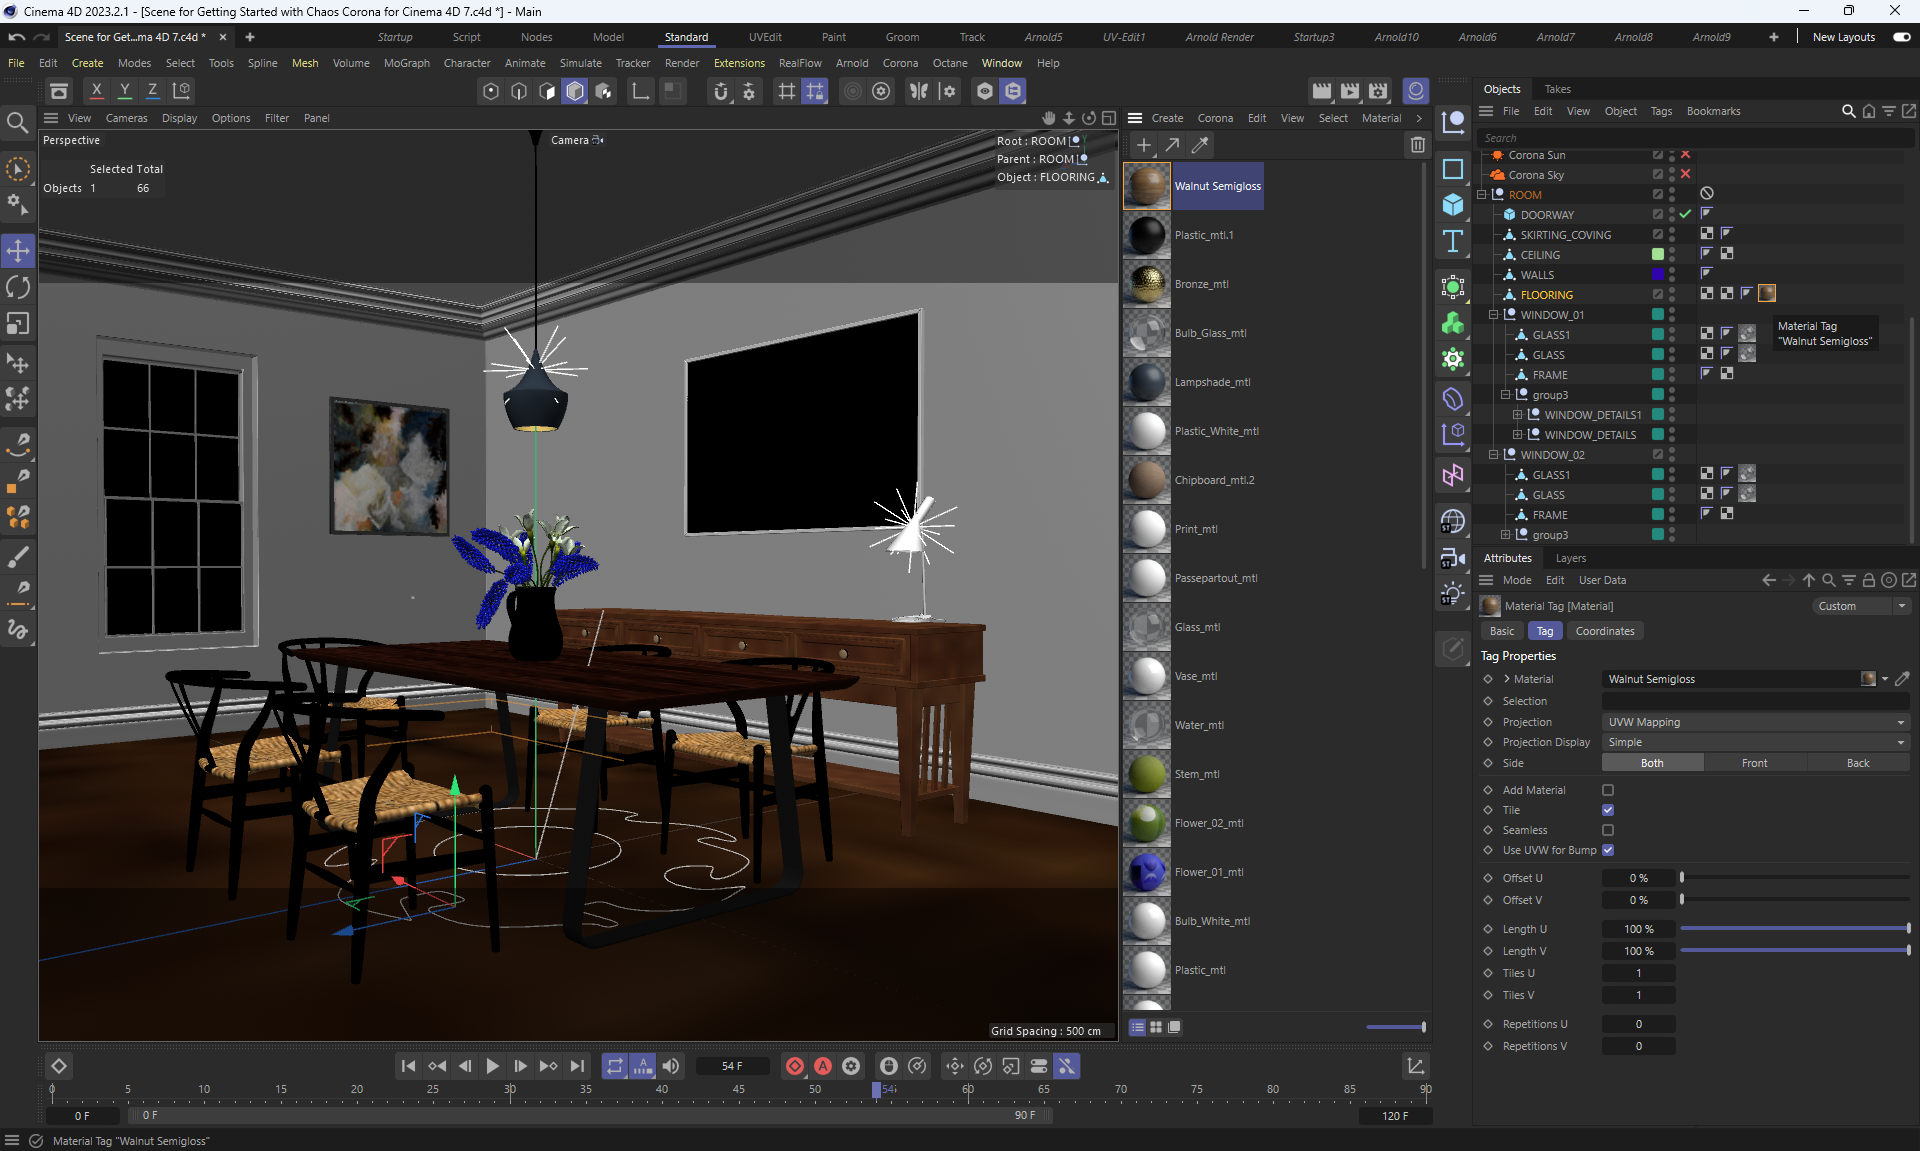
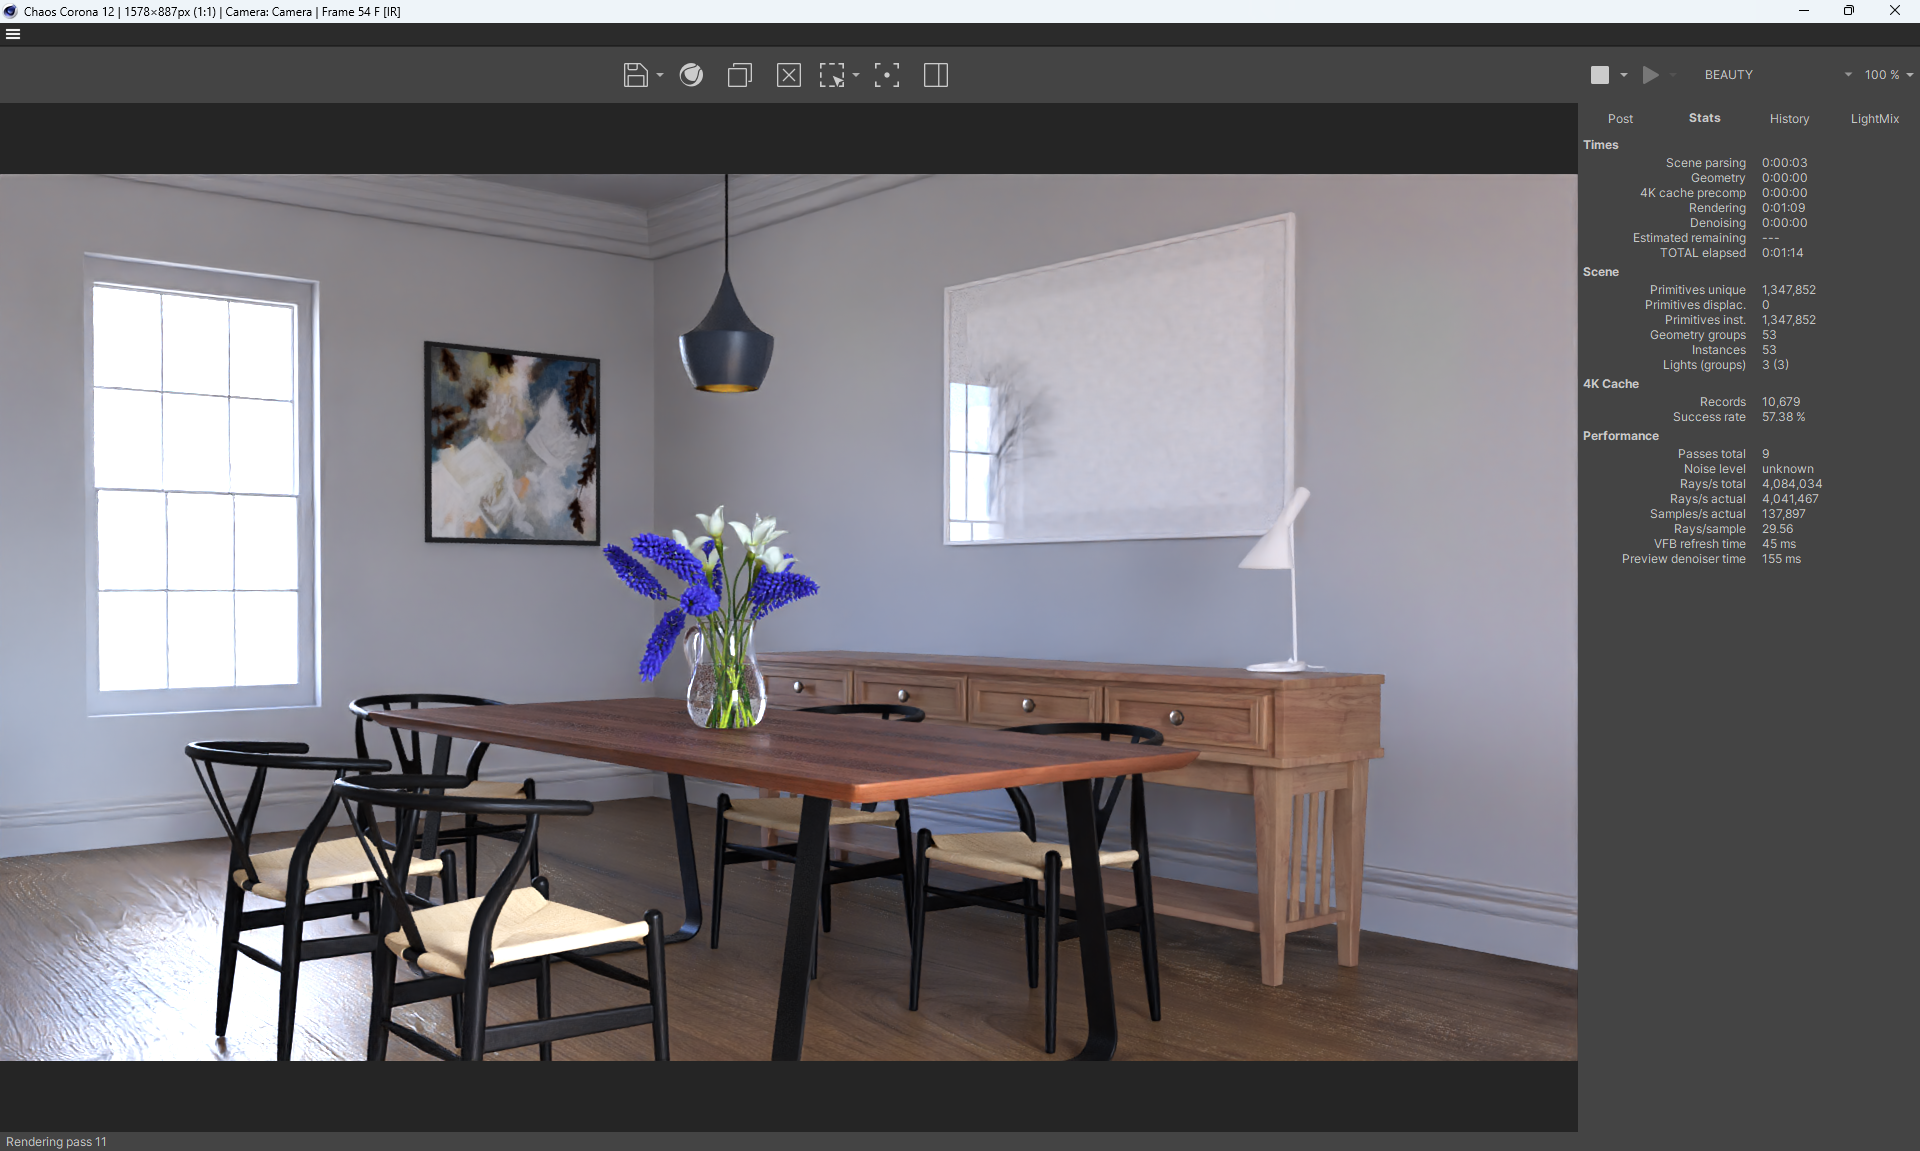
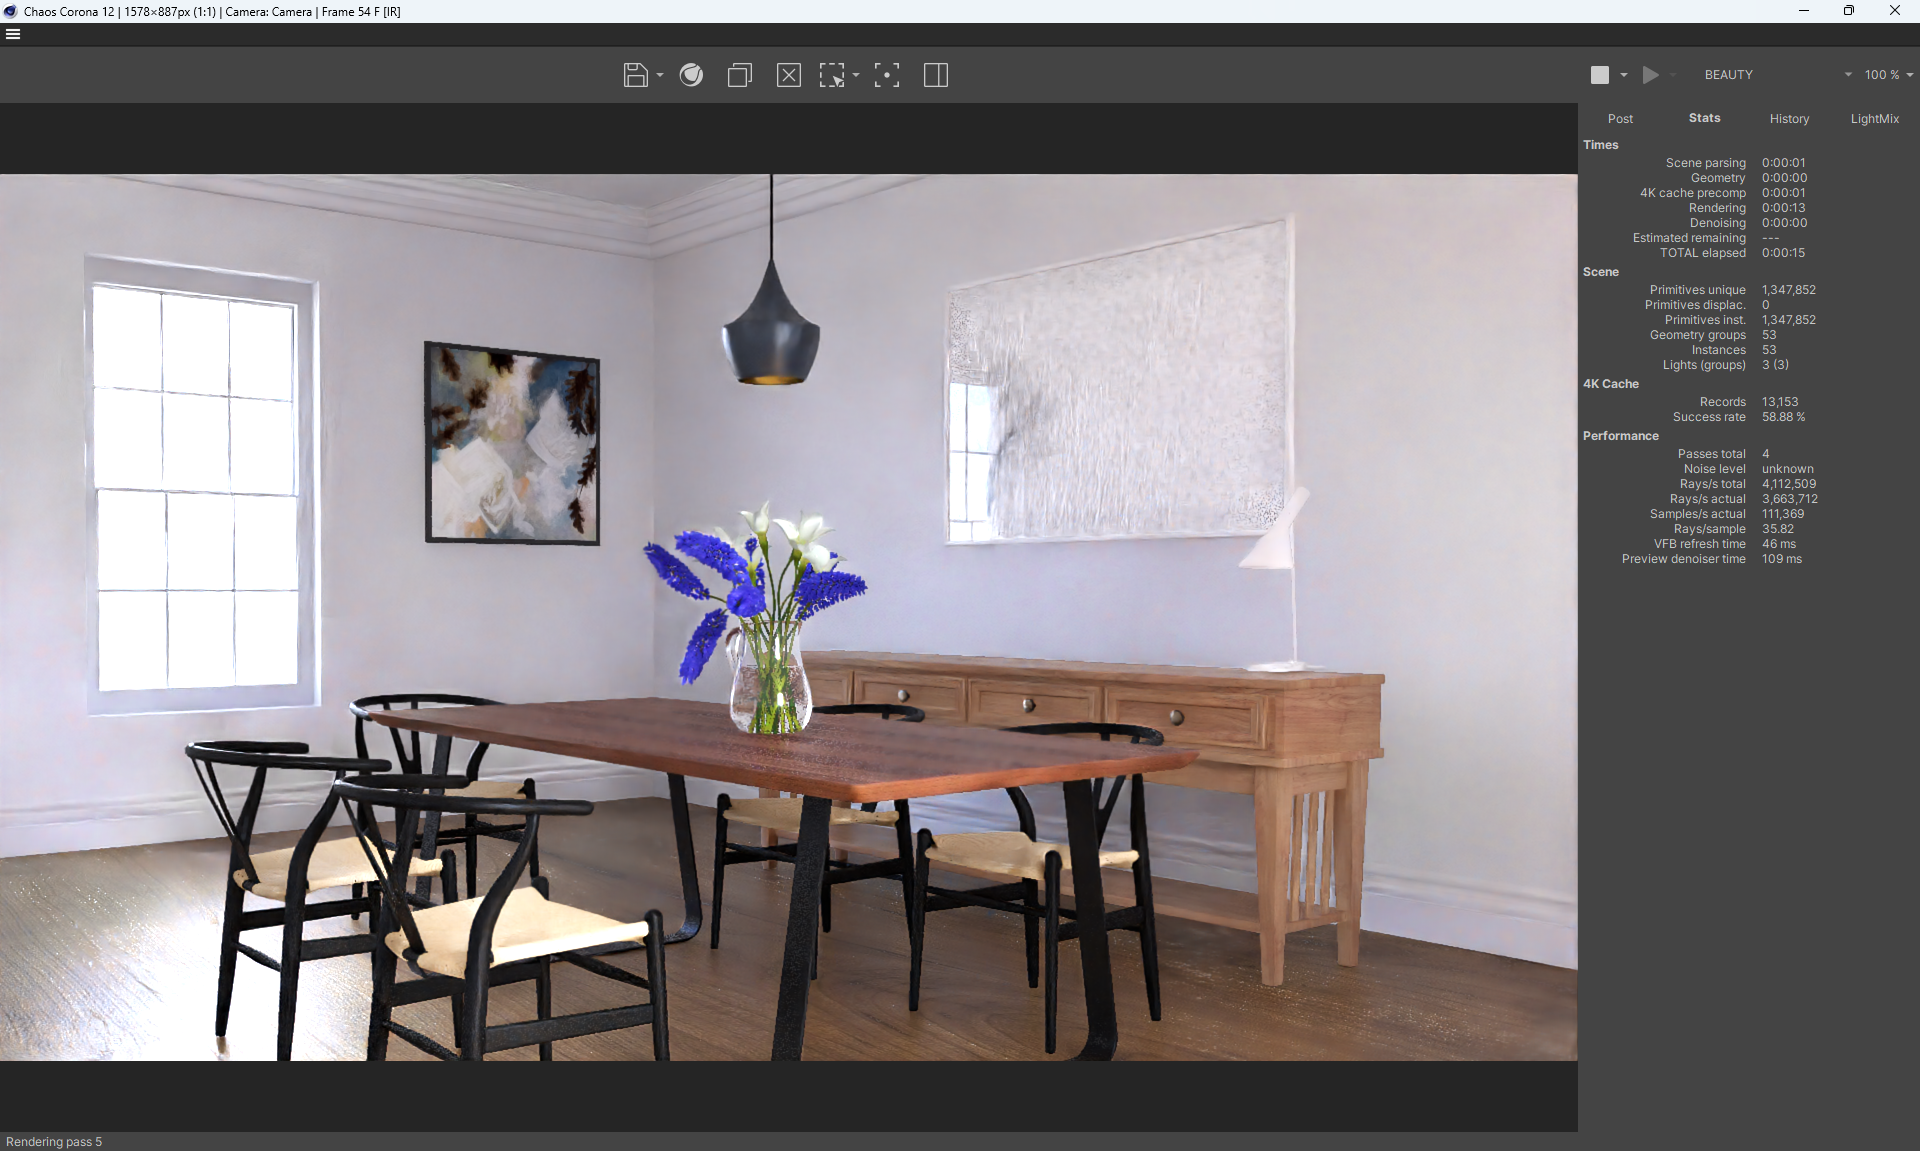
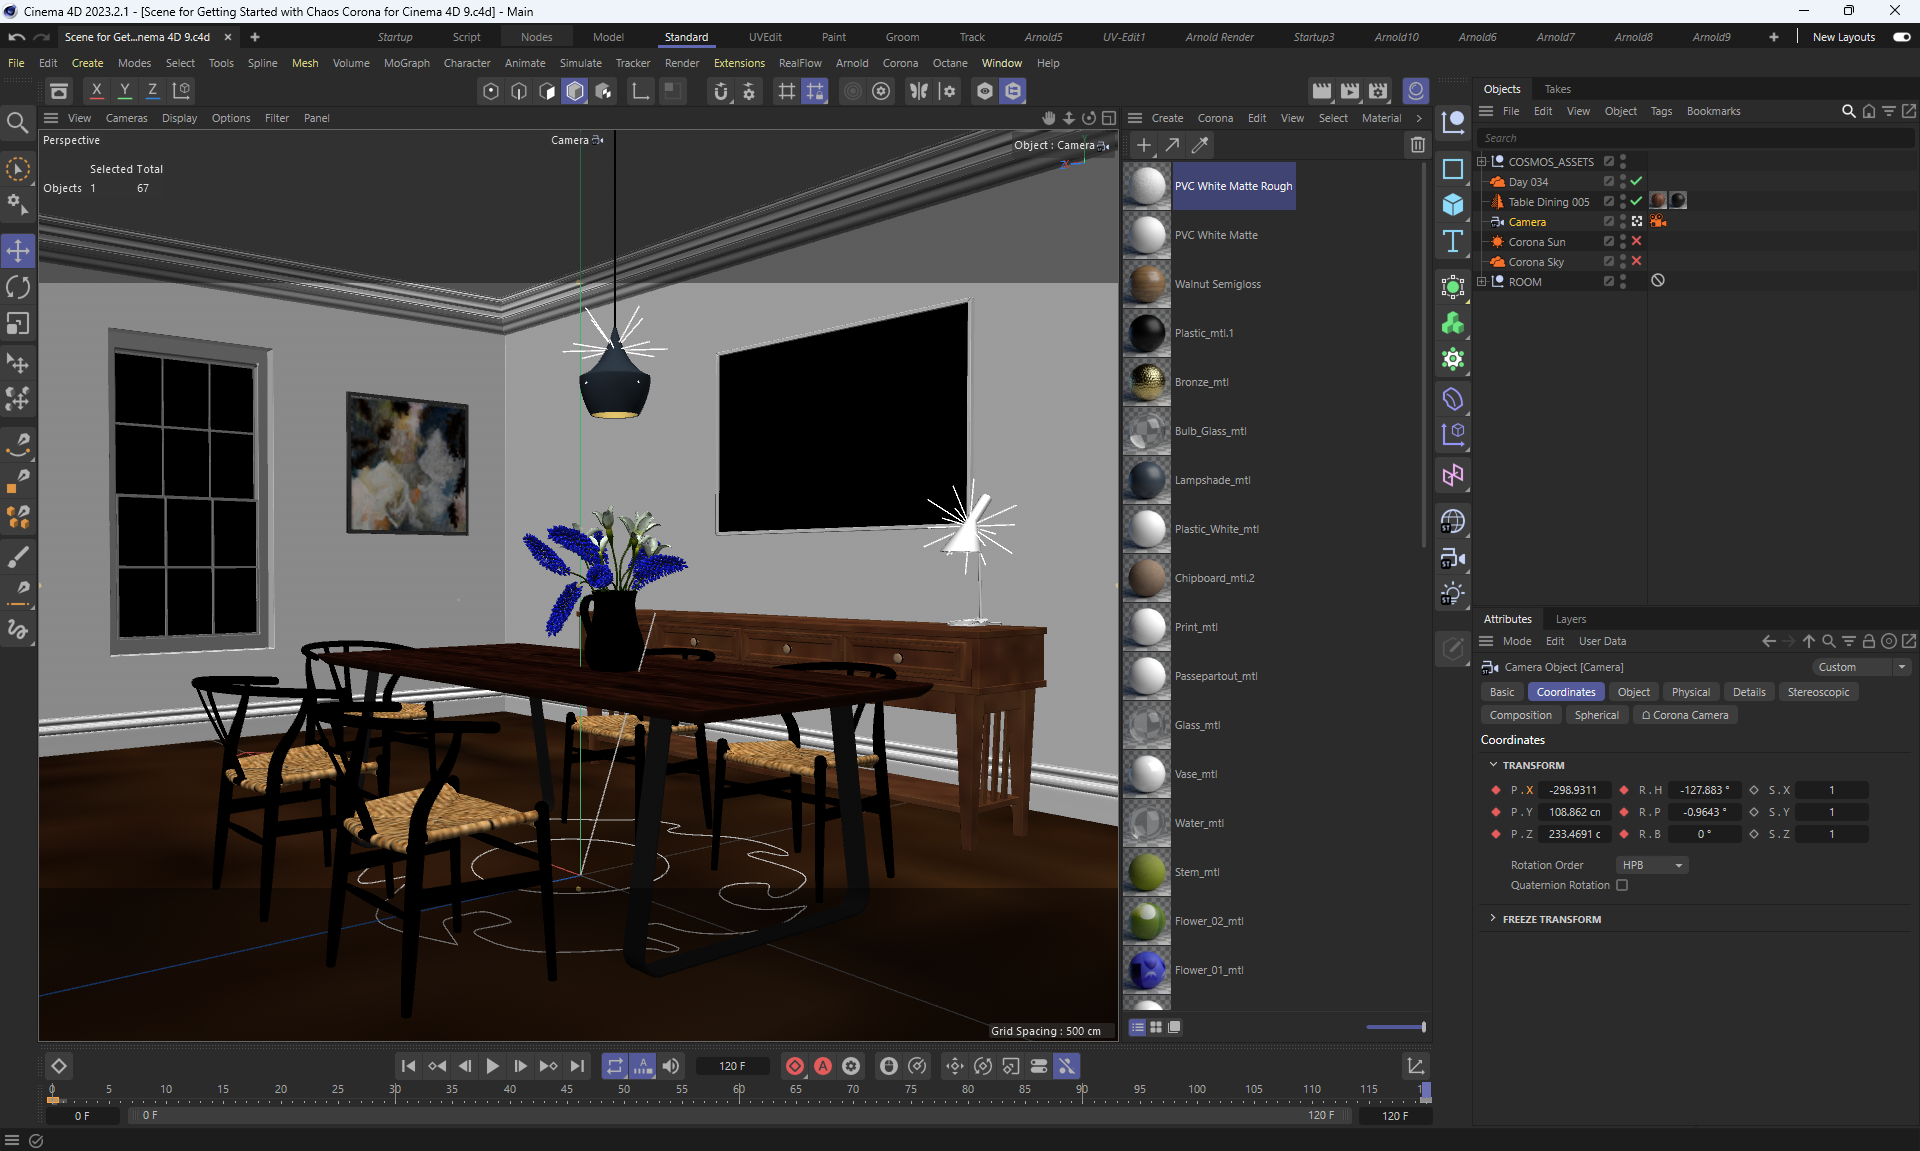
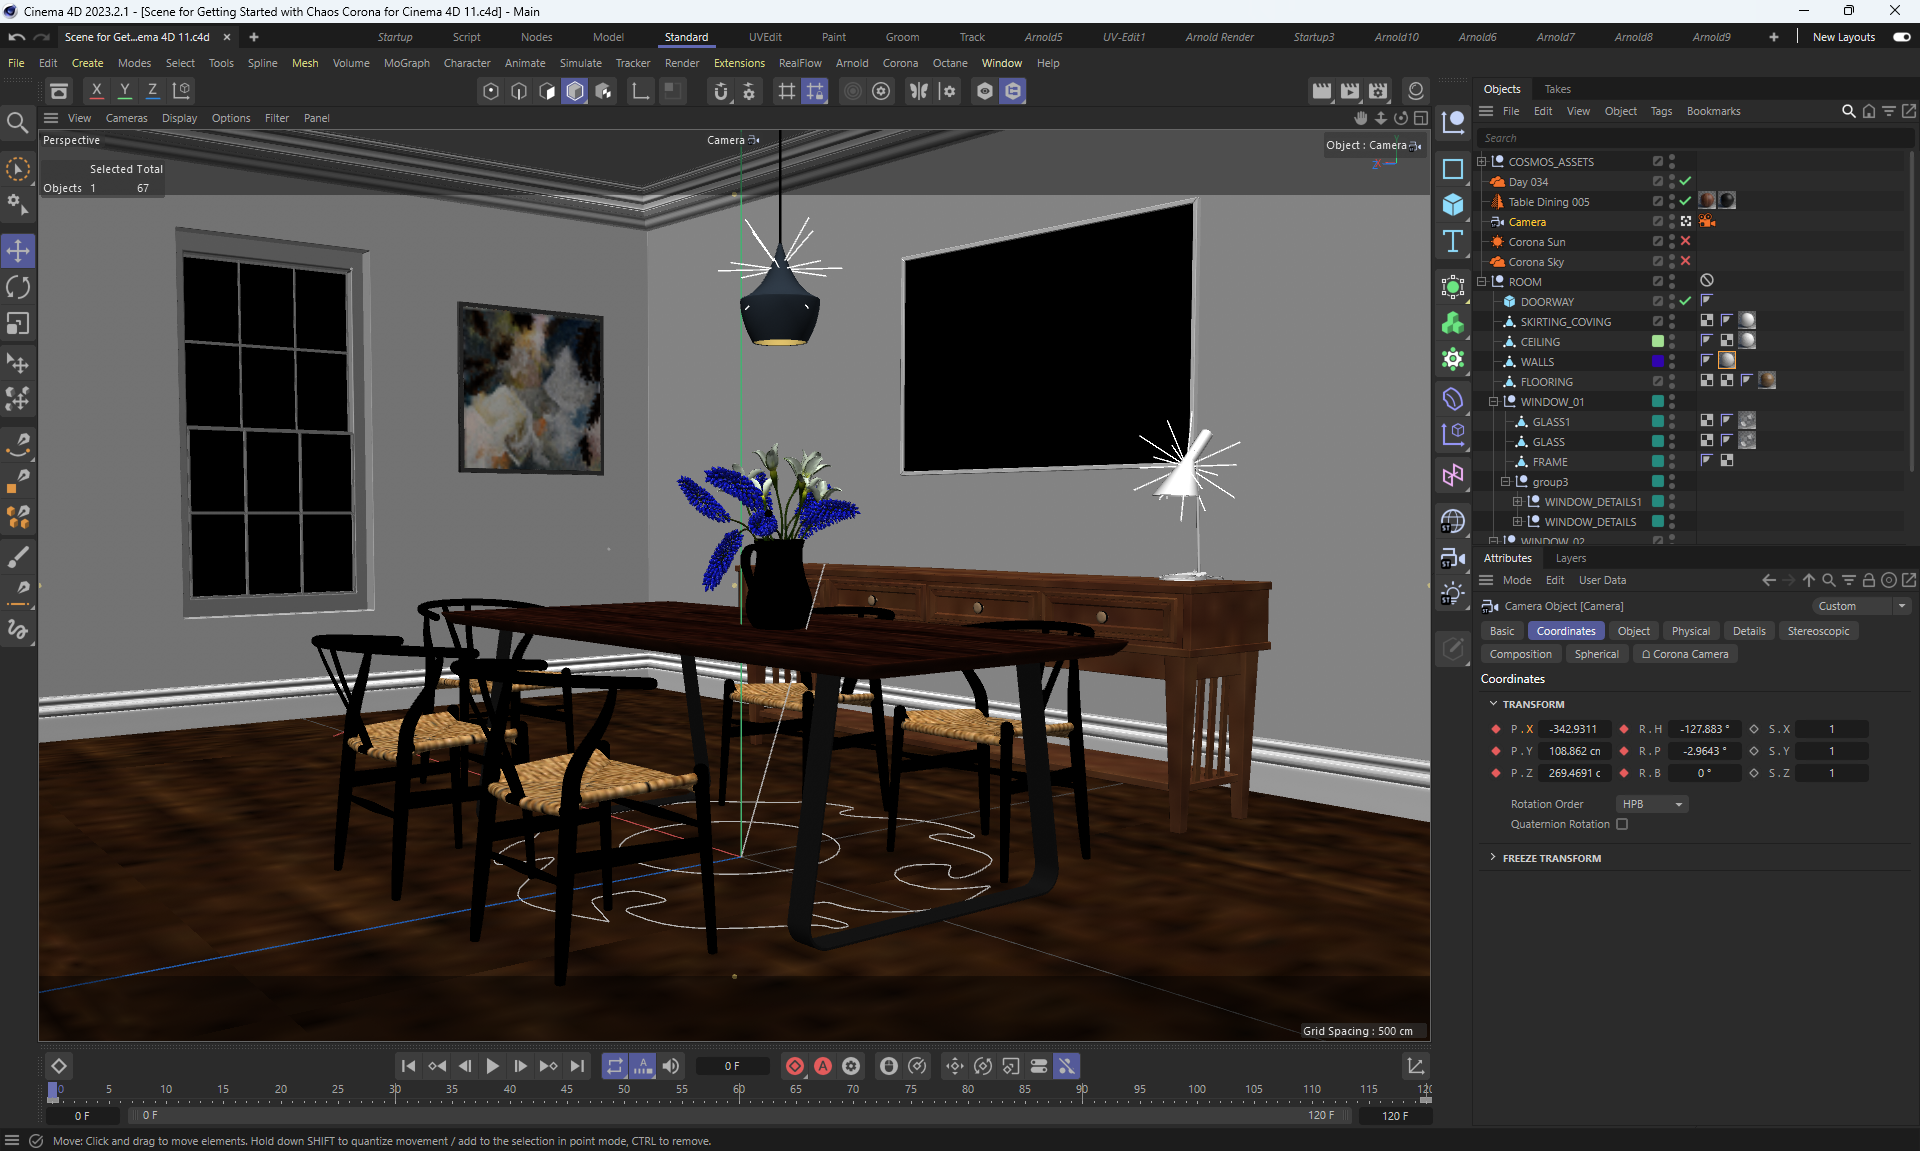
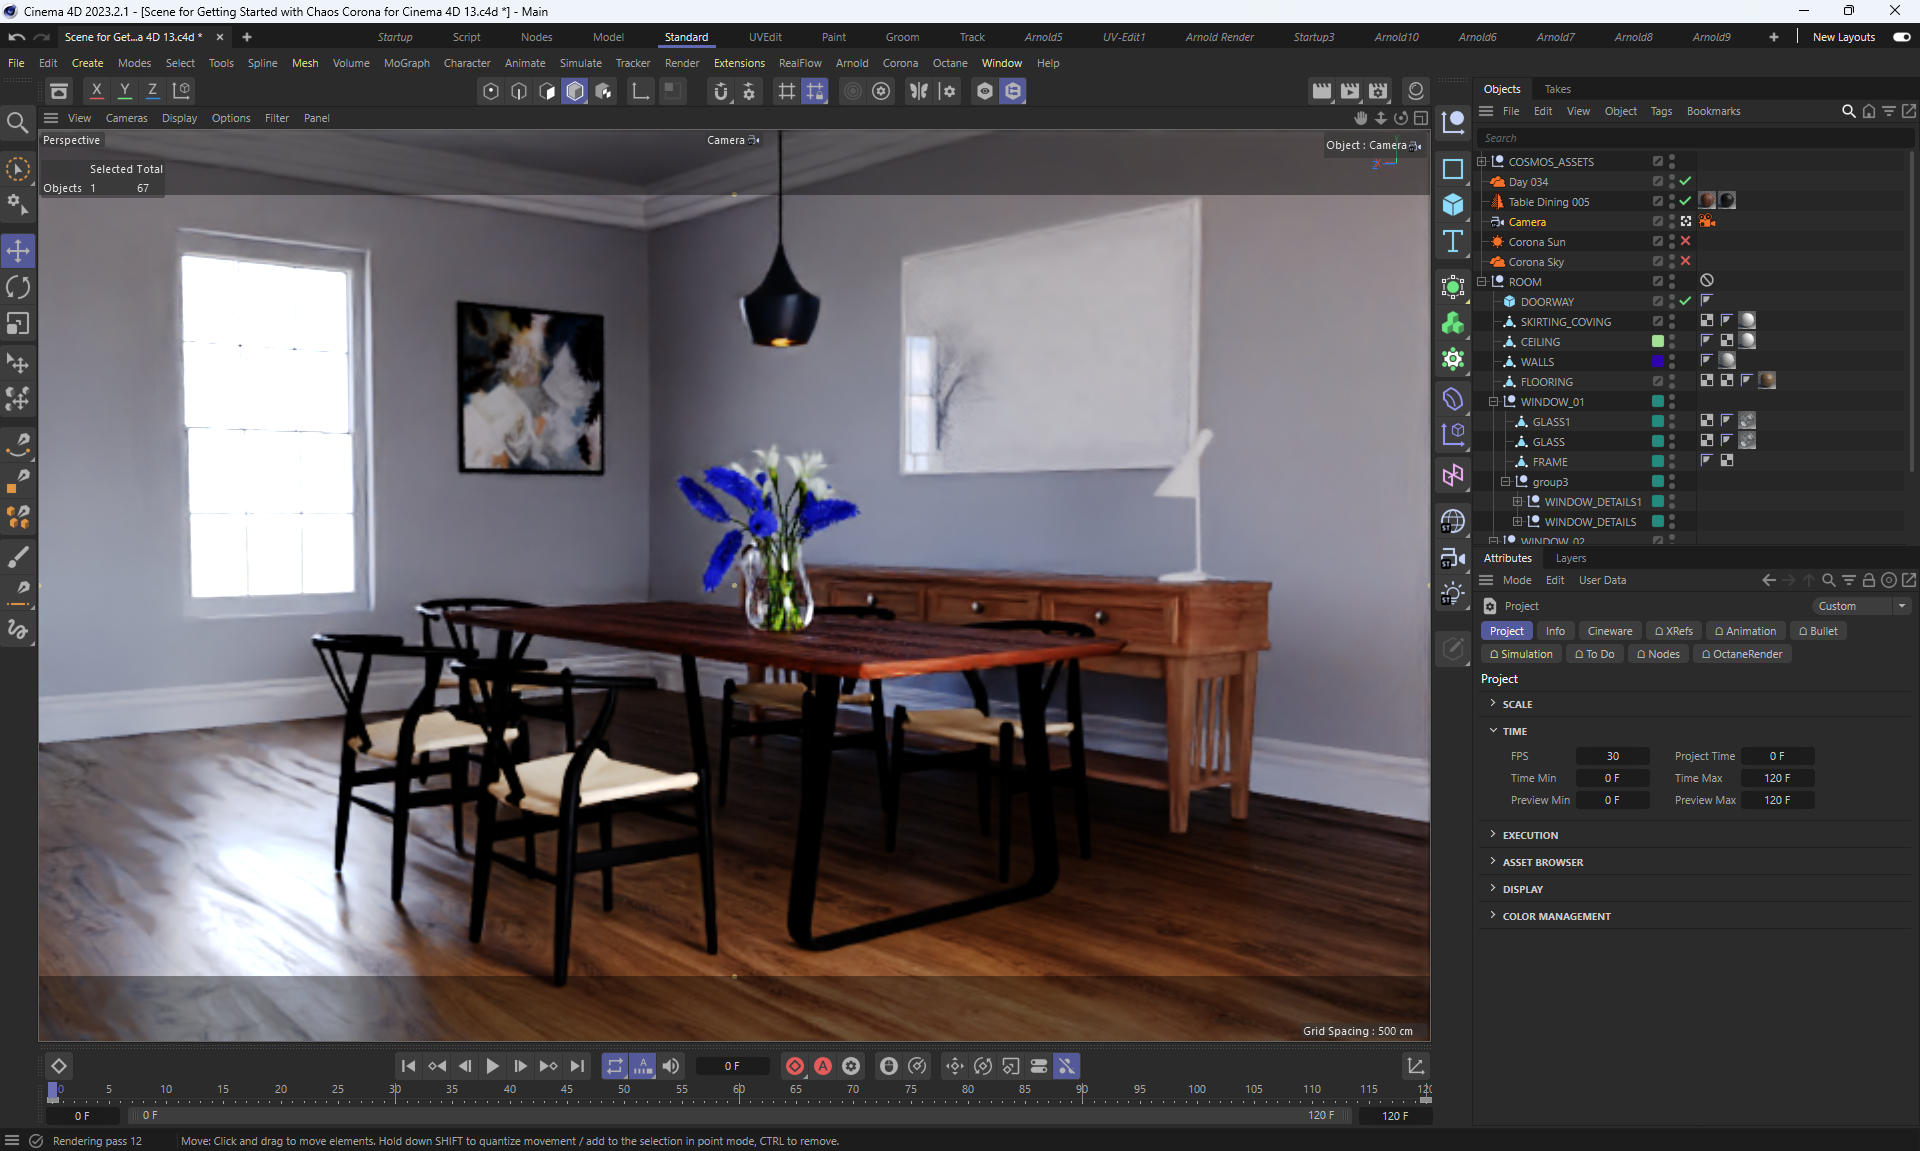
Corona renderer in Cinema 4D has Real-time renderer - IER renderer for fast initial image generation.
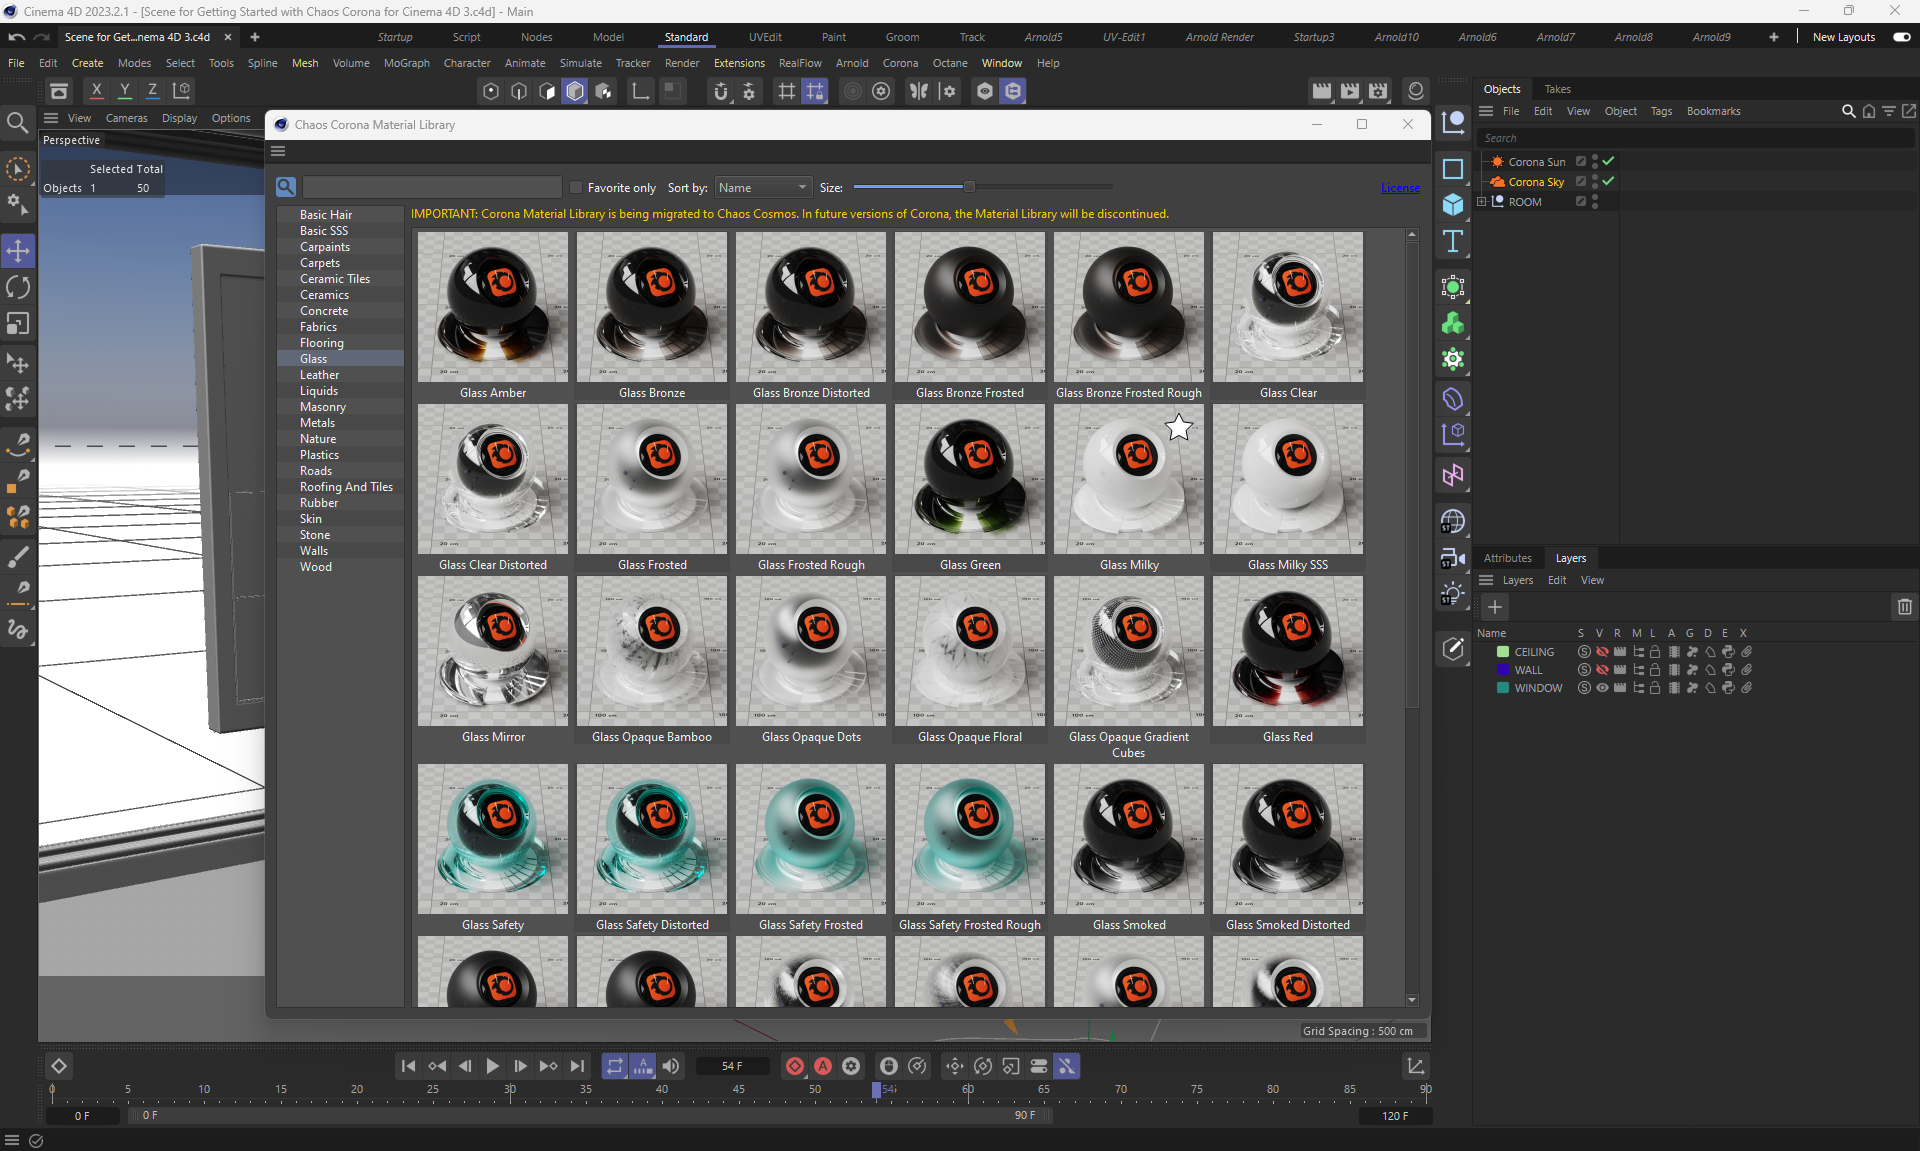
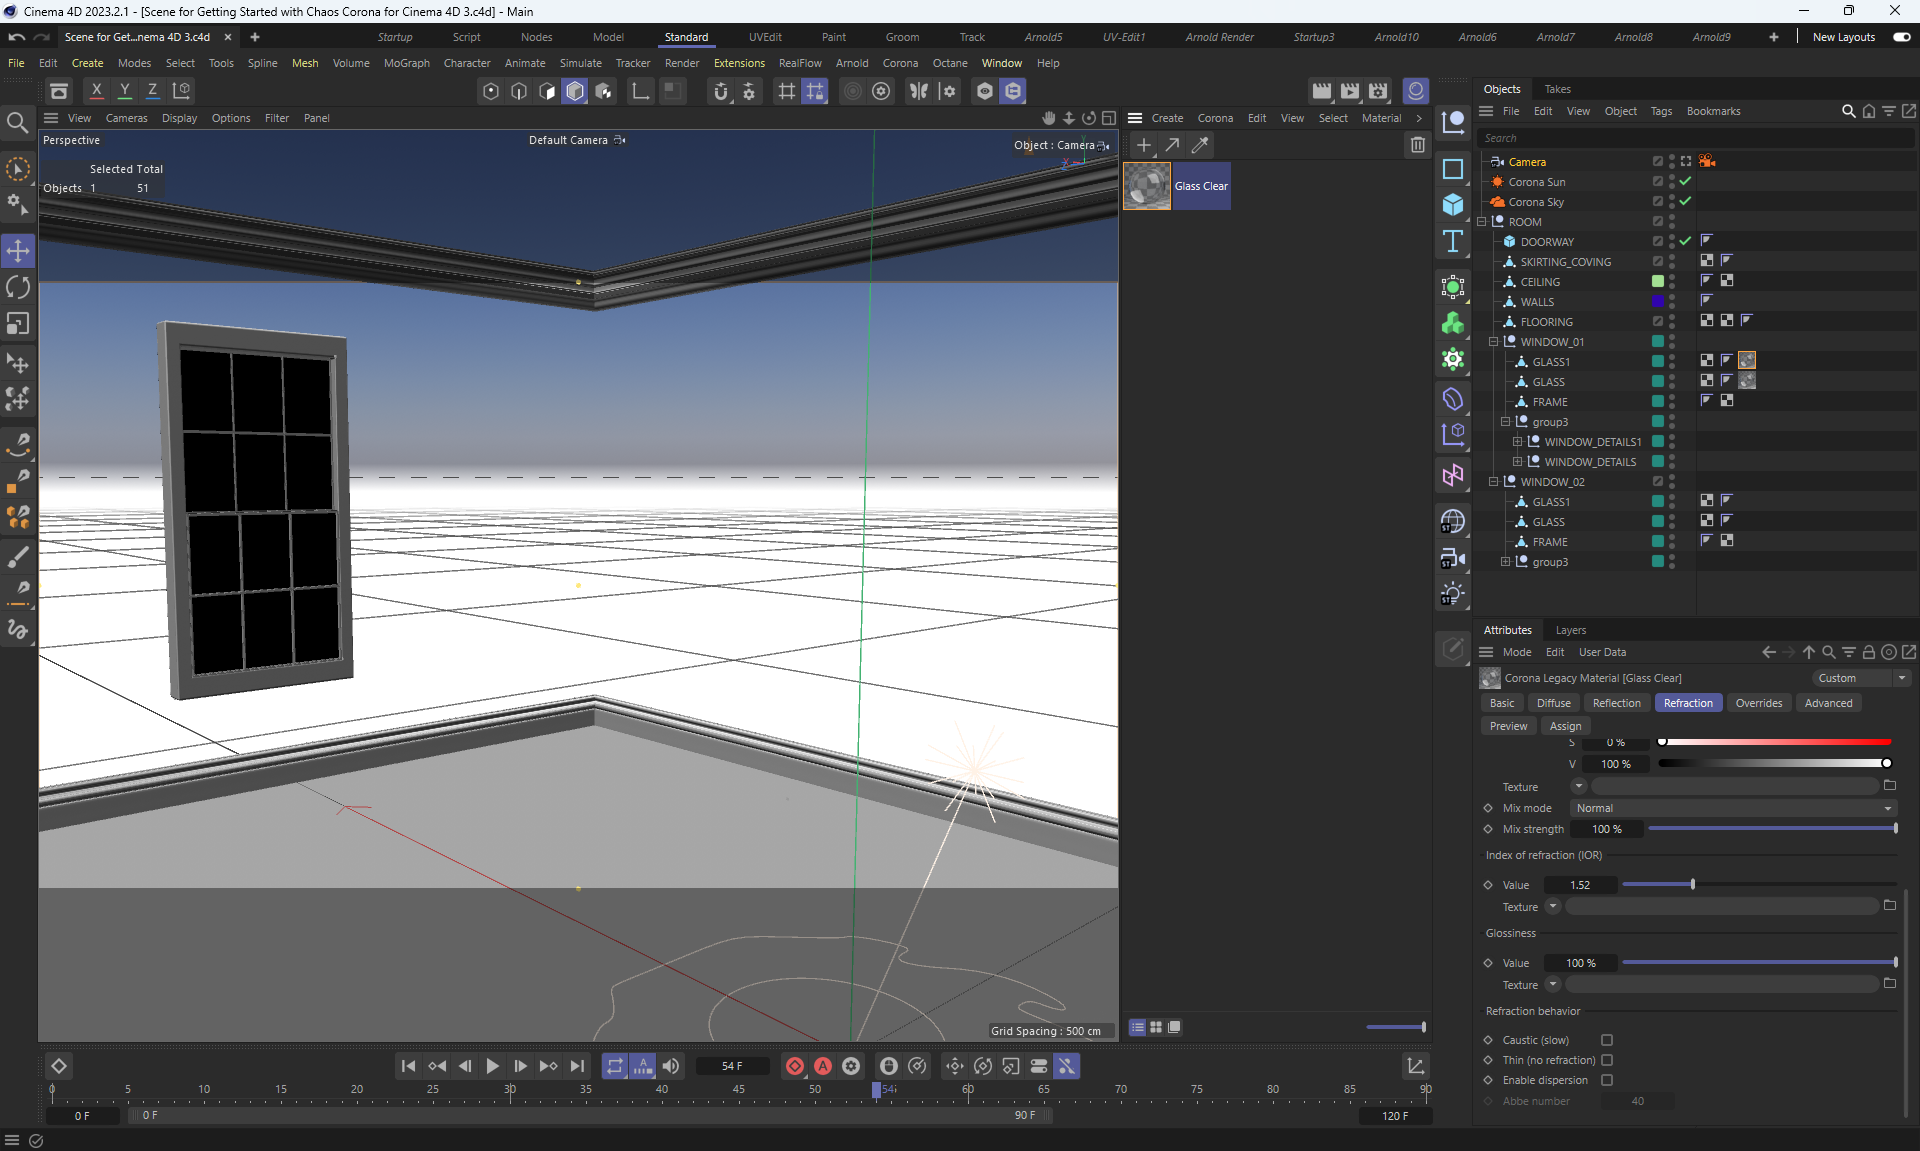
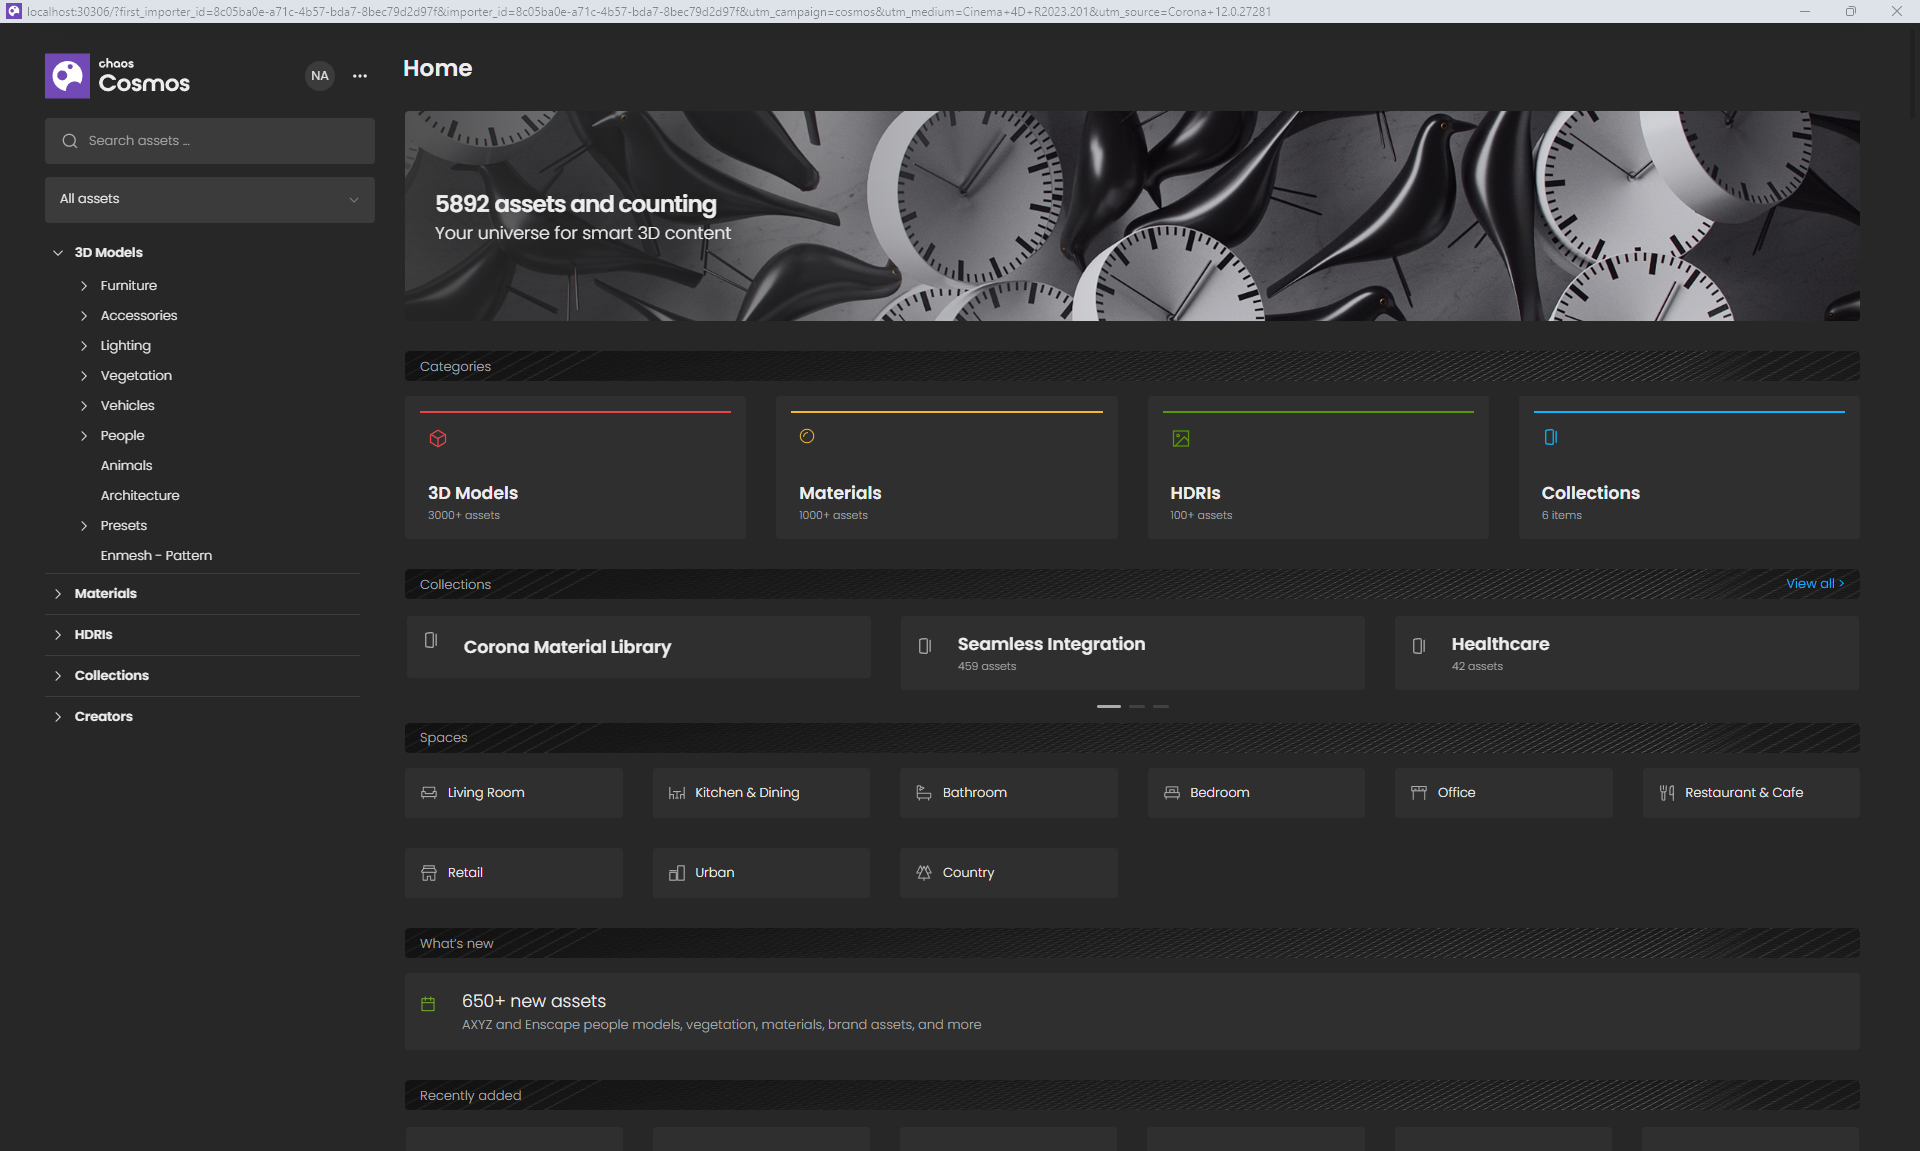
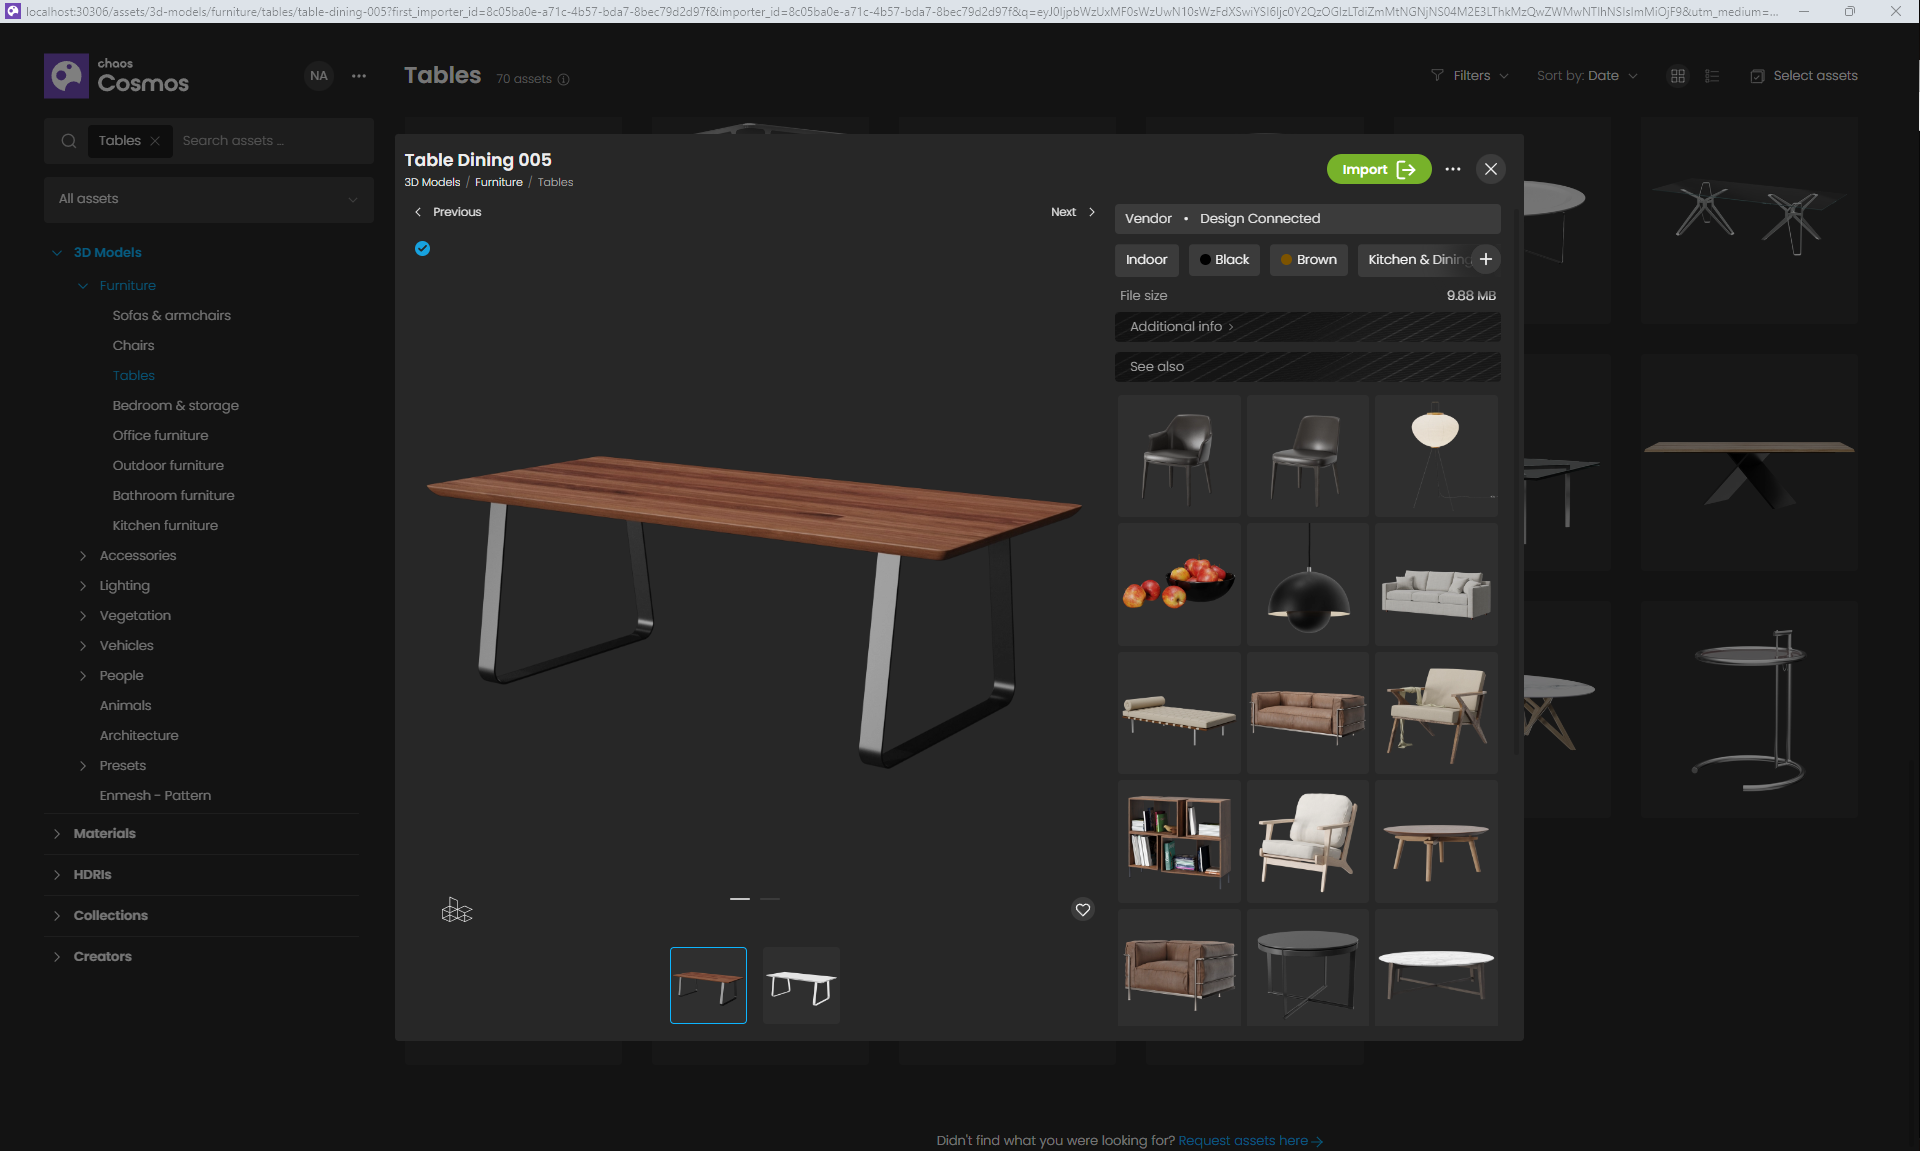
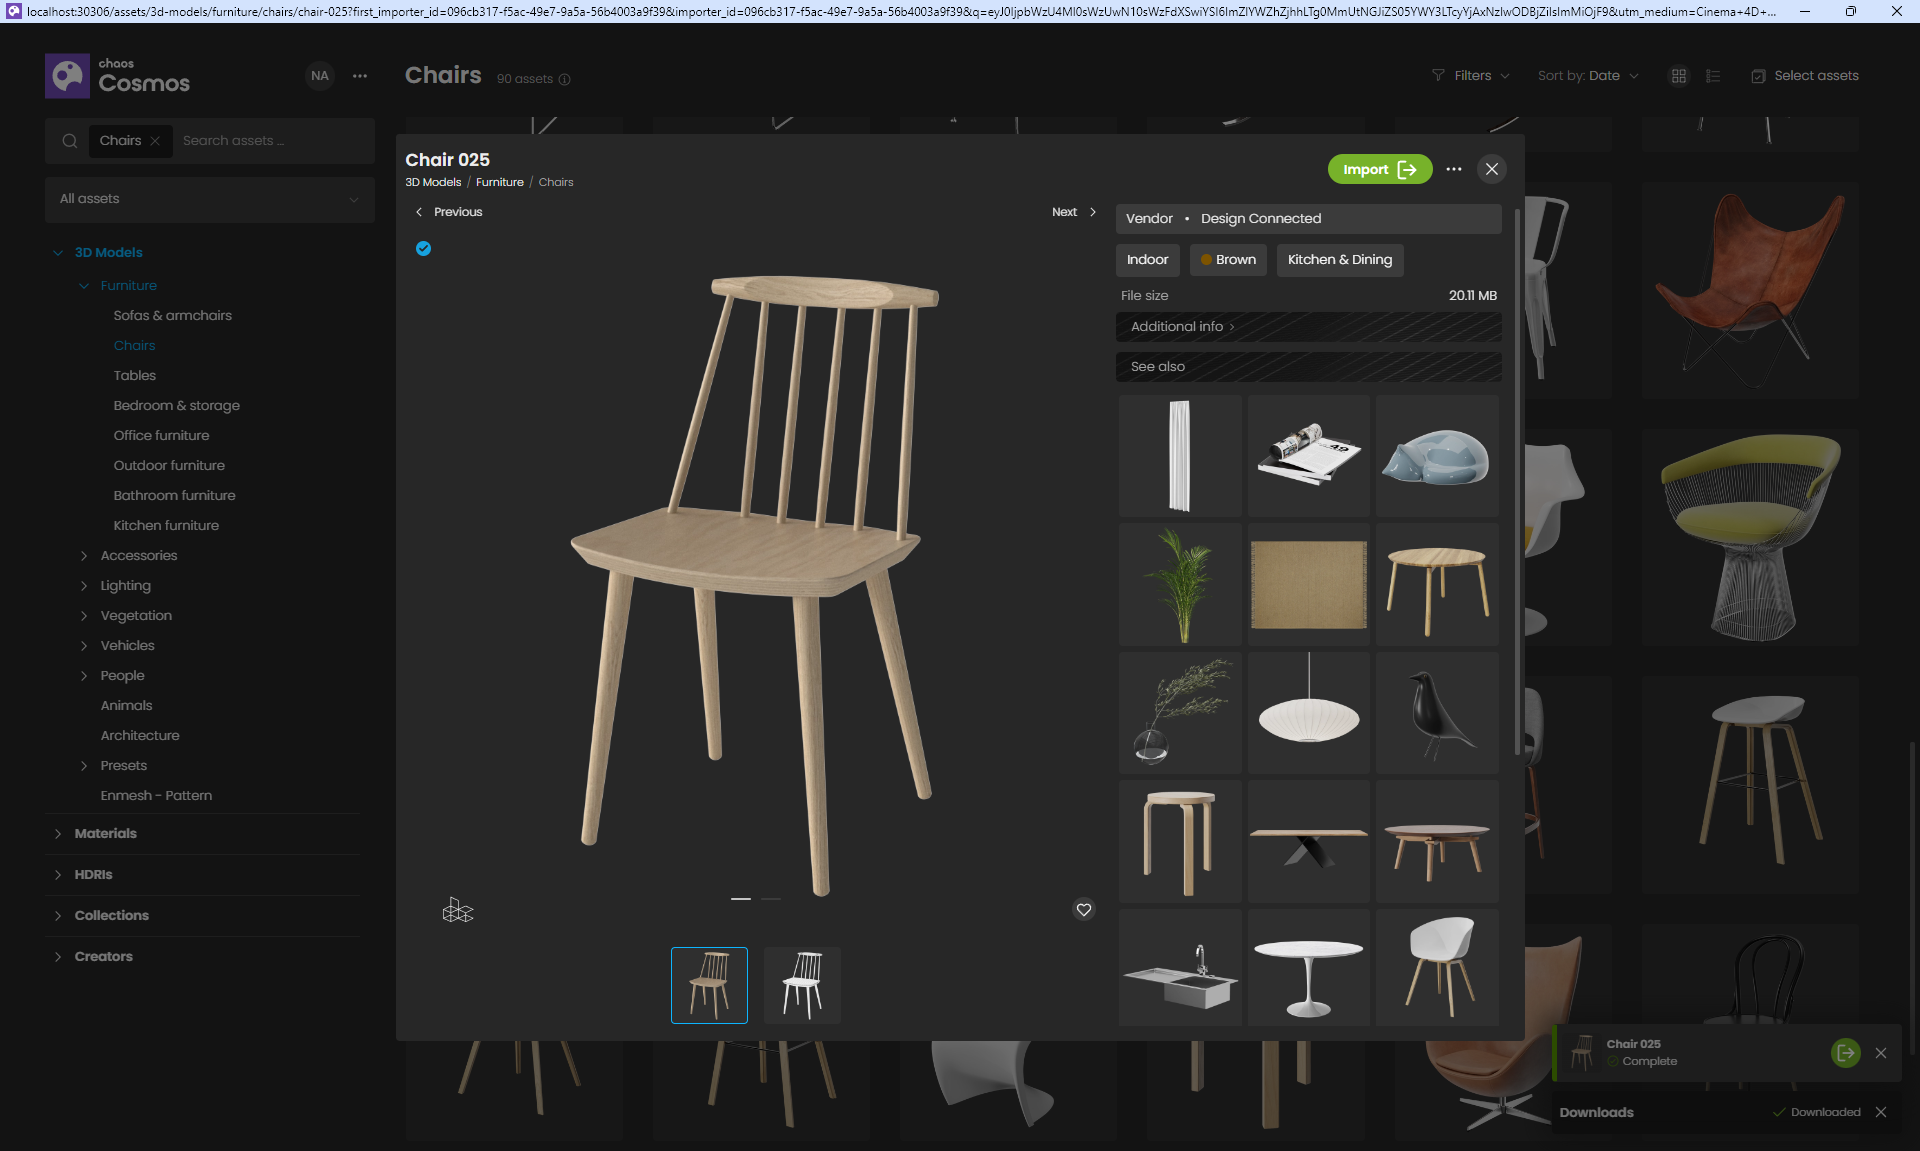
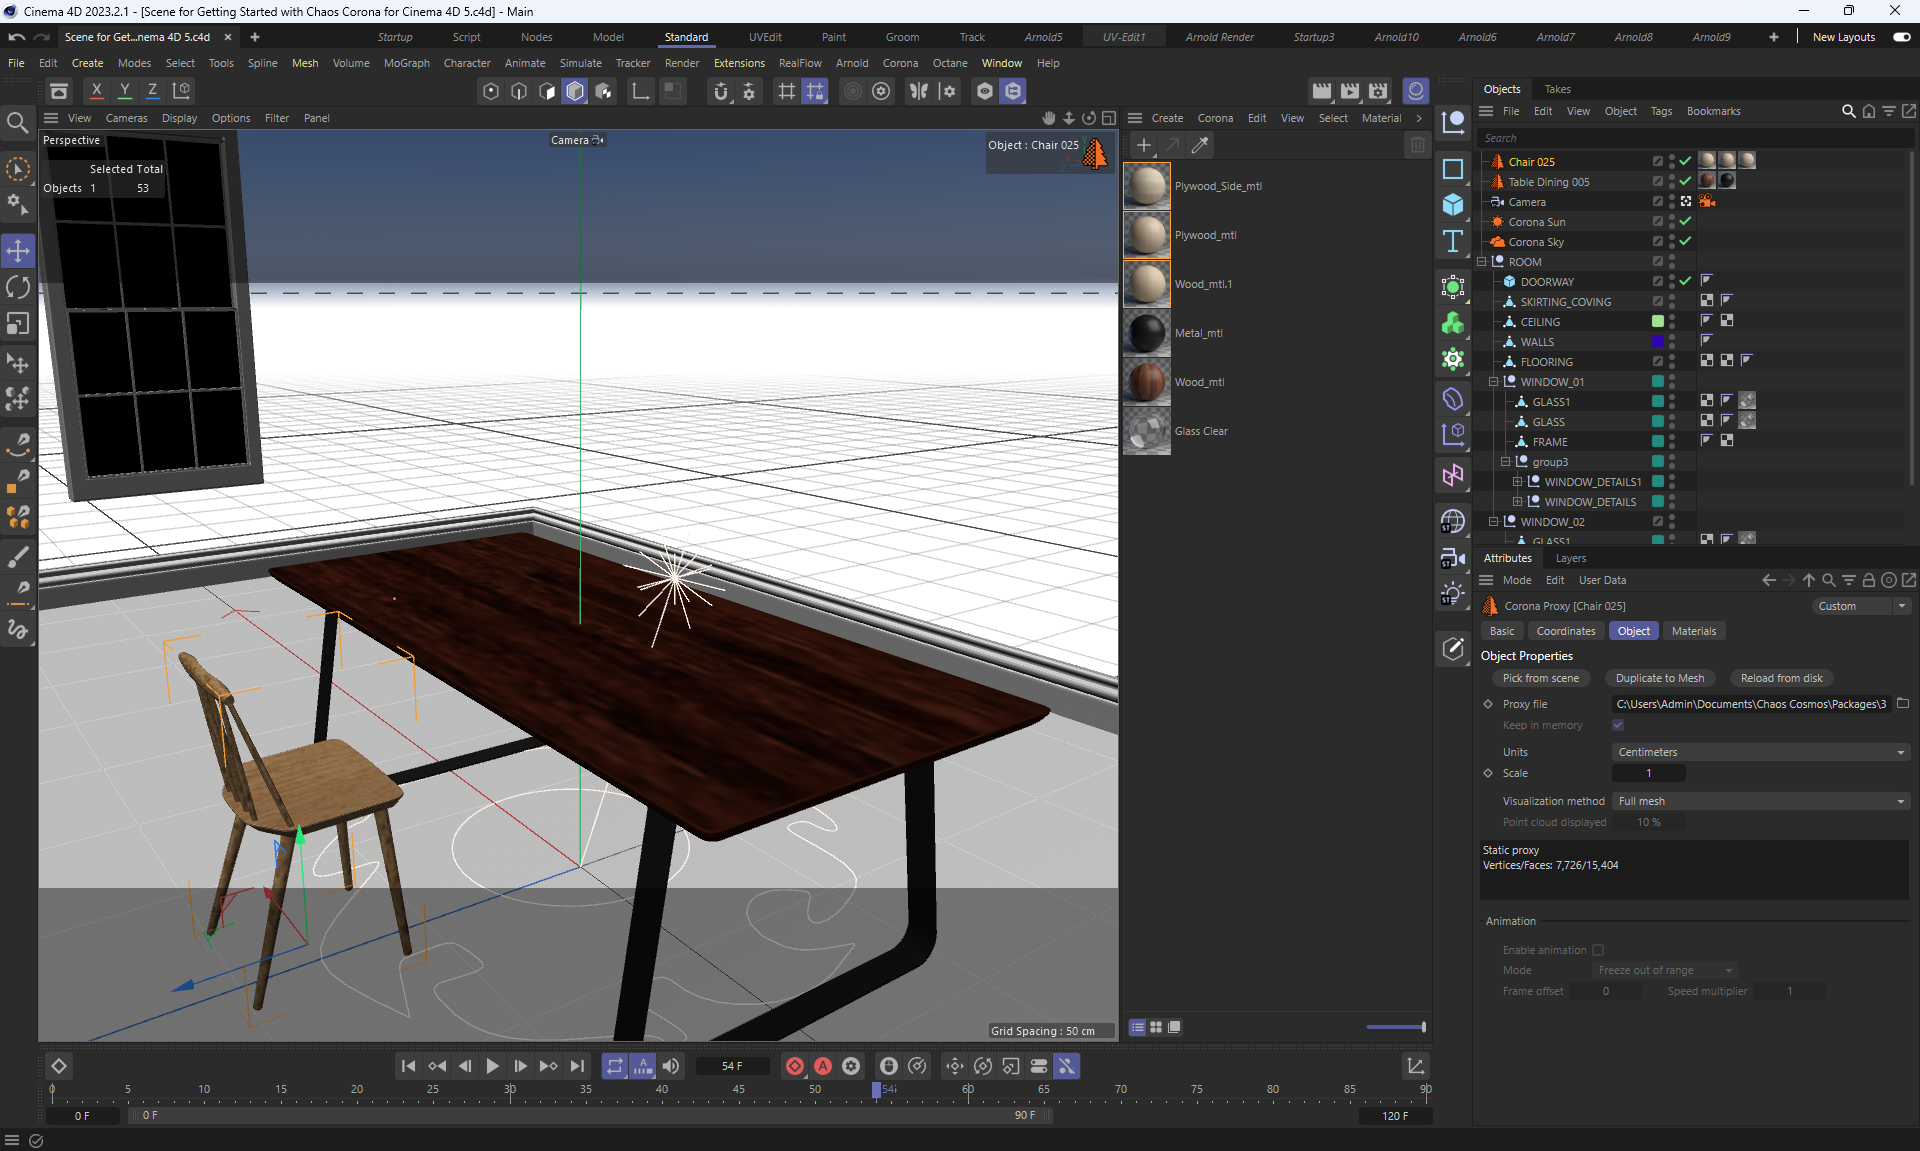
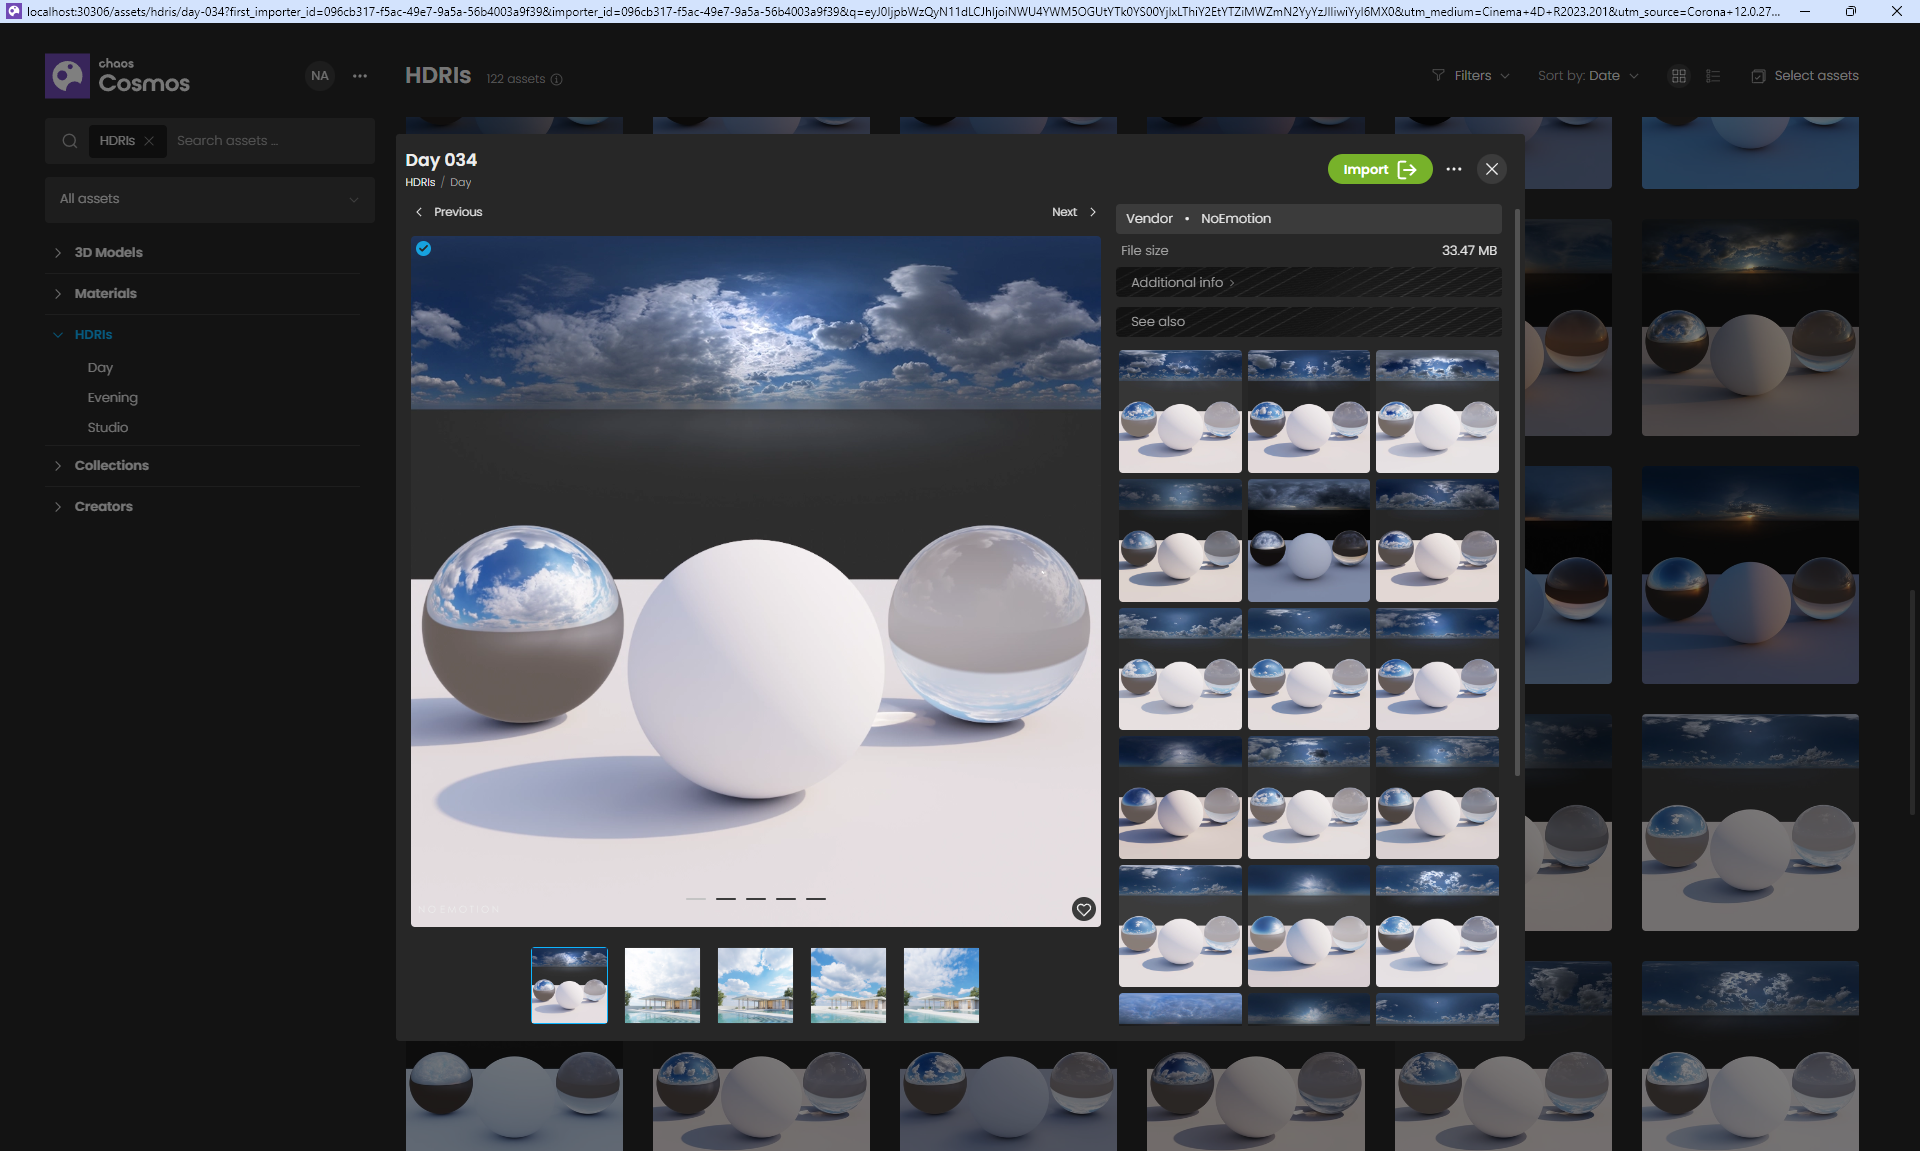
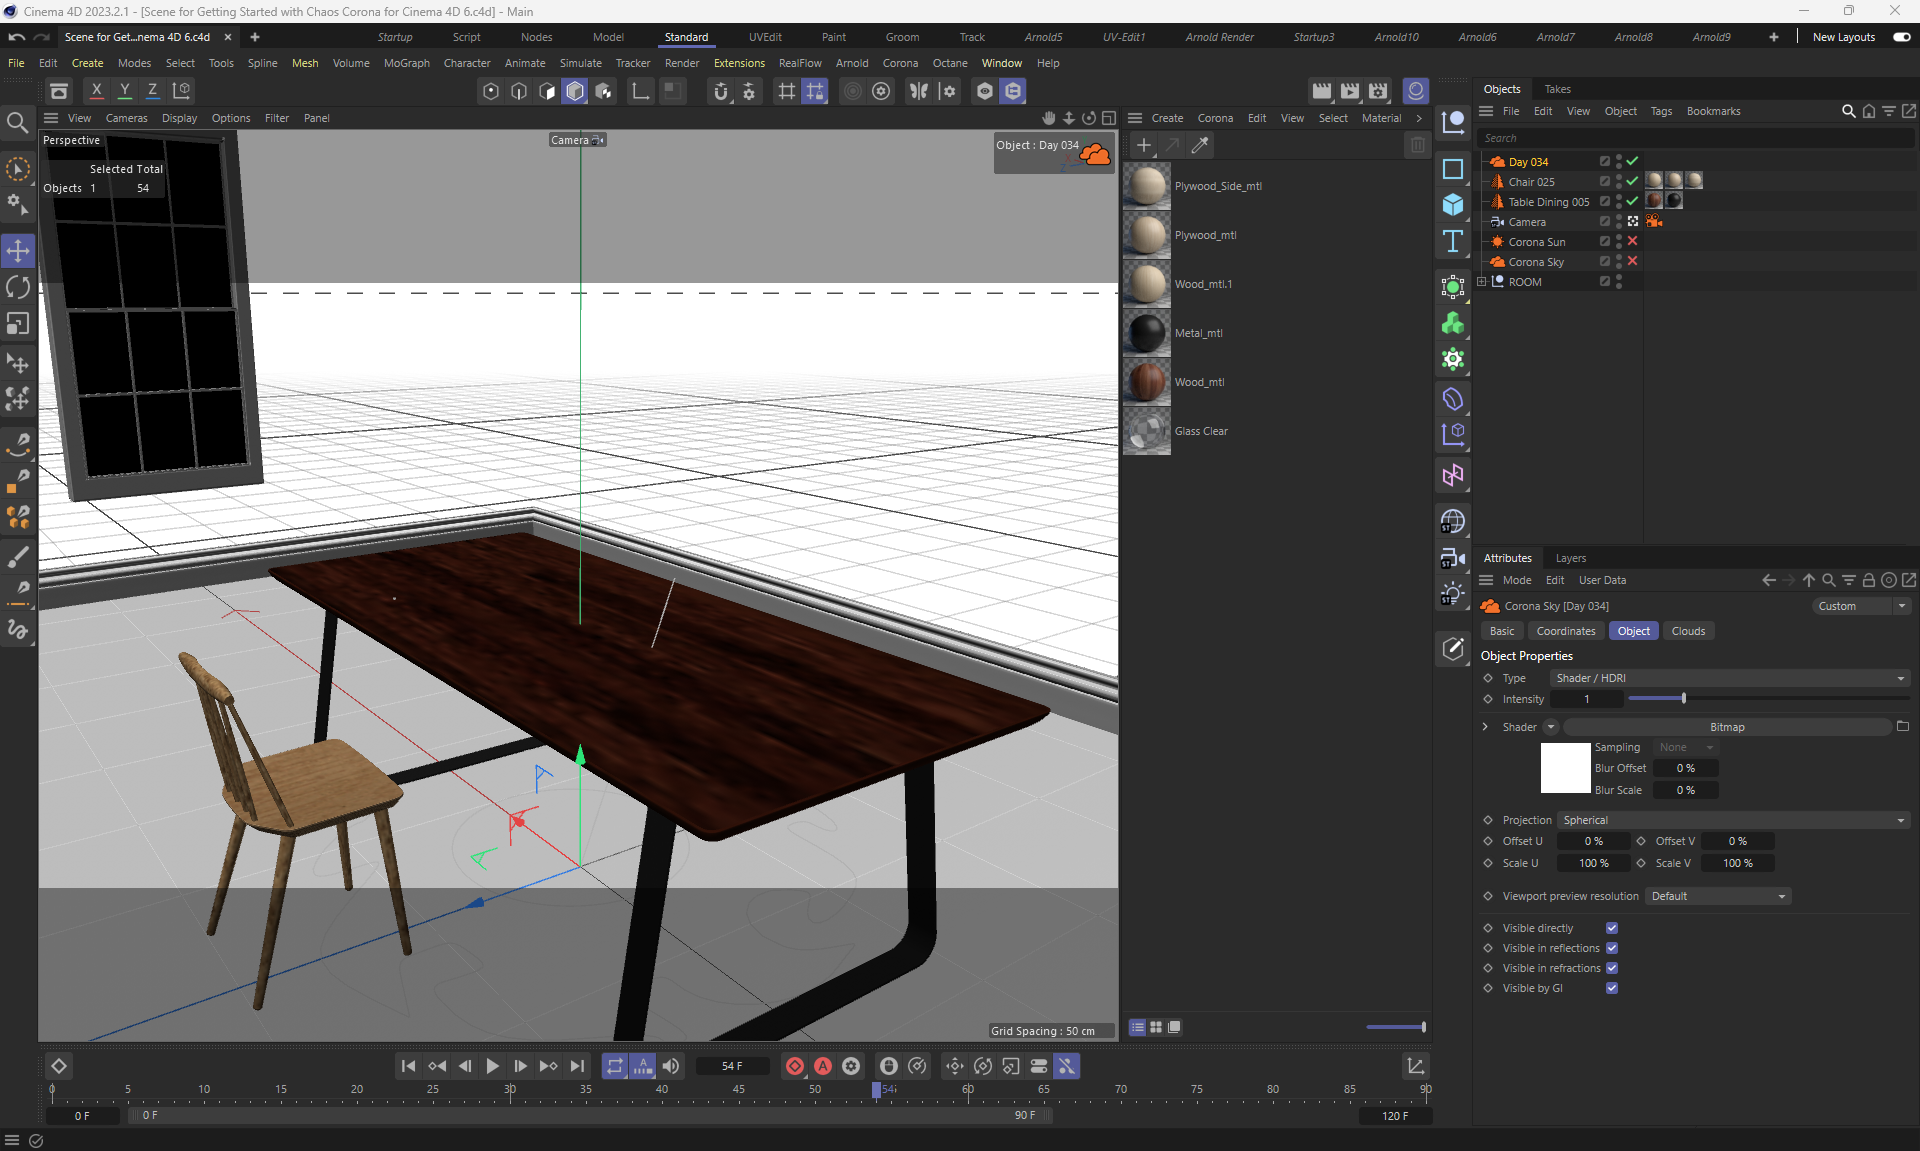
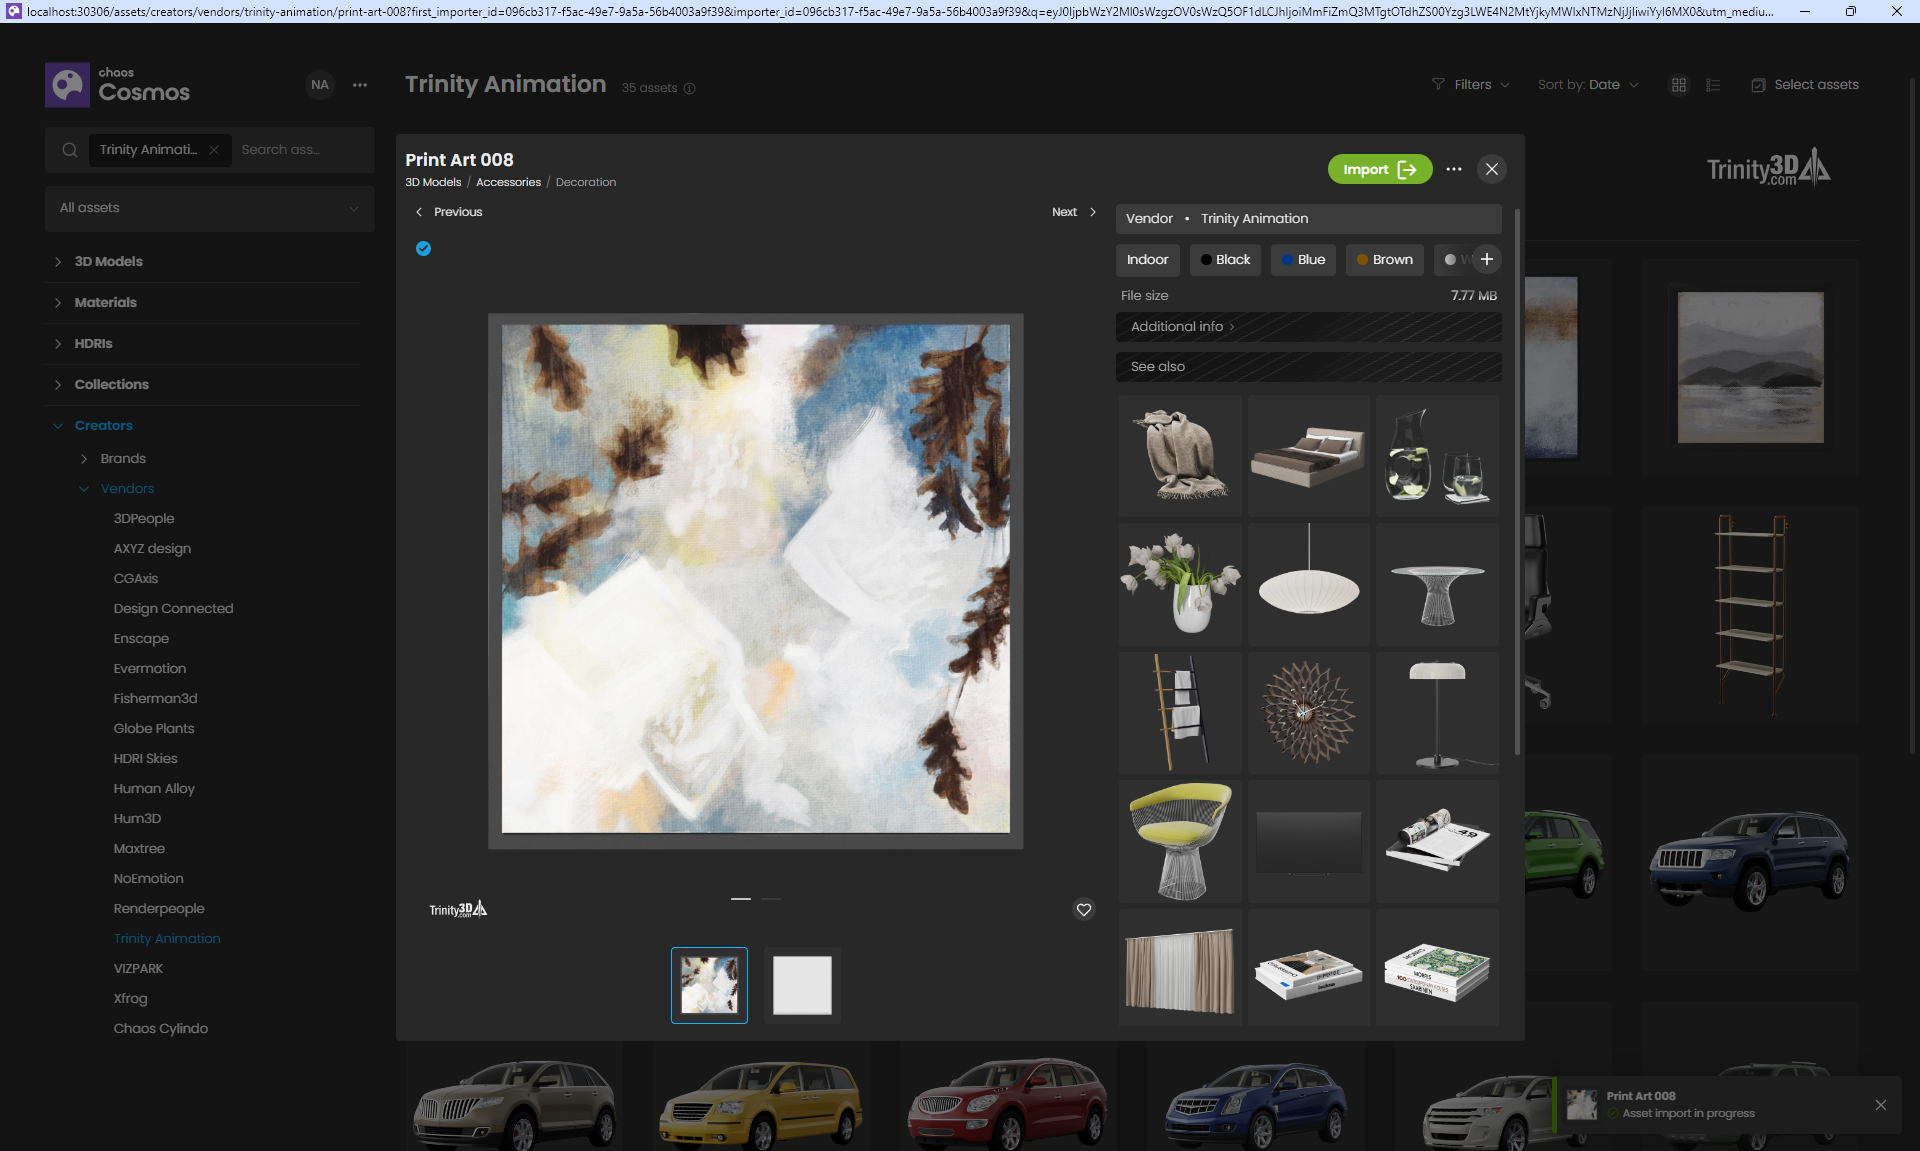
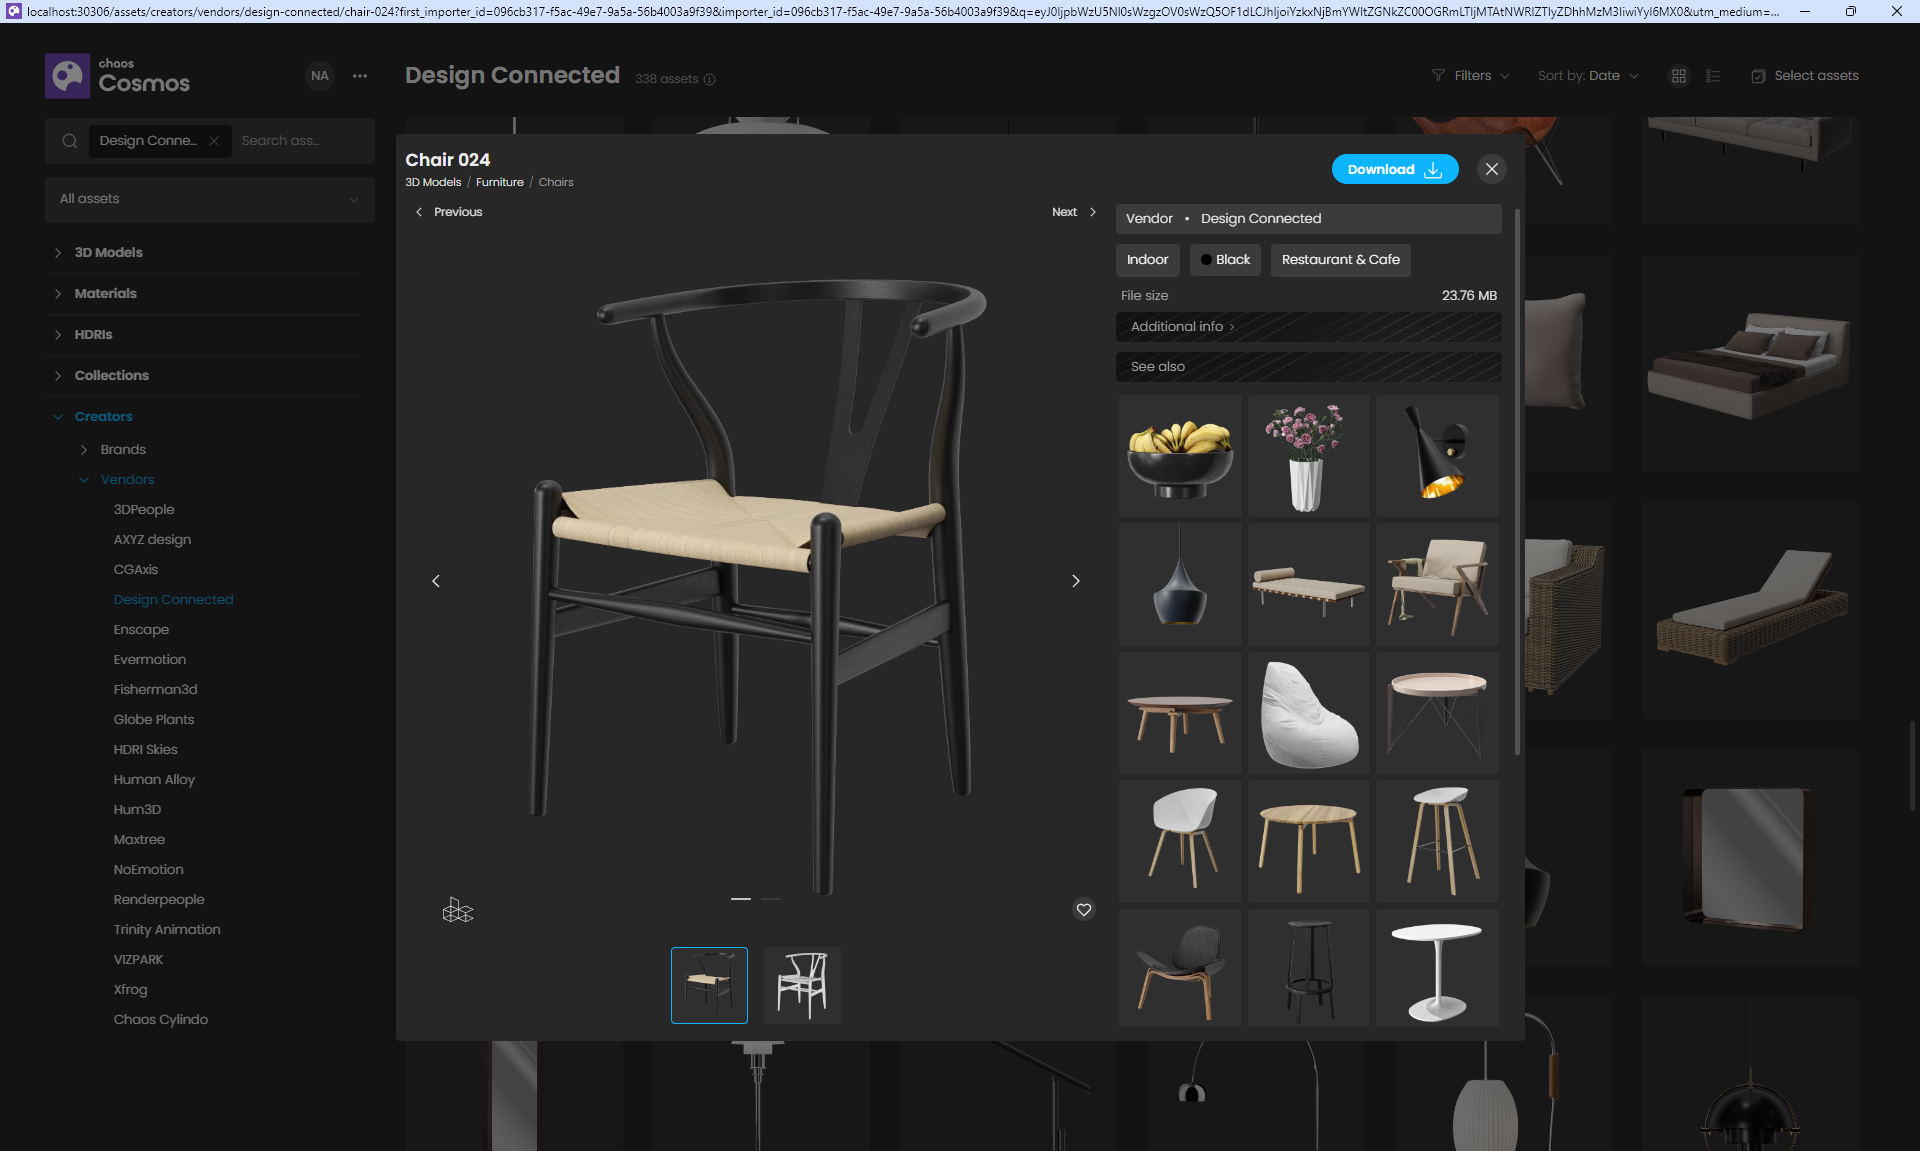
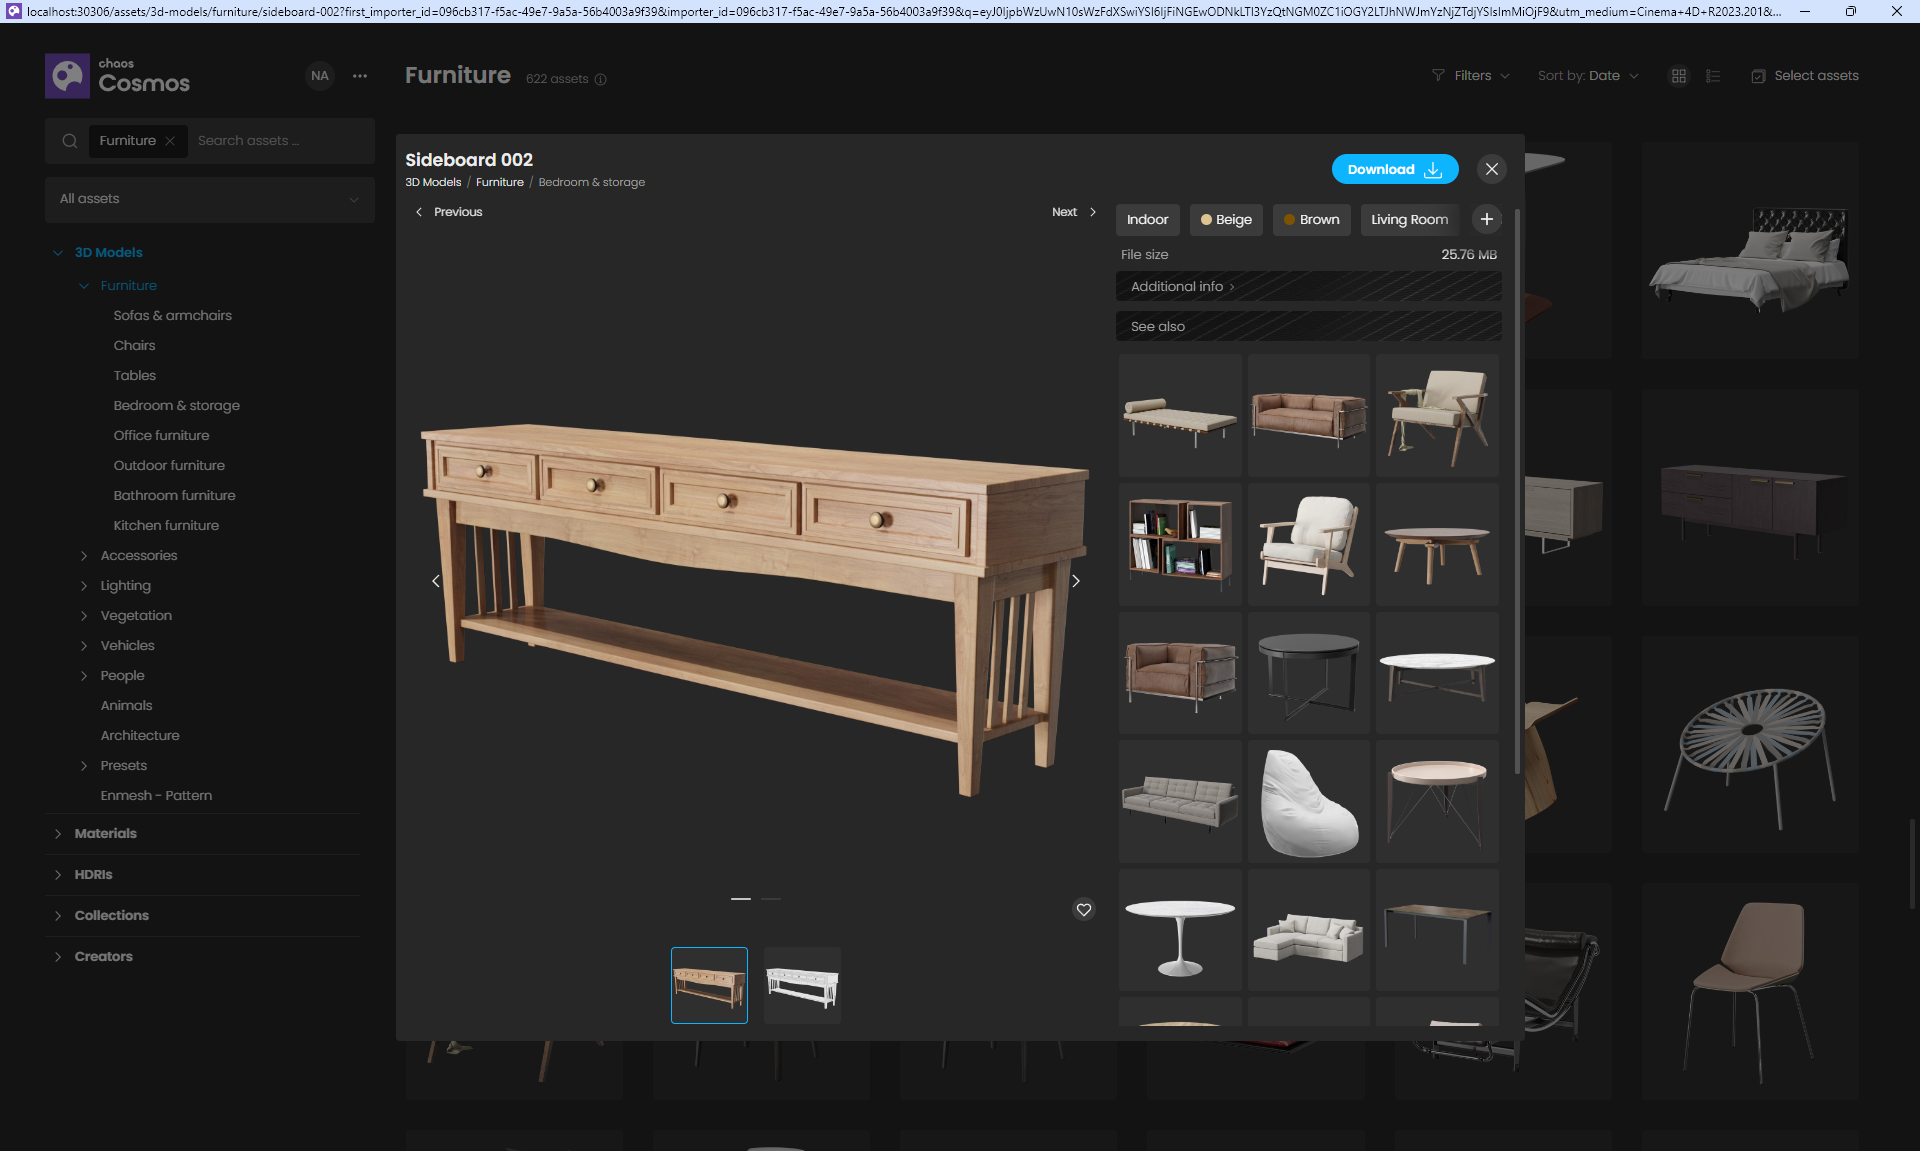
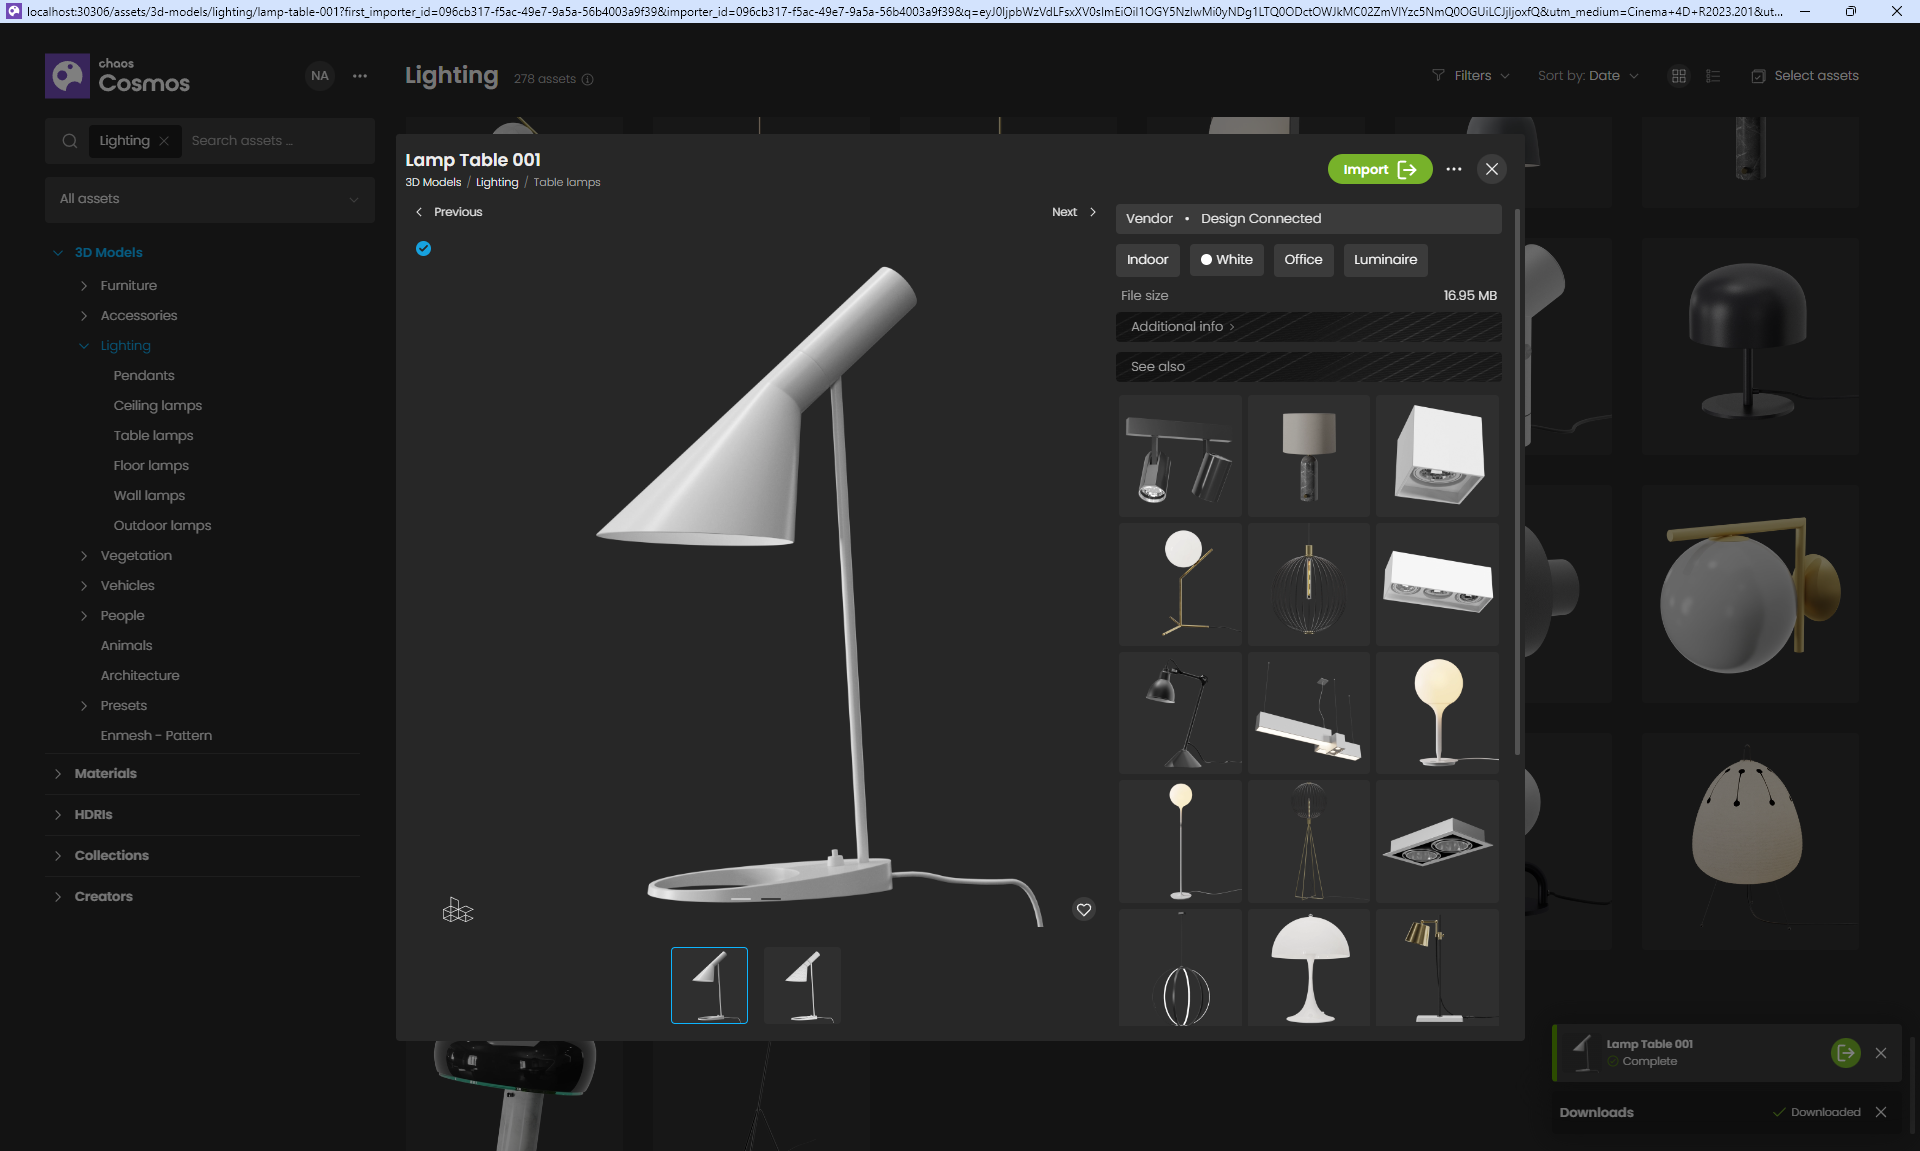
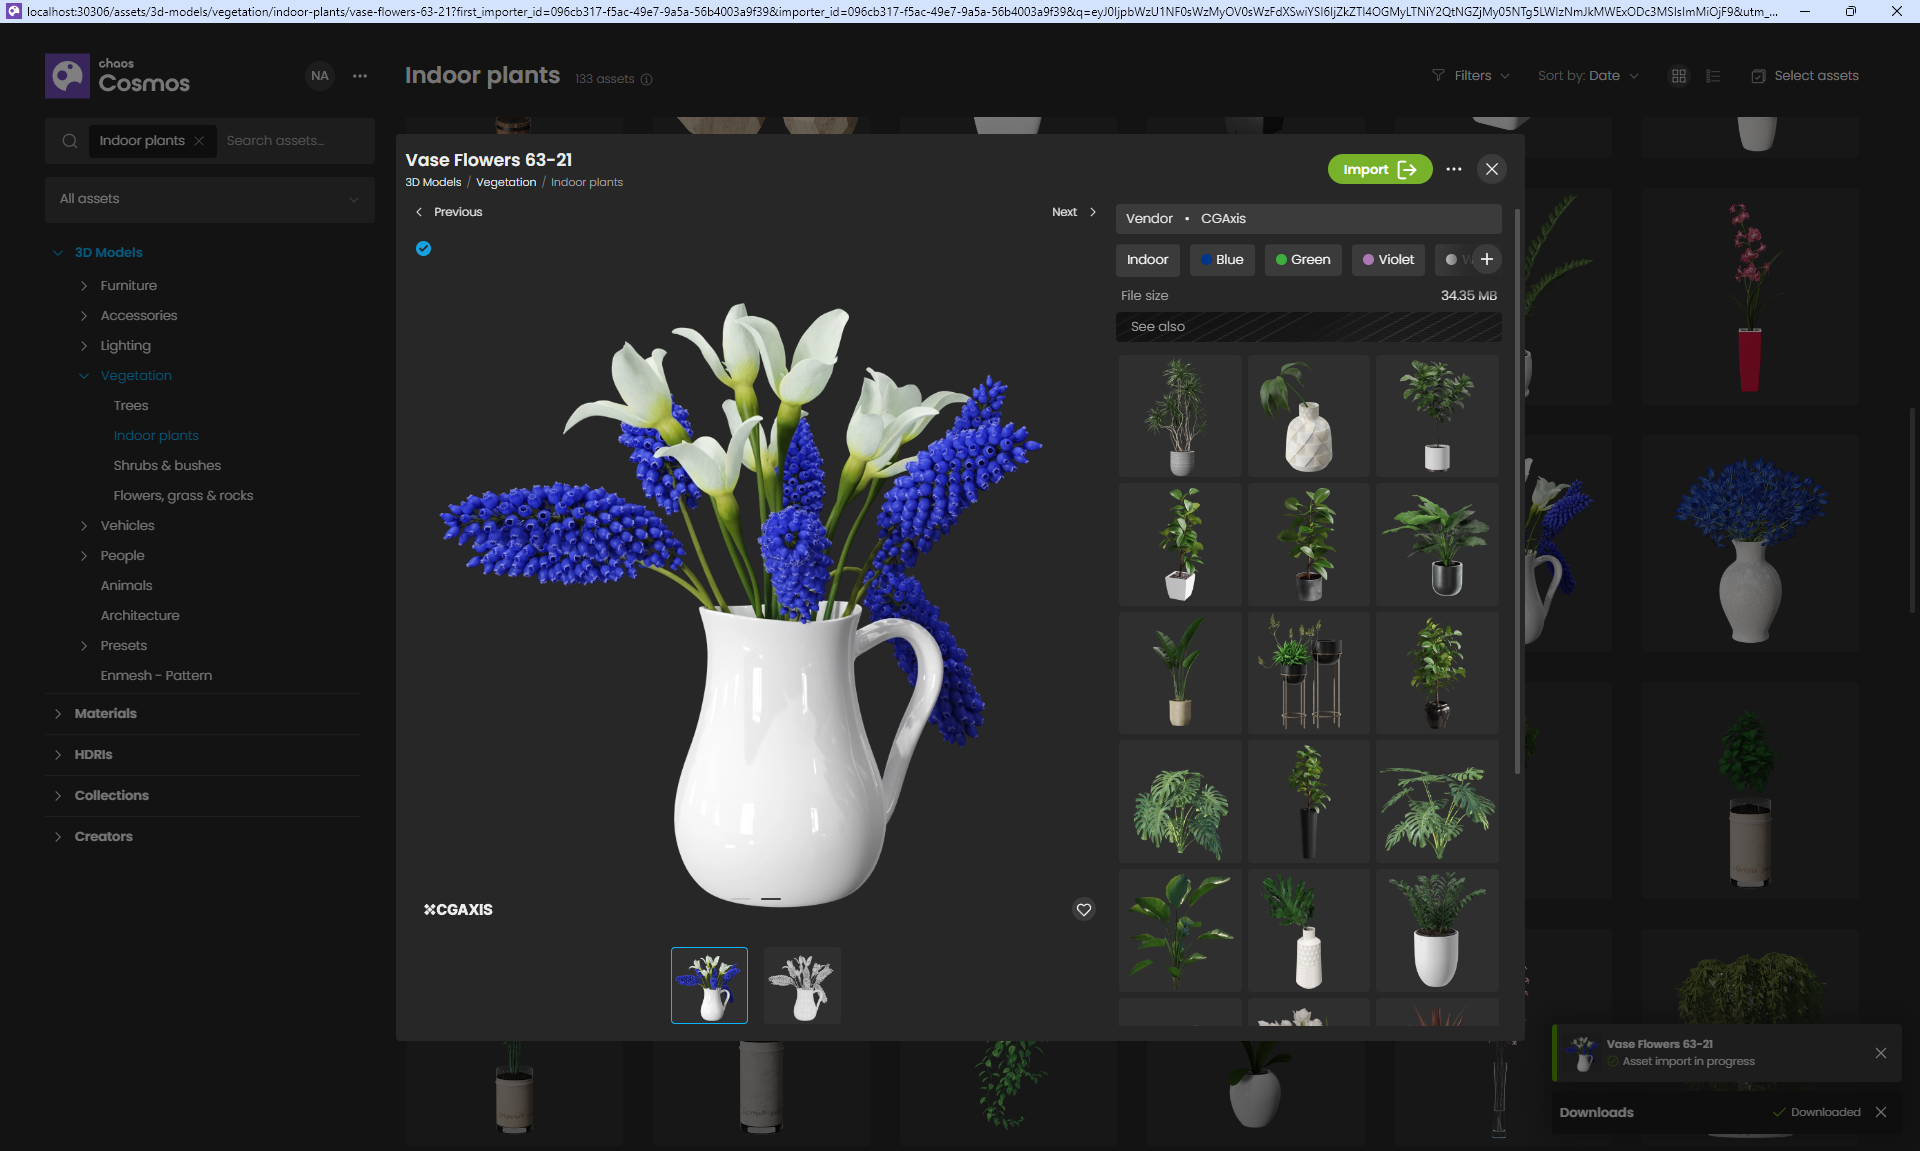
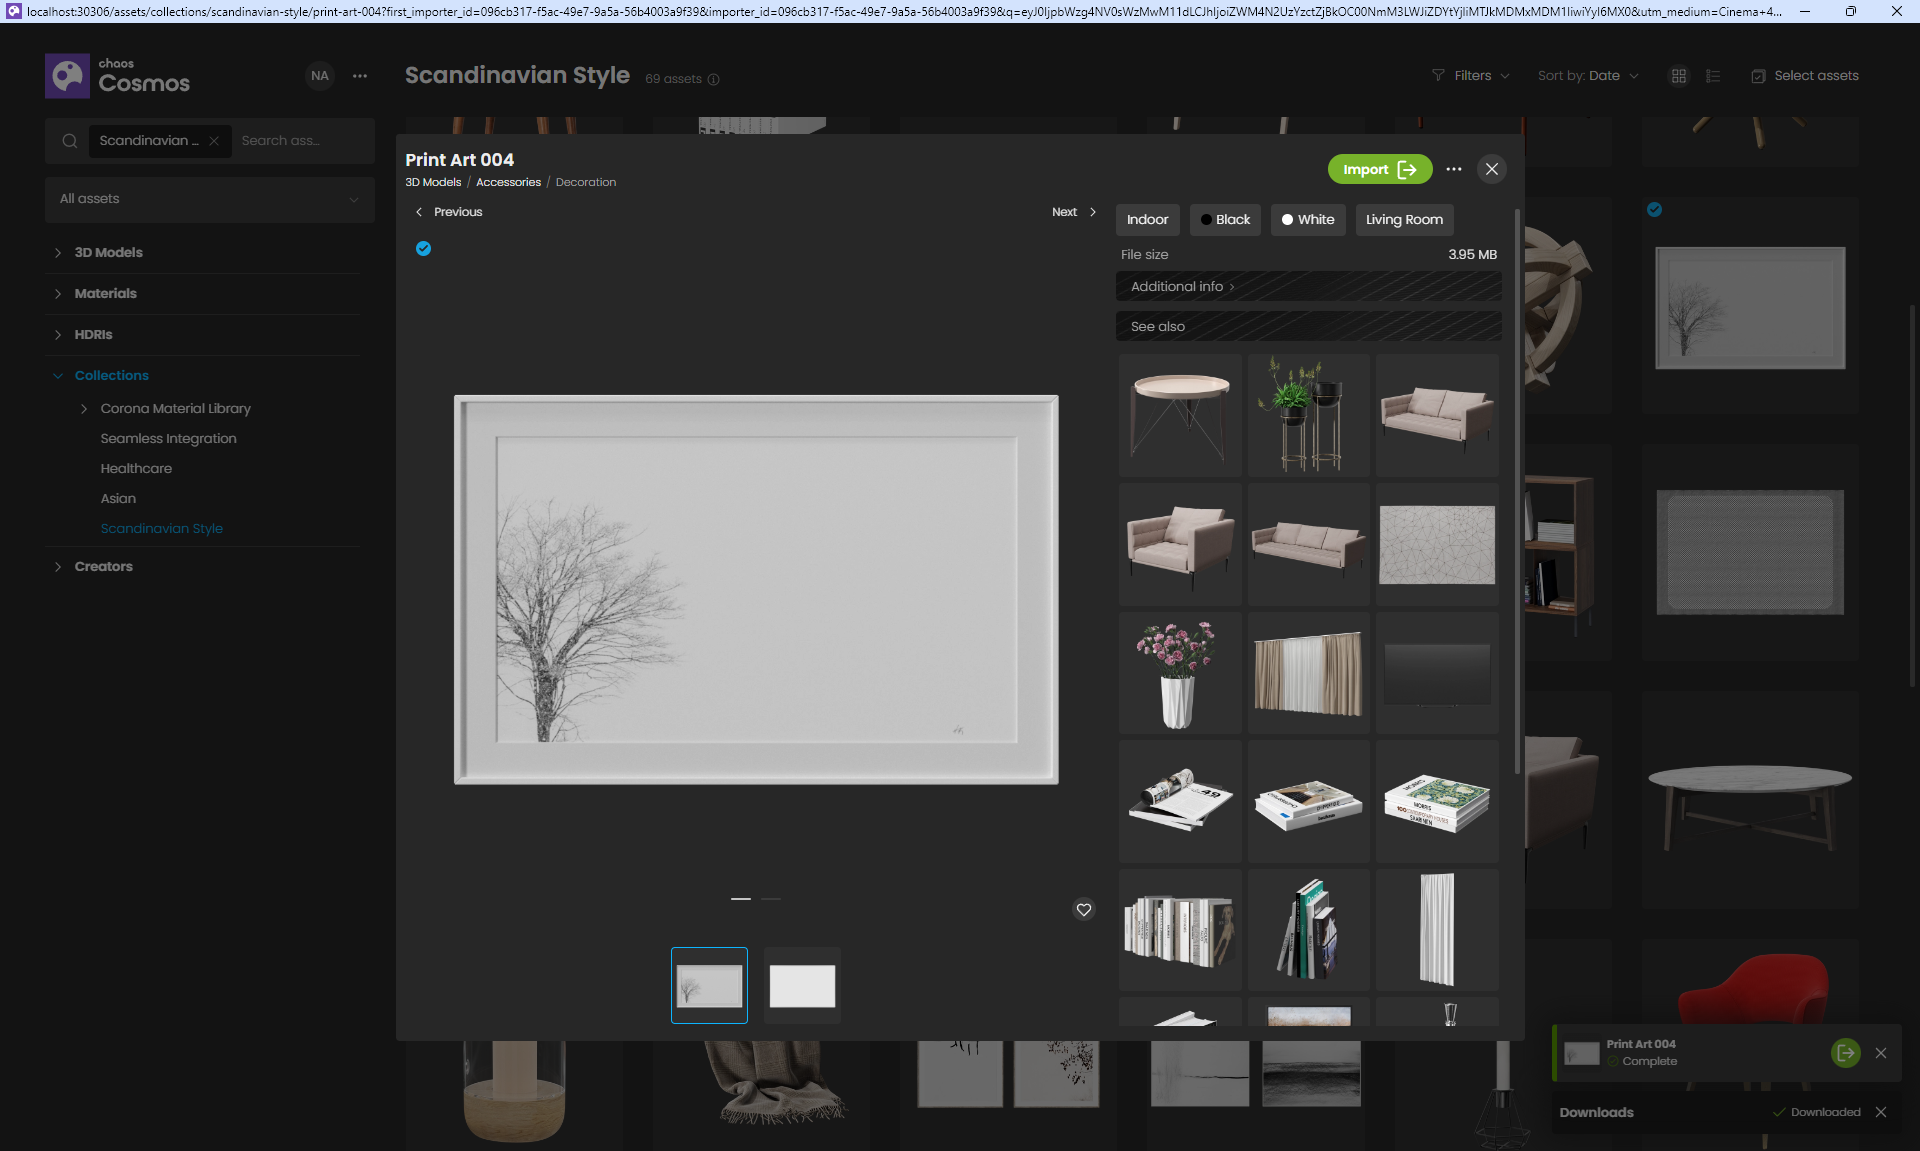
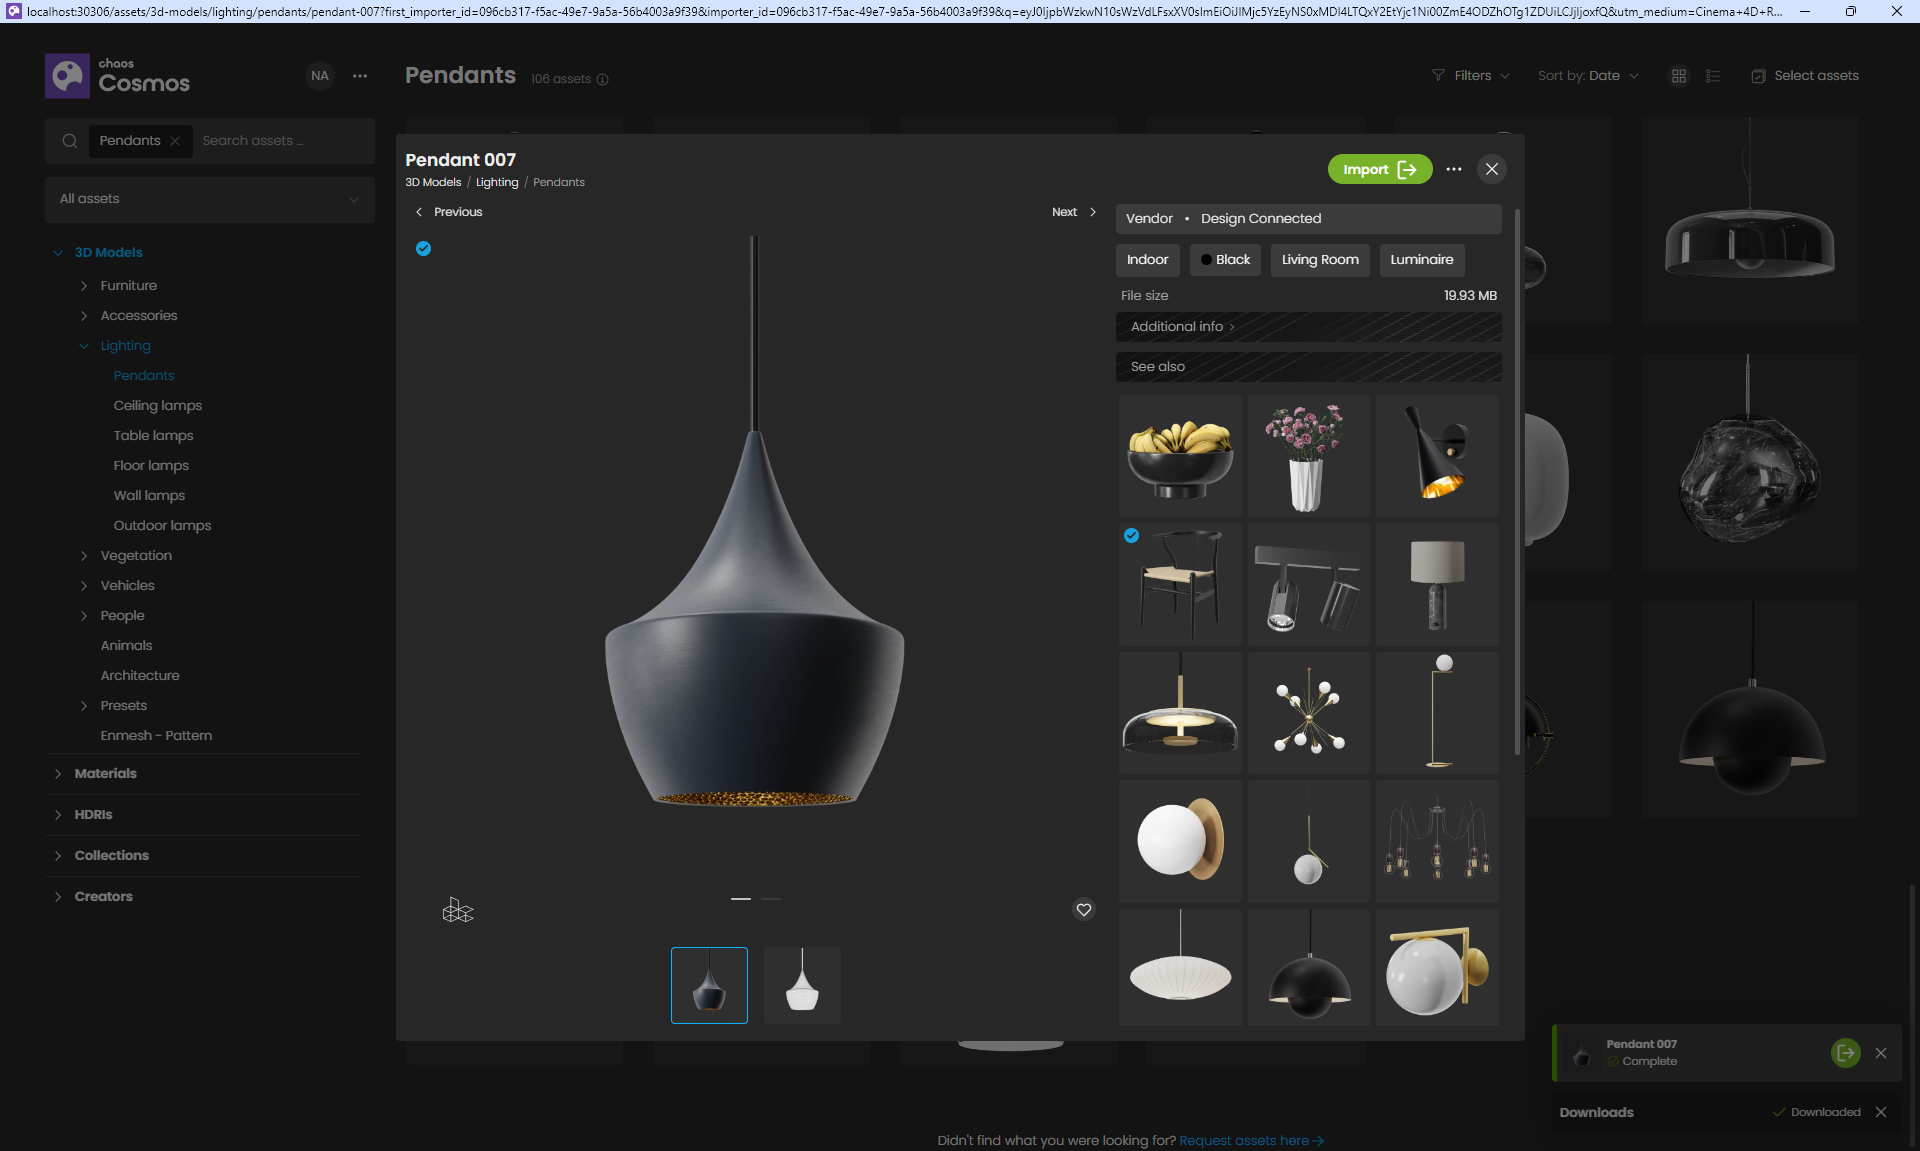
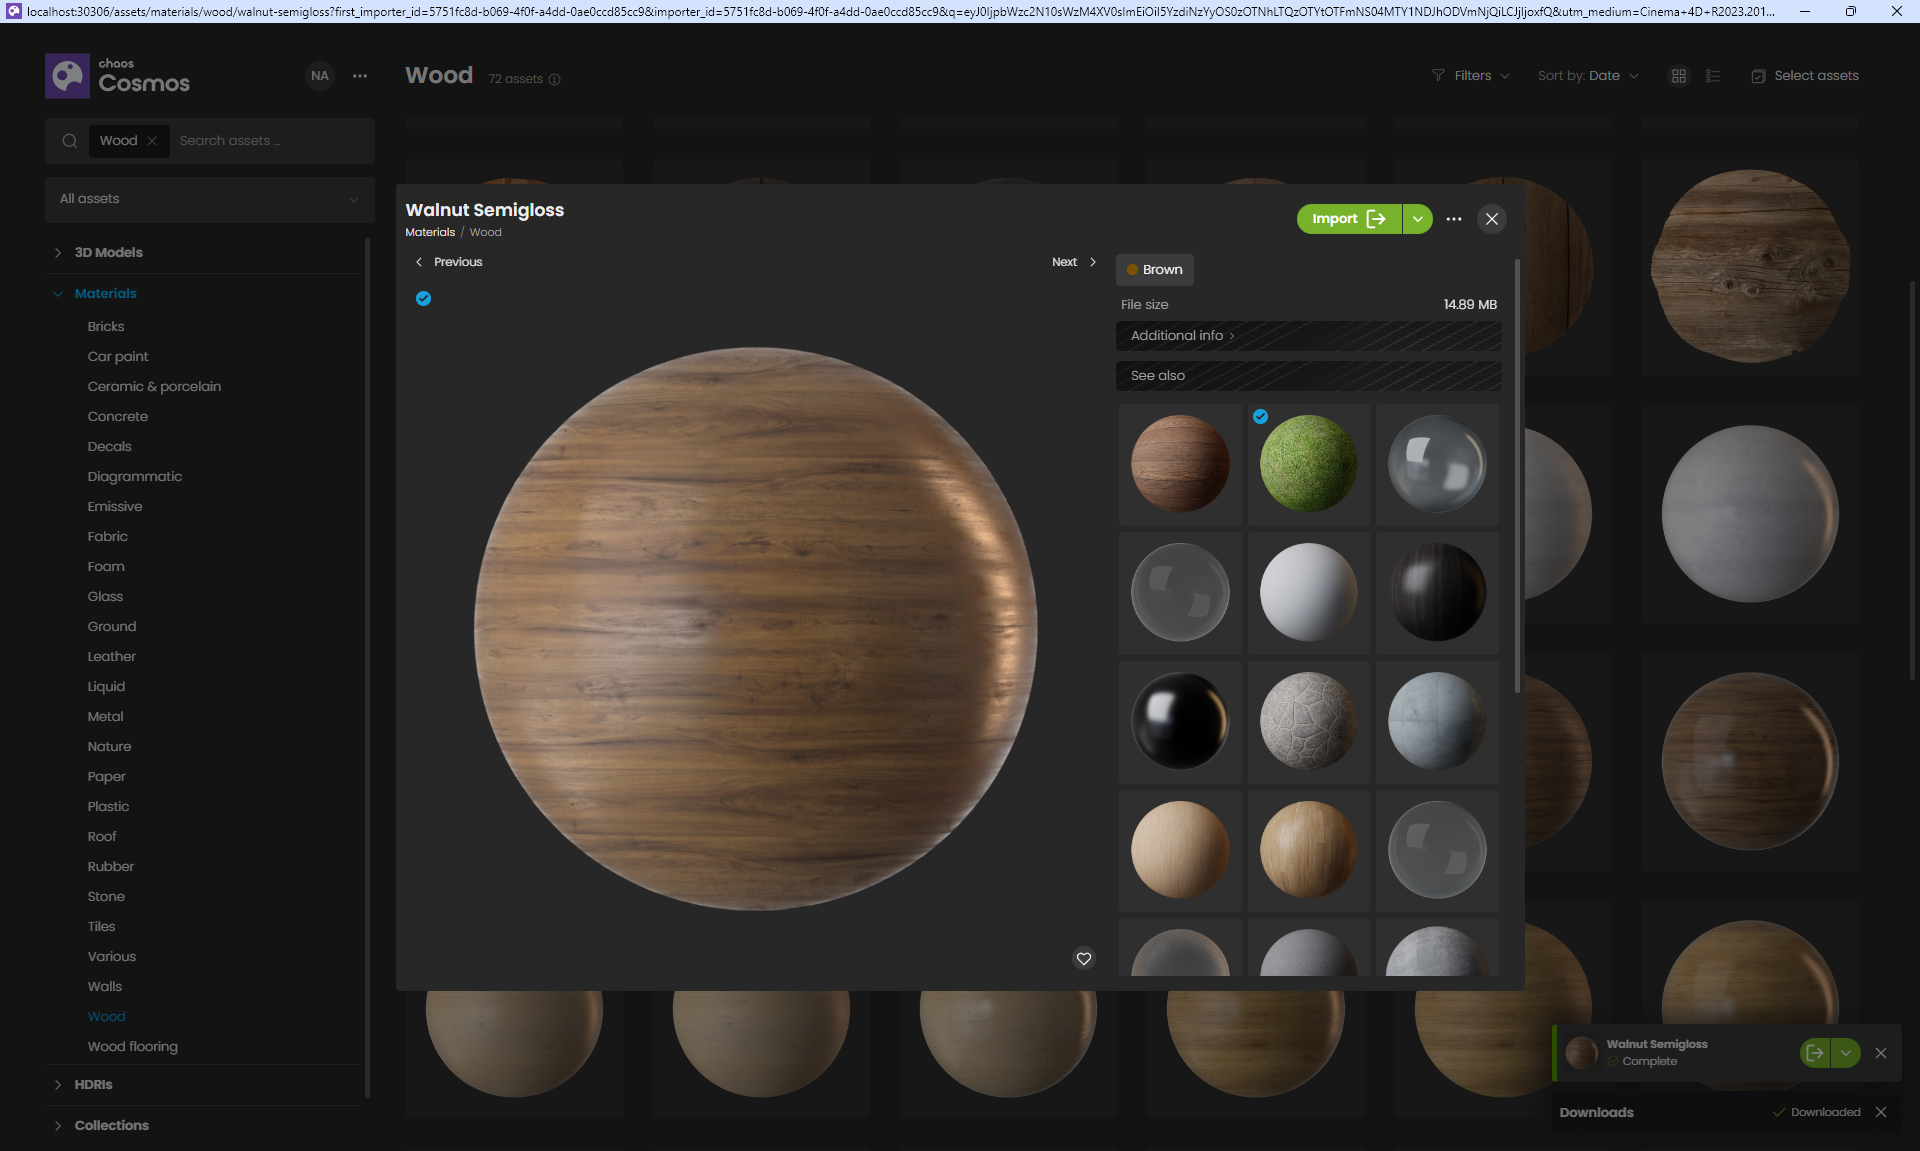
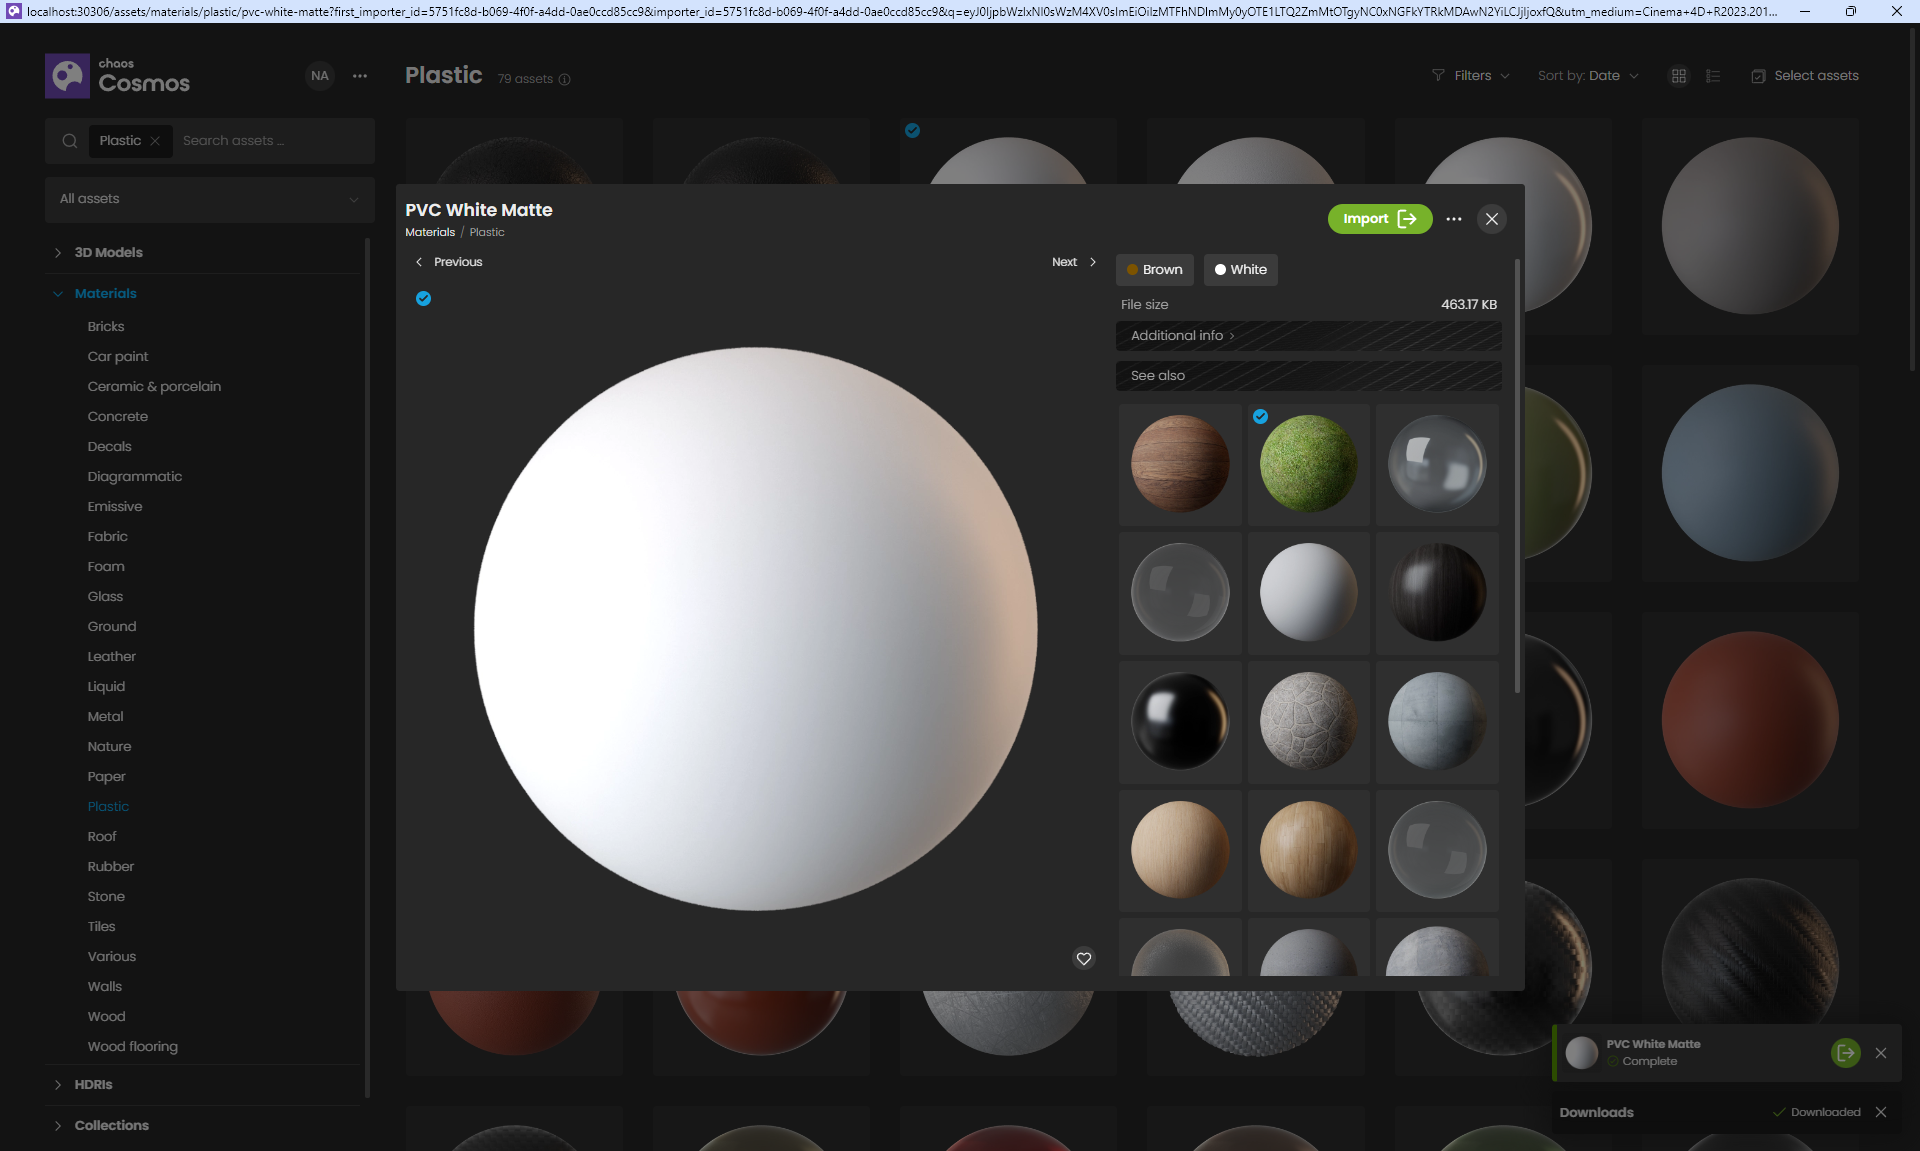
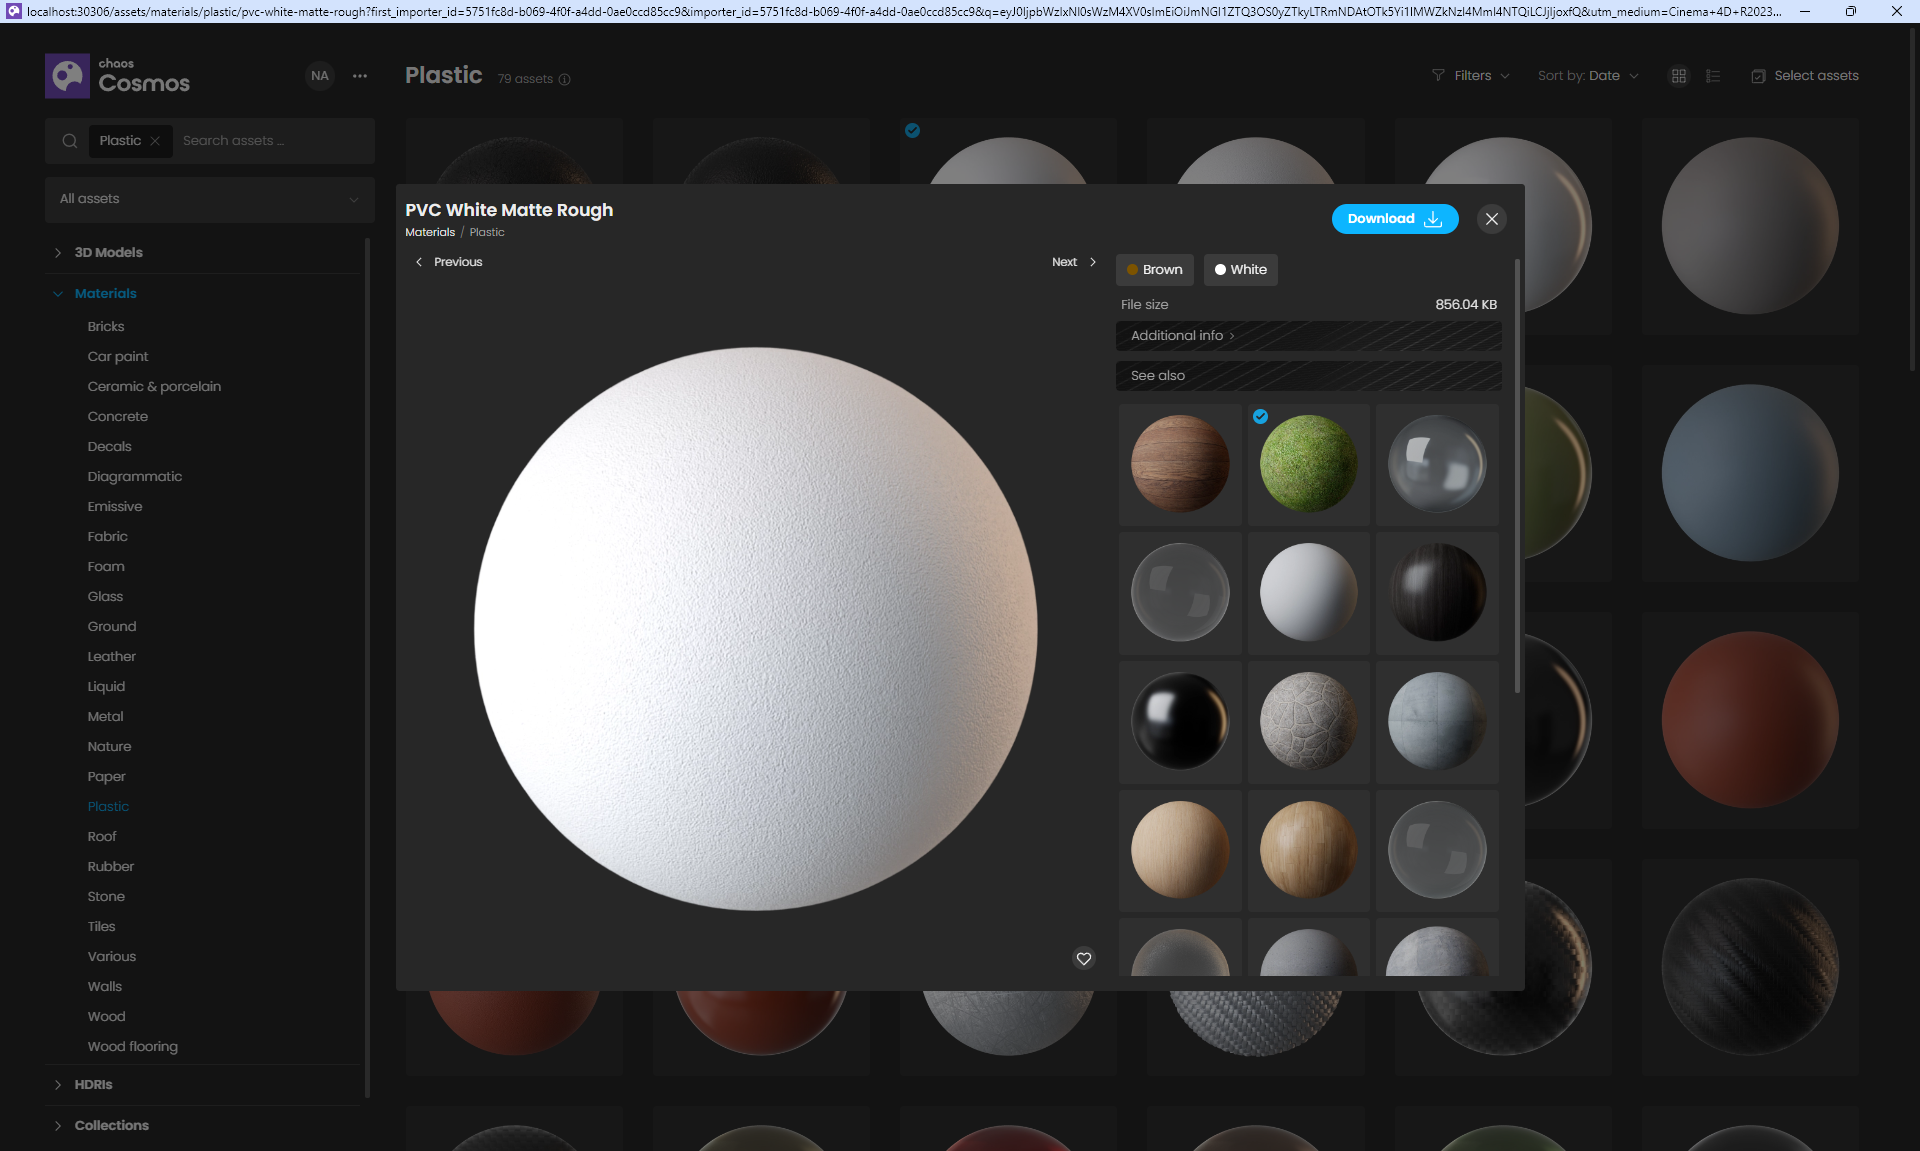
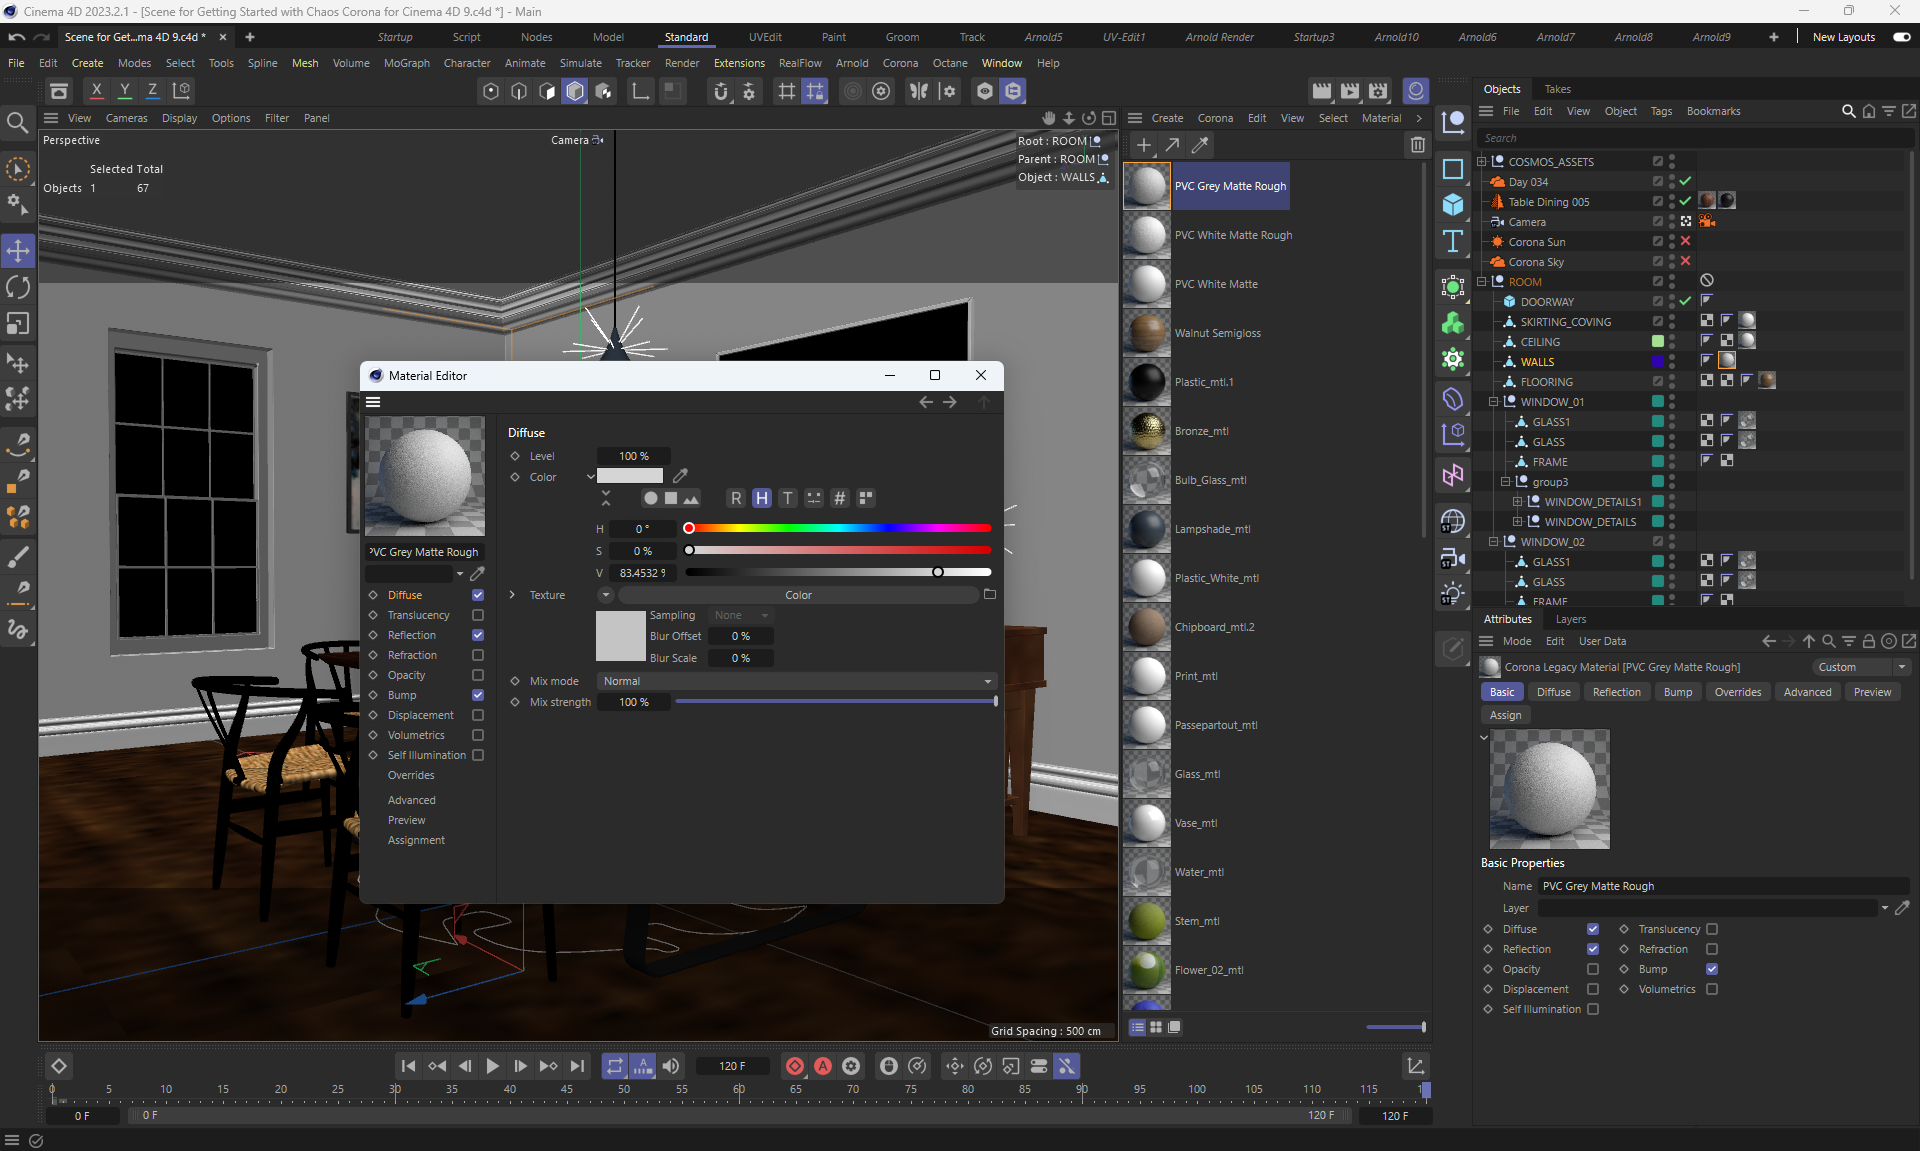
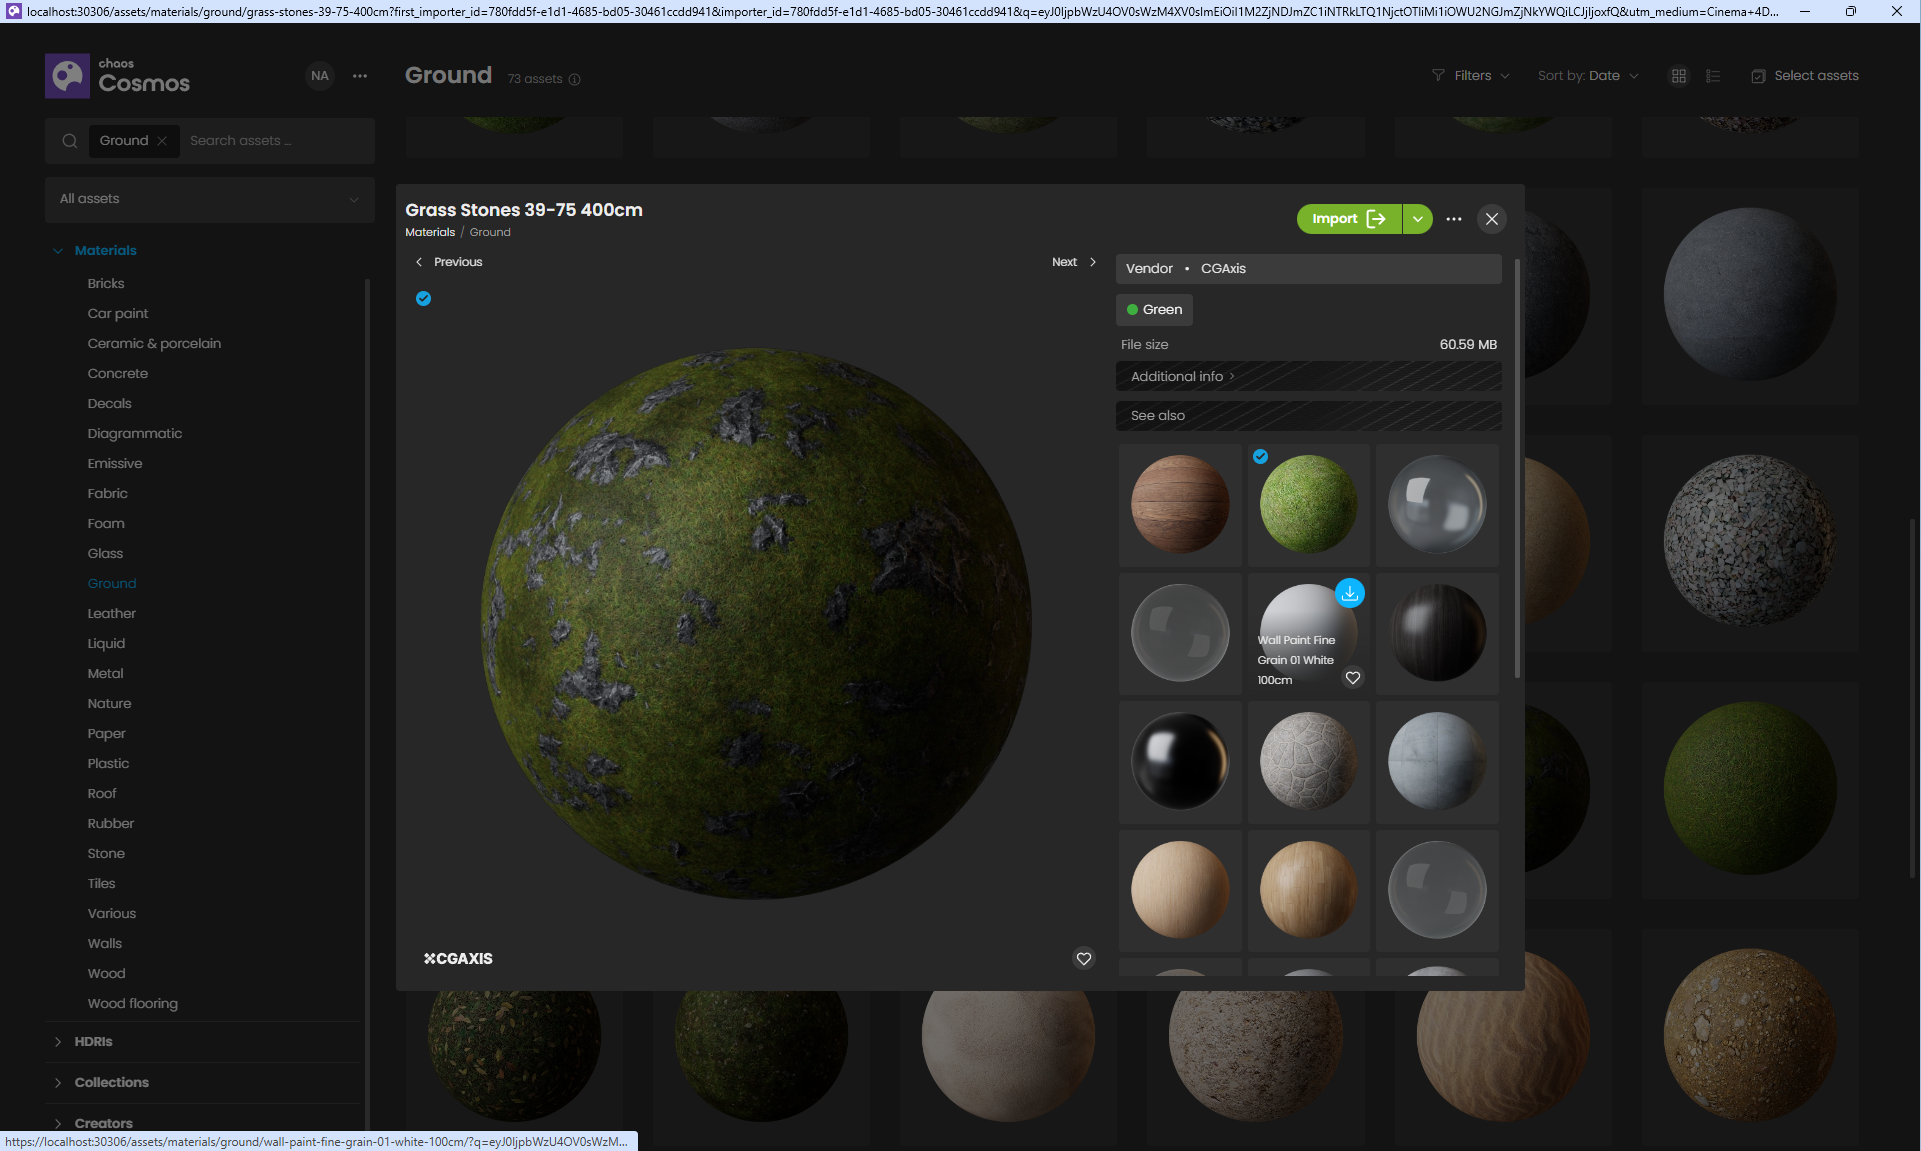
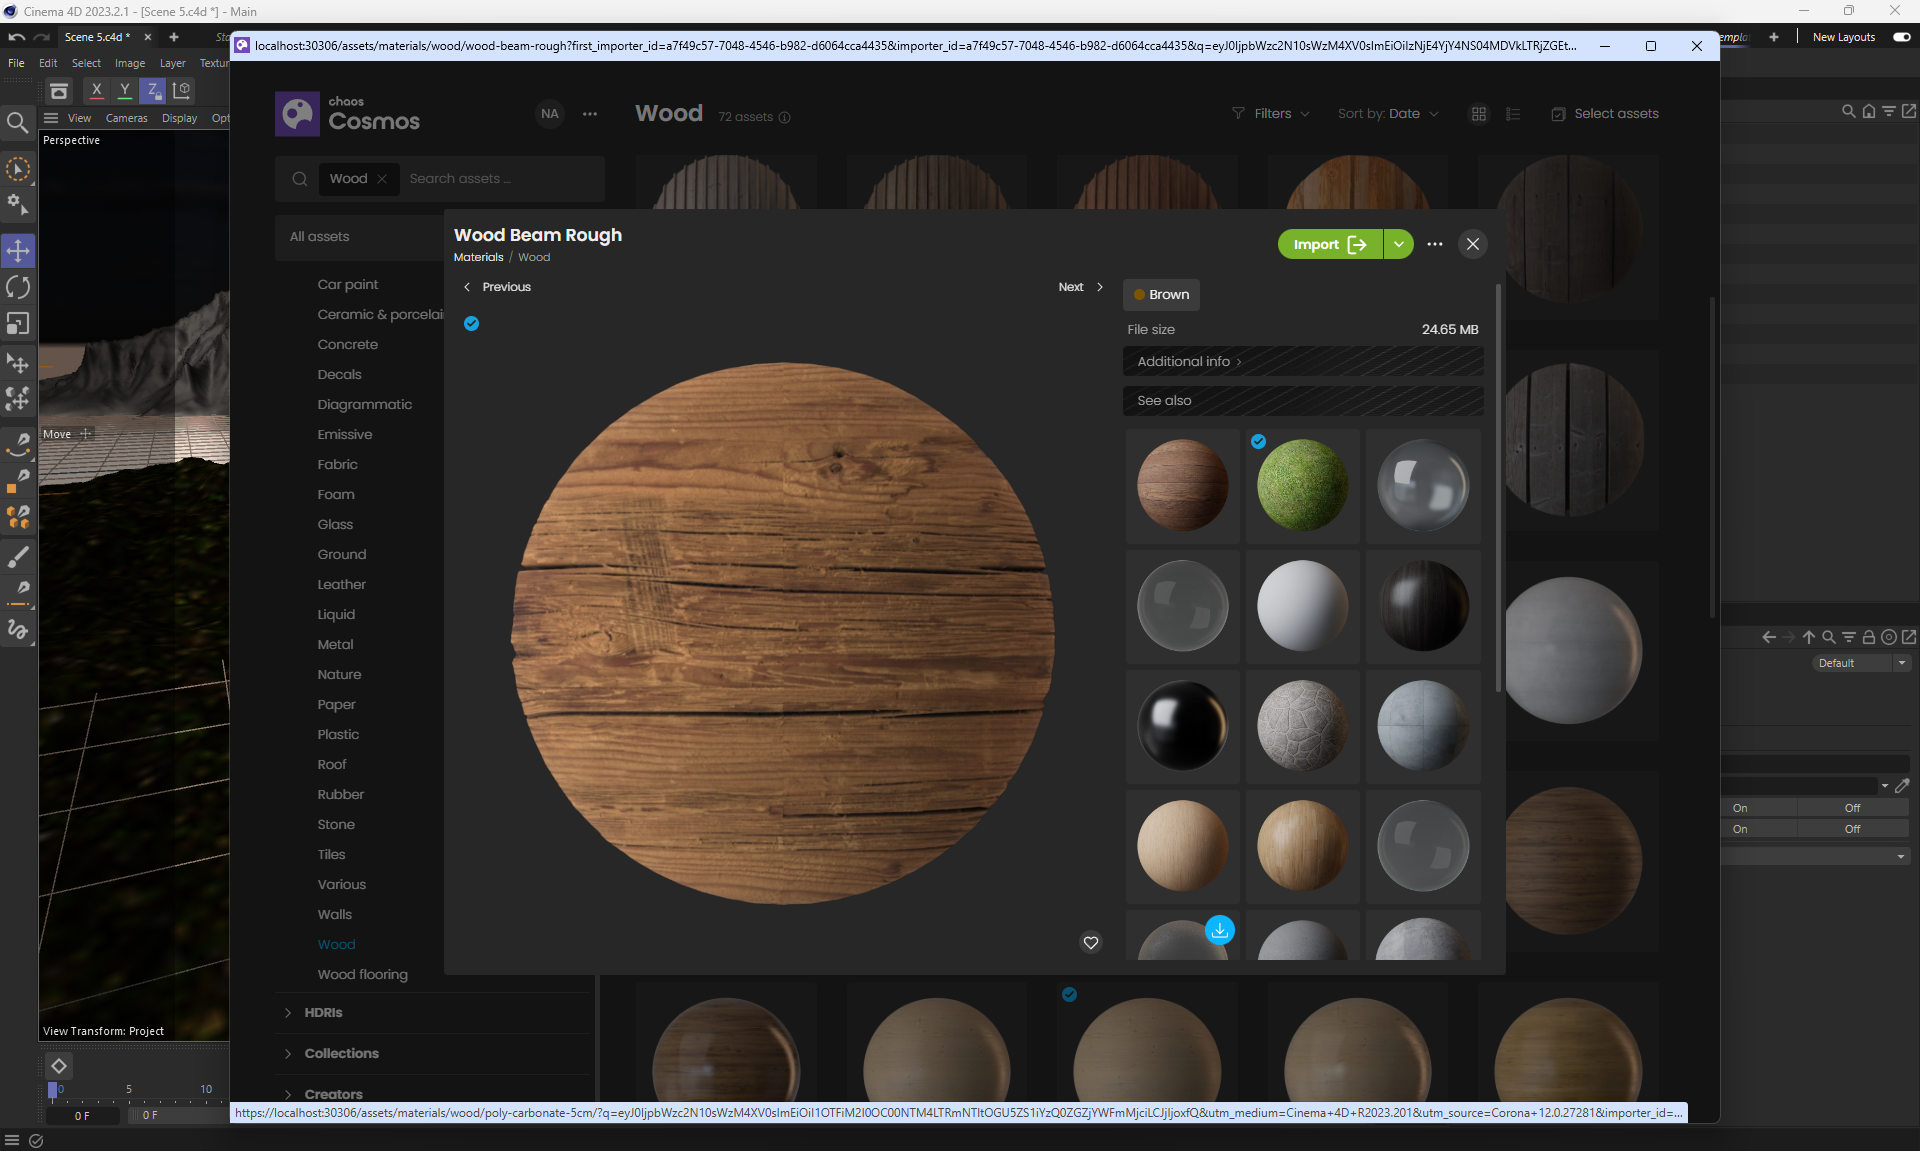
The previous IER render quickly generated an initial image of the room. Corona render has a decent library of materials, a set of 3d models, hdri maps in Chaos Cosmos as well as V-Ray.
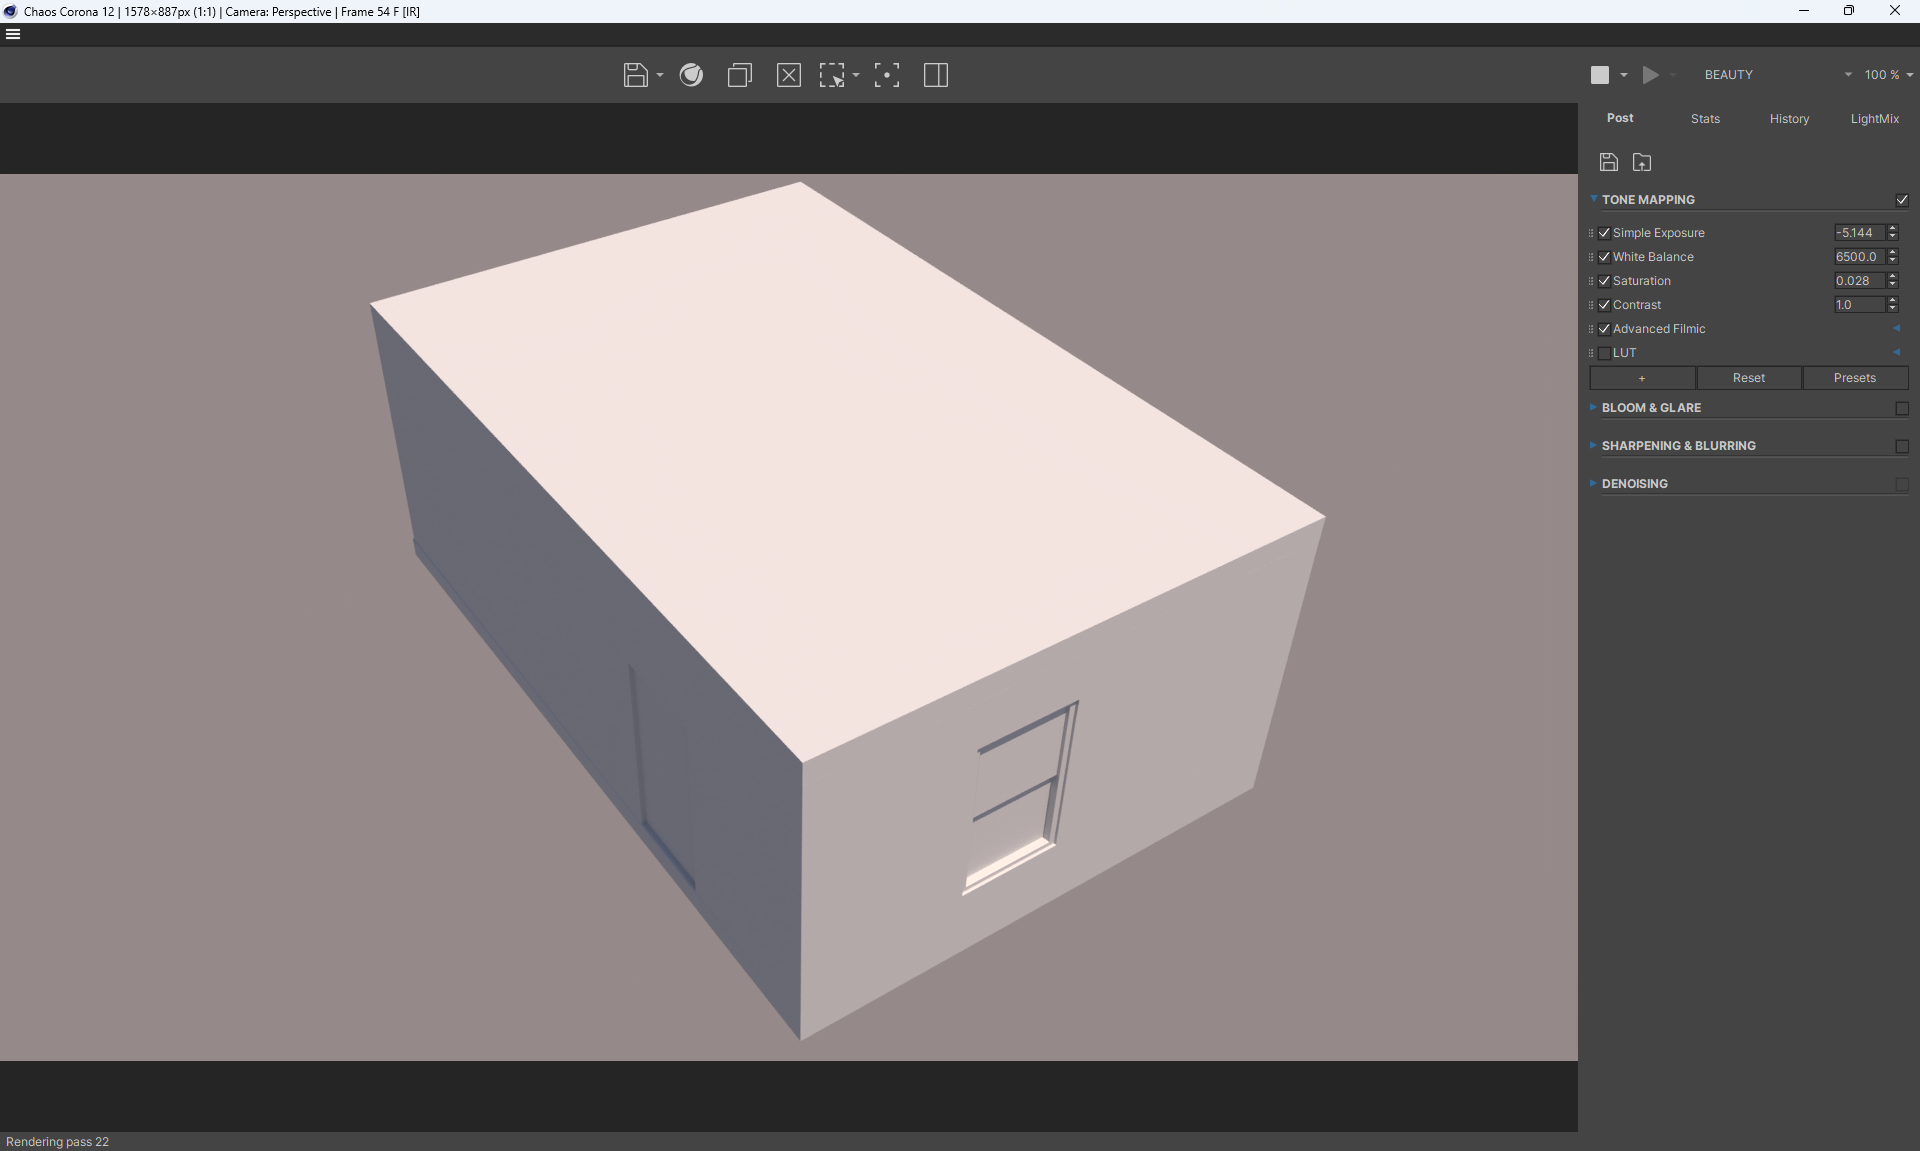
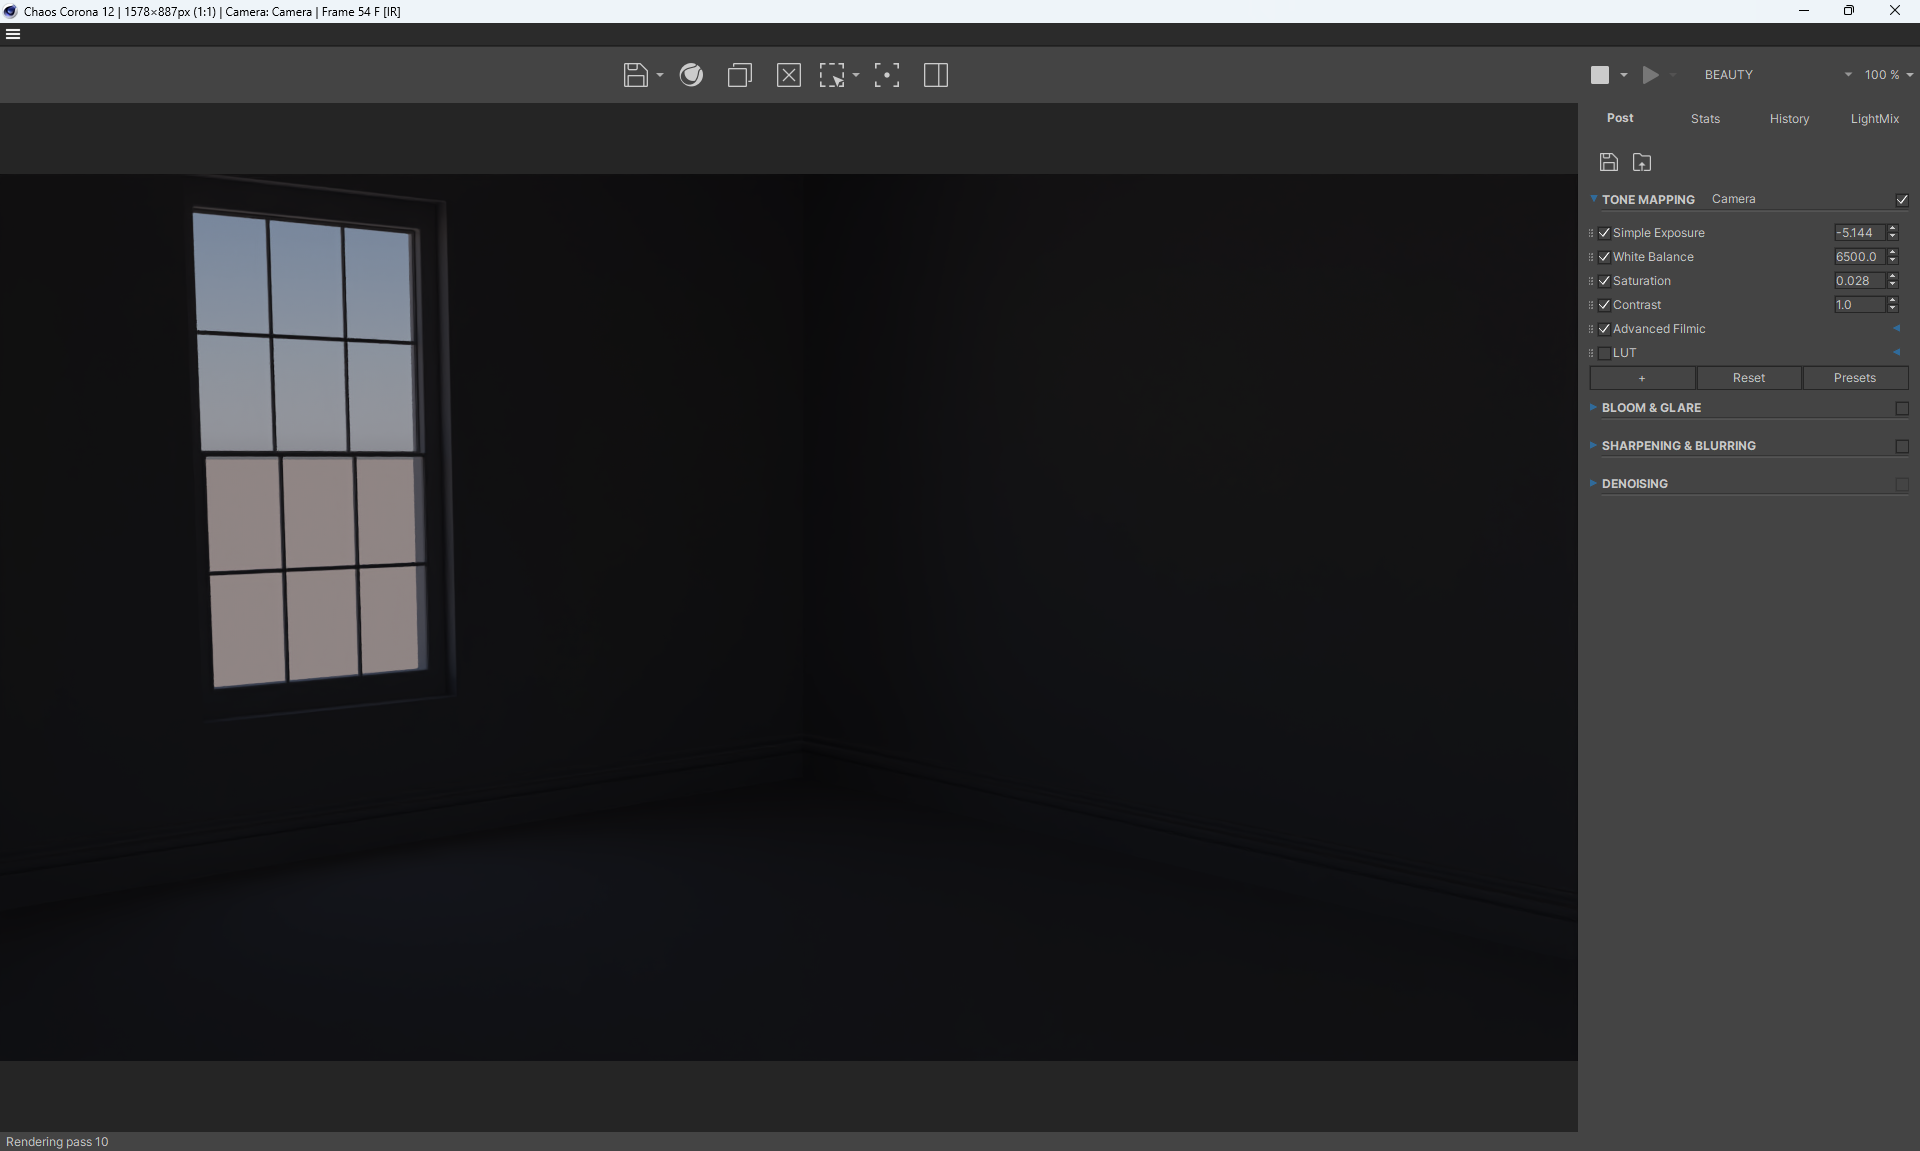
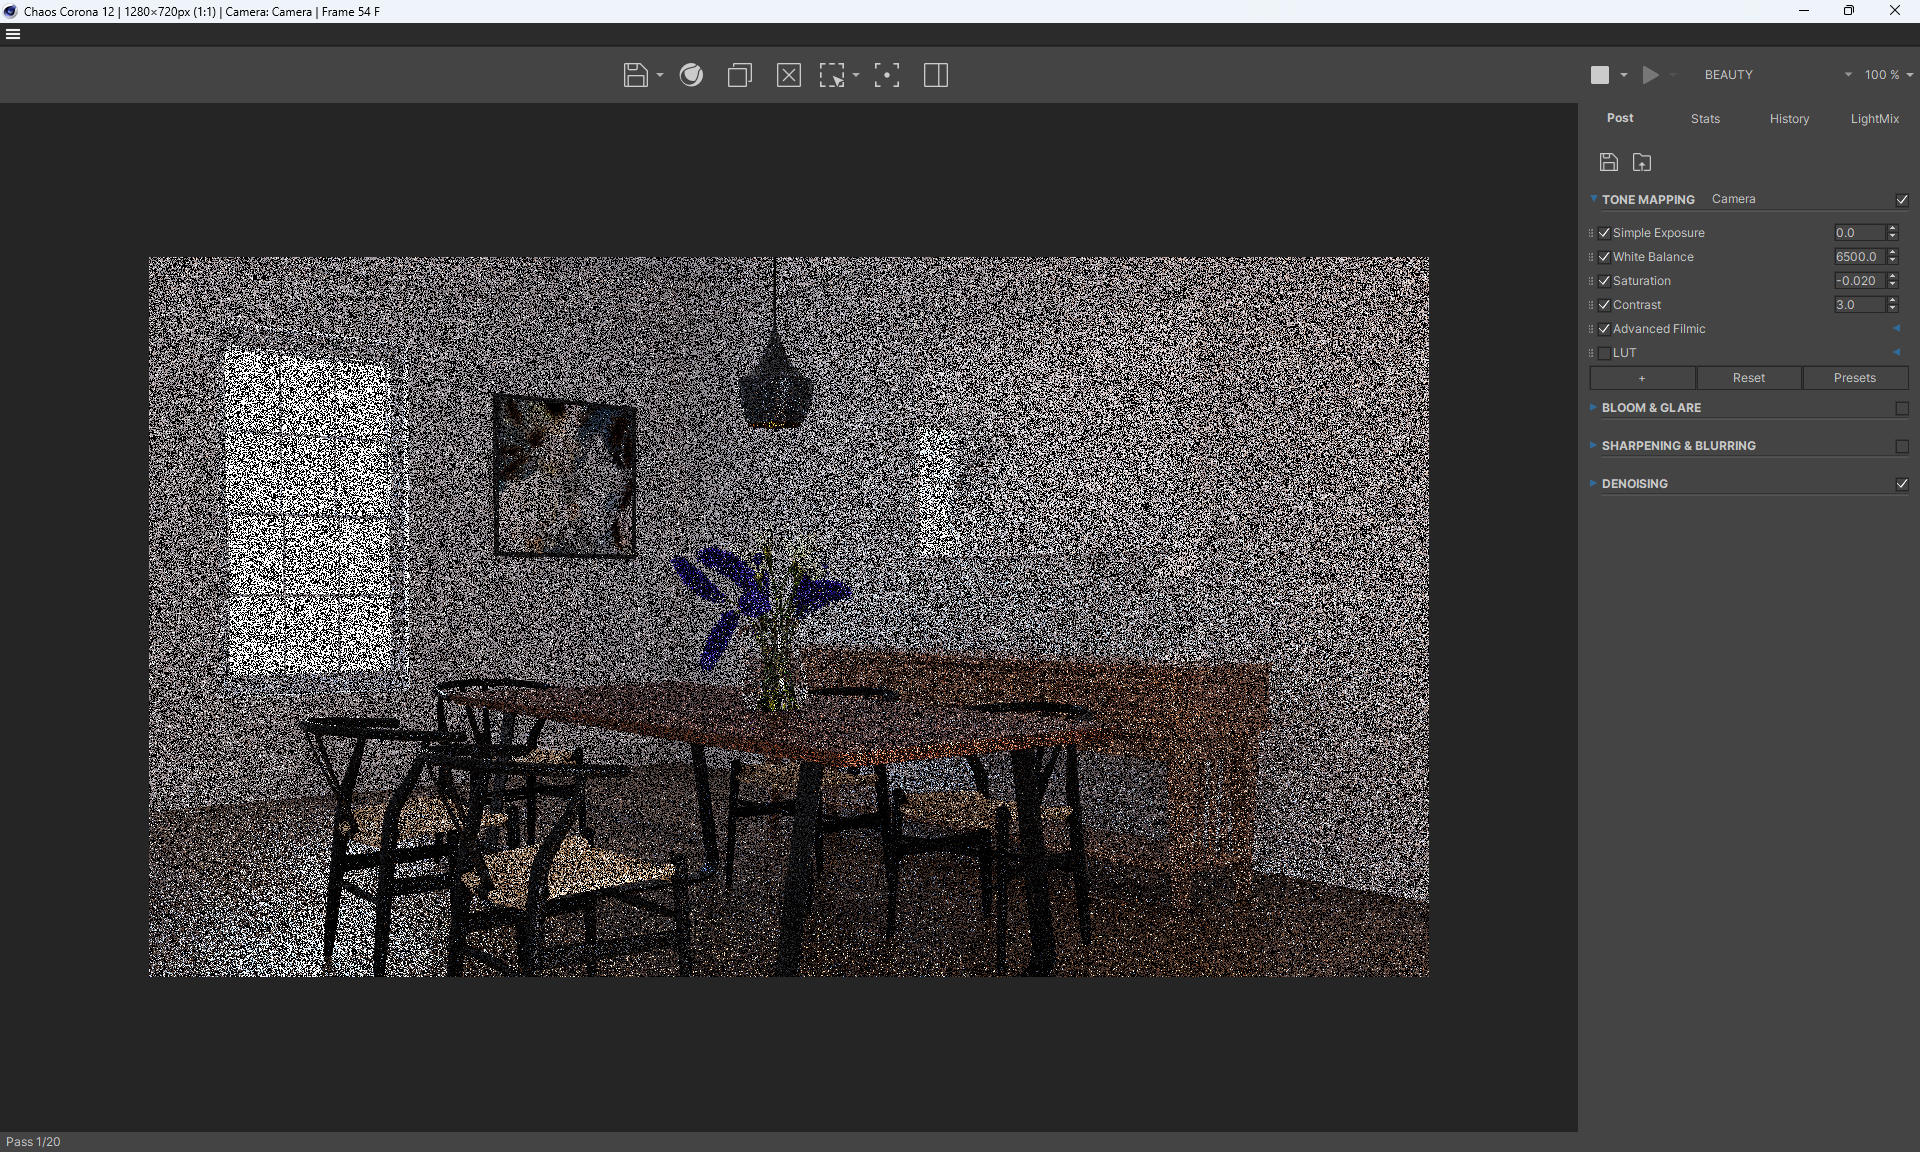
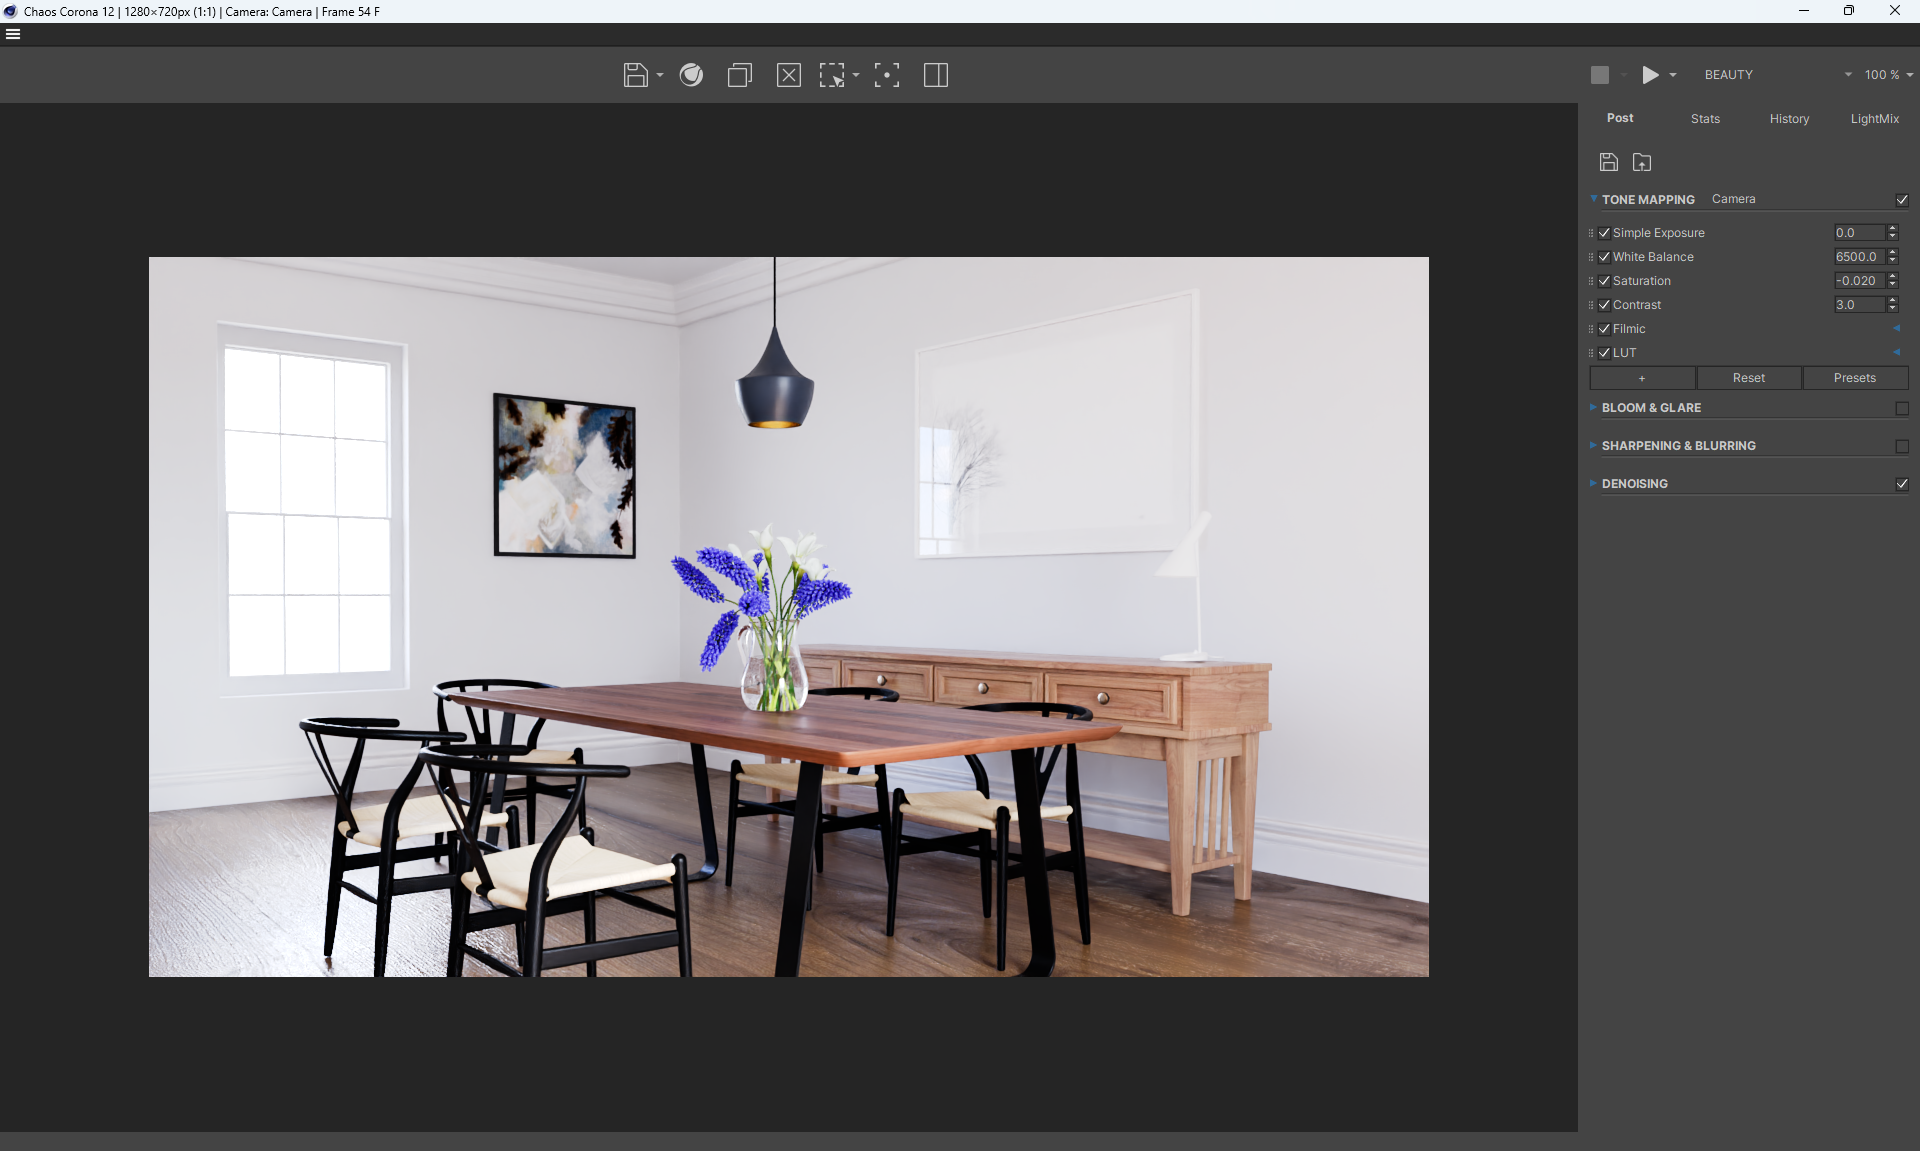
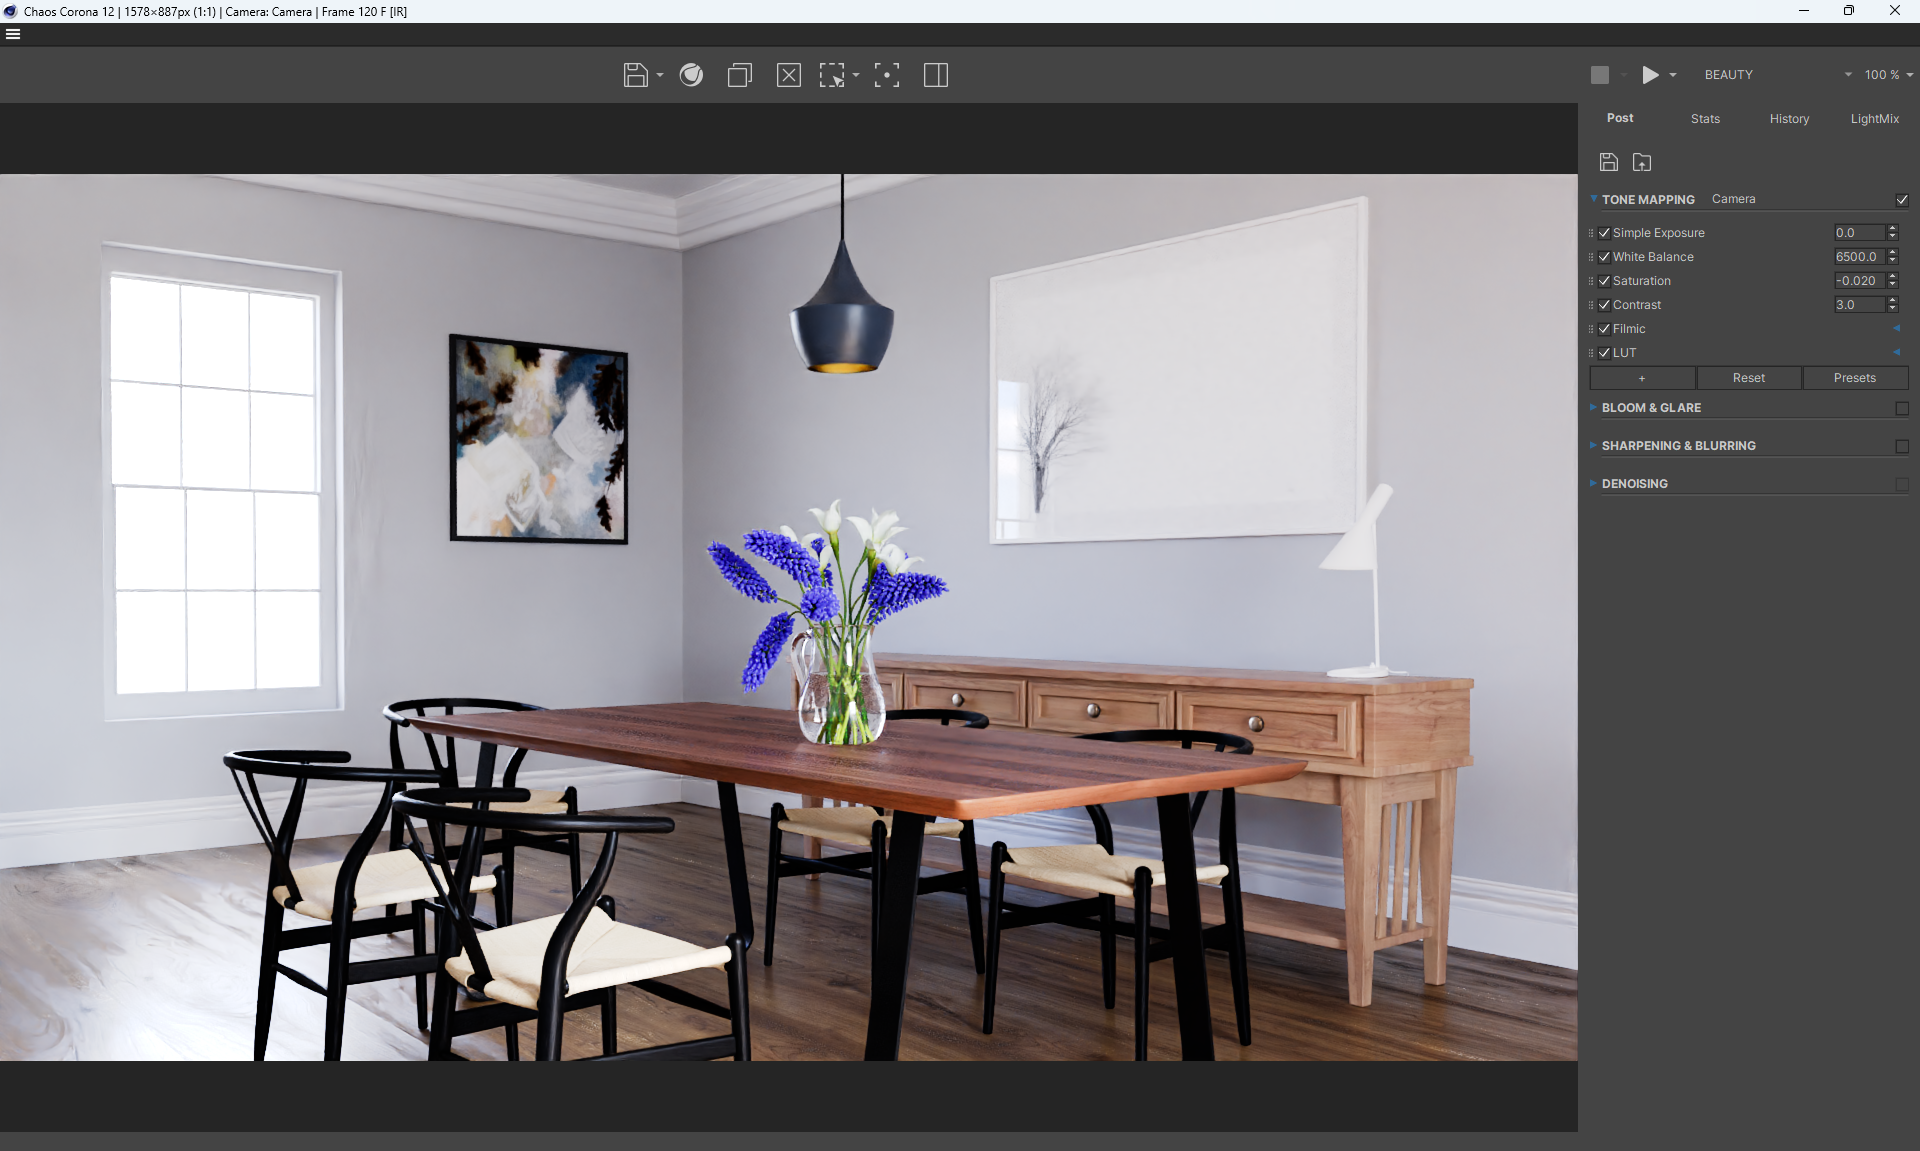
Corona renderer has its own specific settings, there is Tone Mapping for image correction, you can choose different presets for image correction, save your post image correction preset settings.
Animation can be generated both in Picture Viewer there and in Corona render, it is convenient.
Corona render is a cool render with its similarities and differences with other renders. Corona has a rather pleasant and convenient interface.
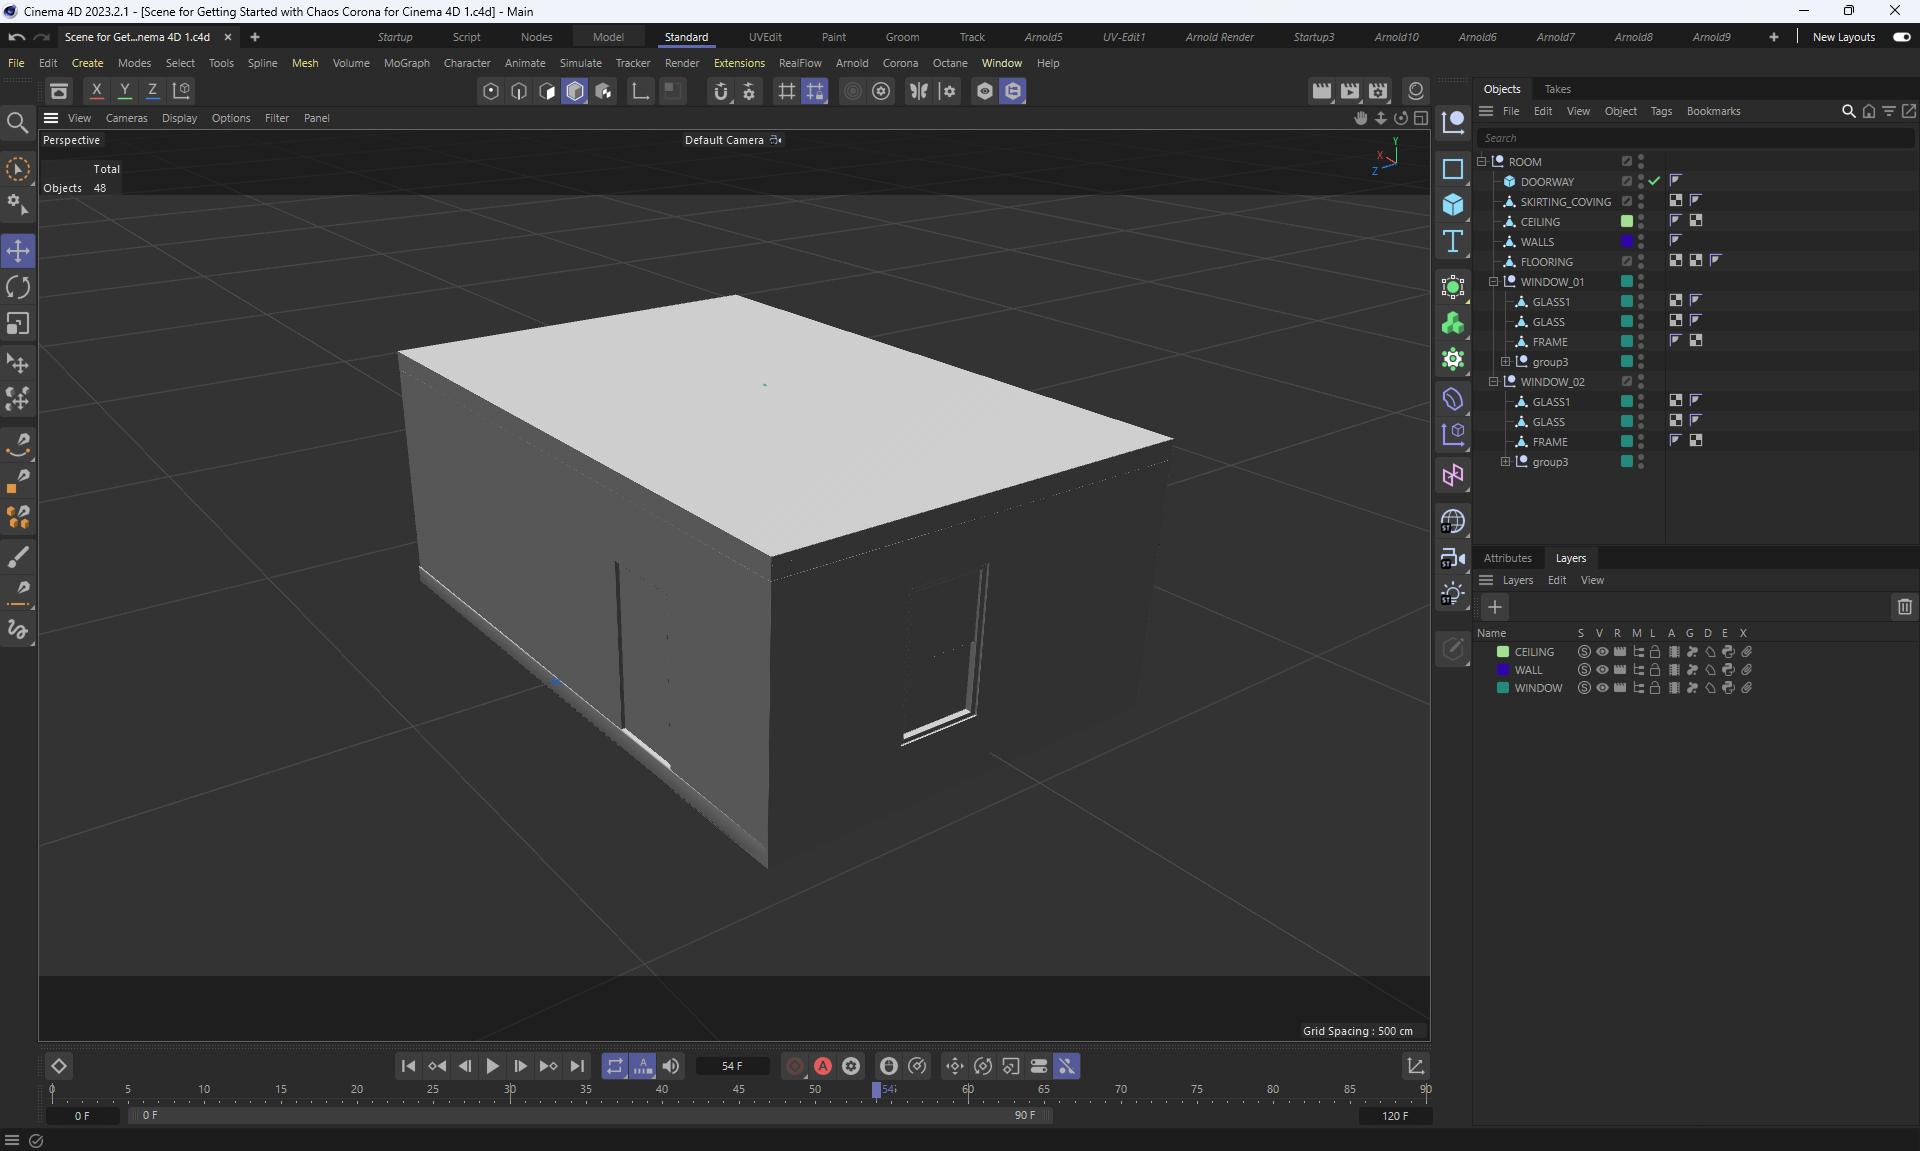
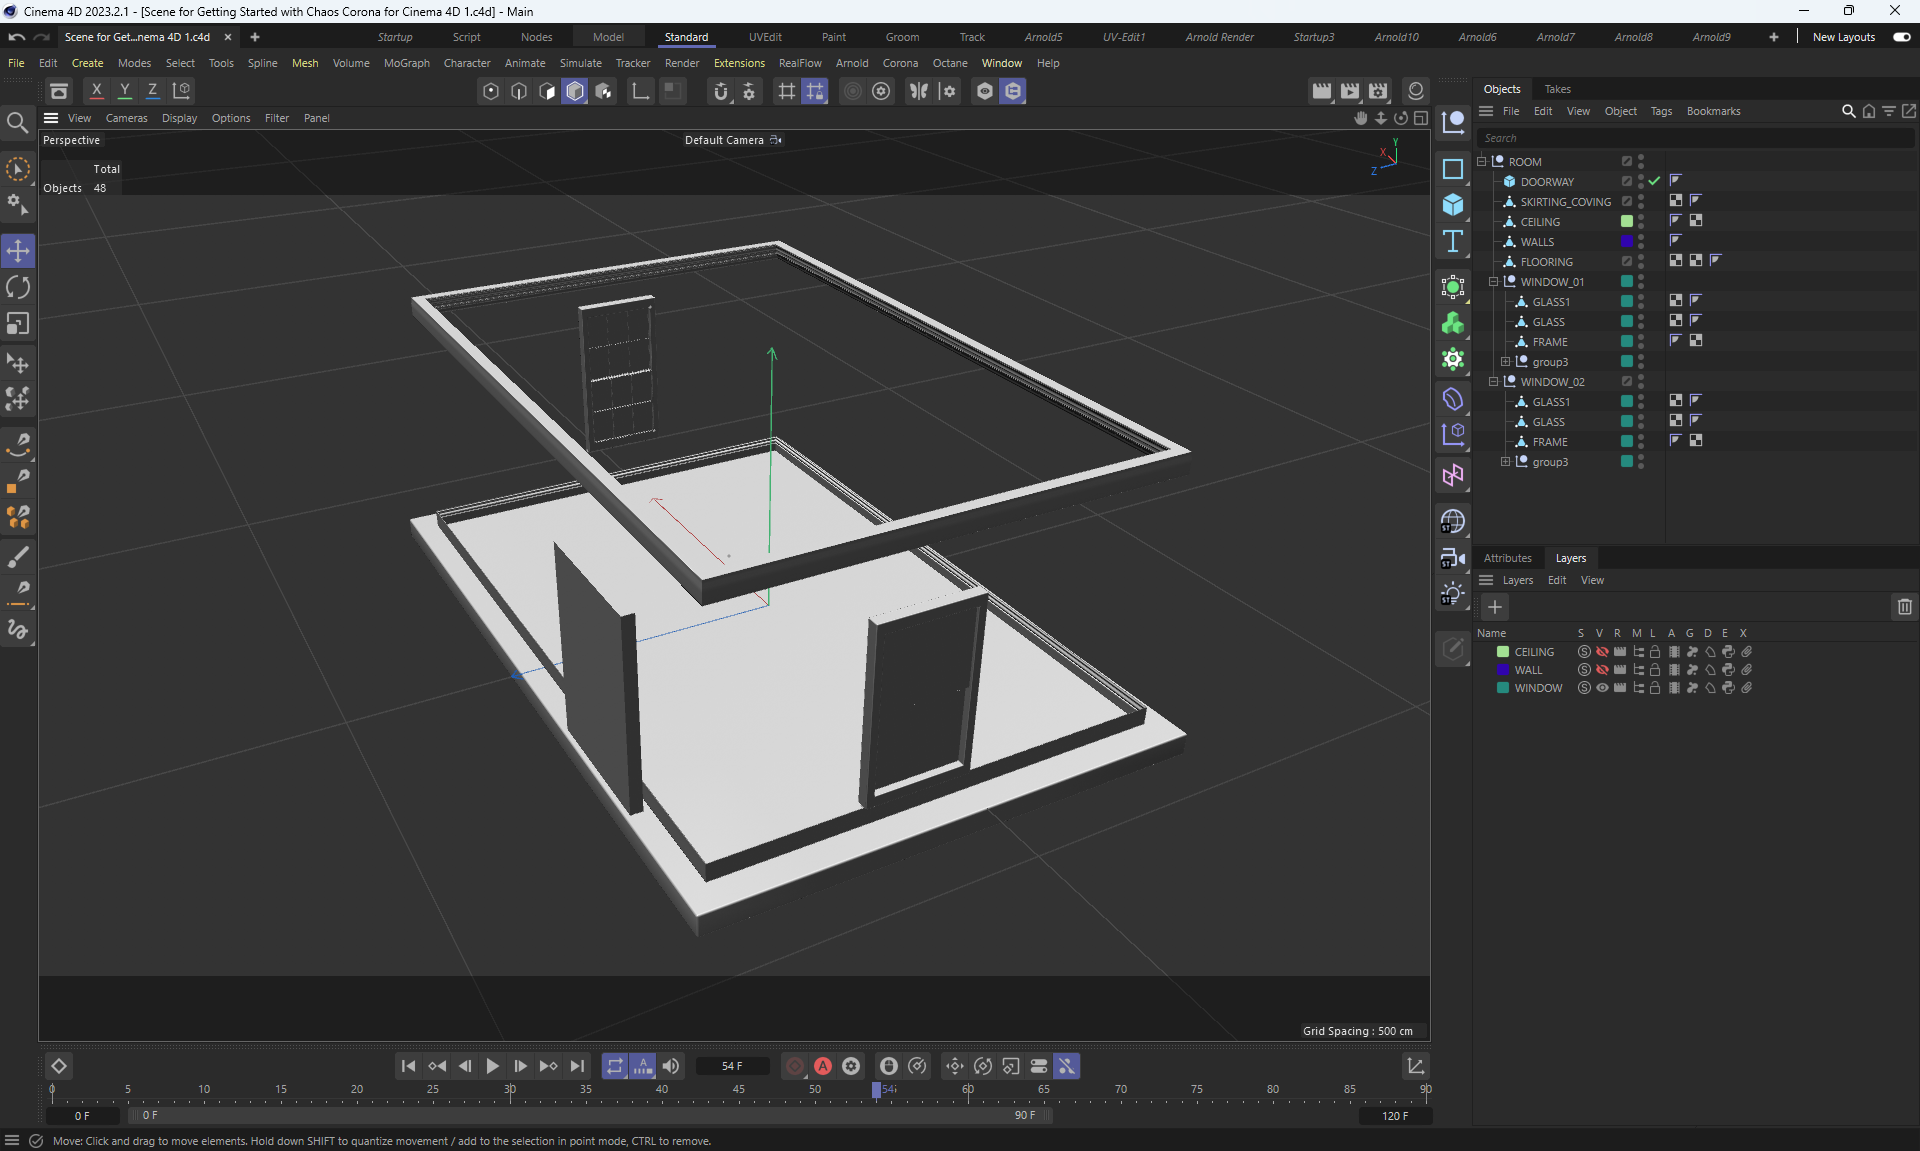
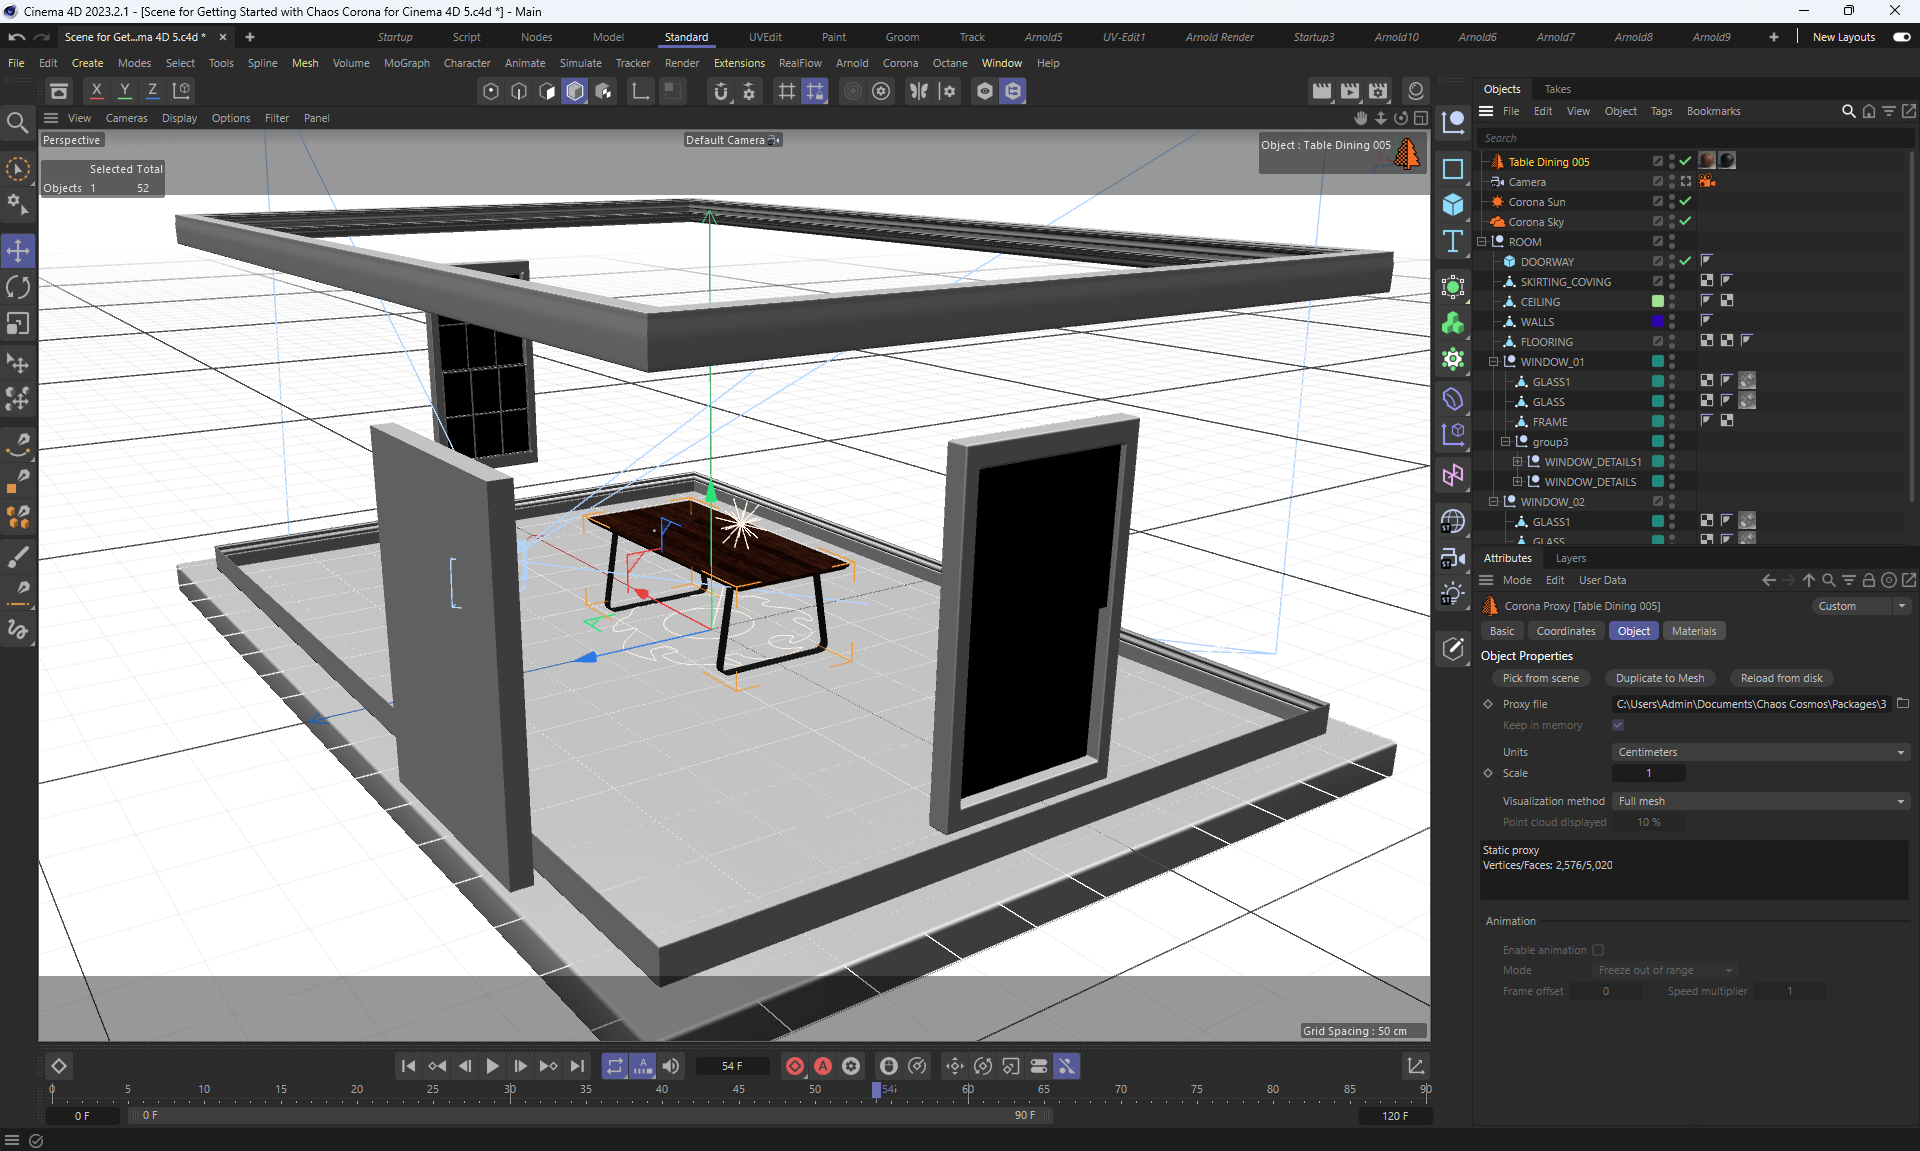
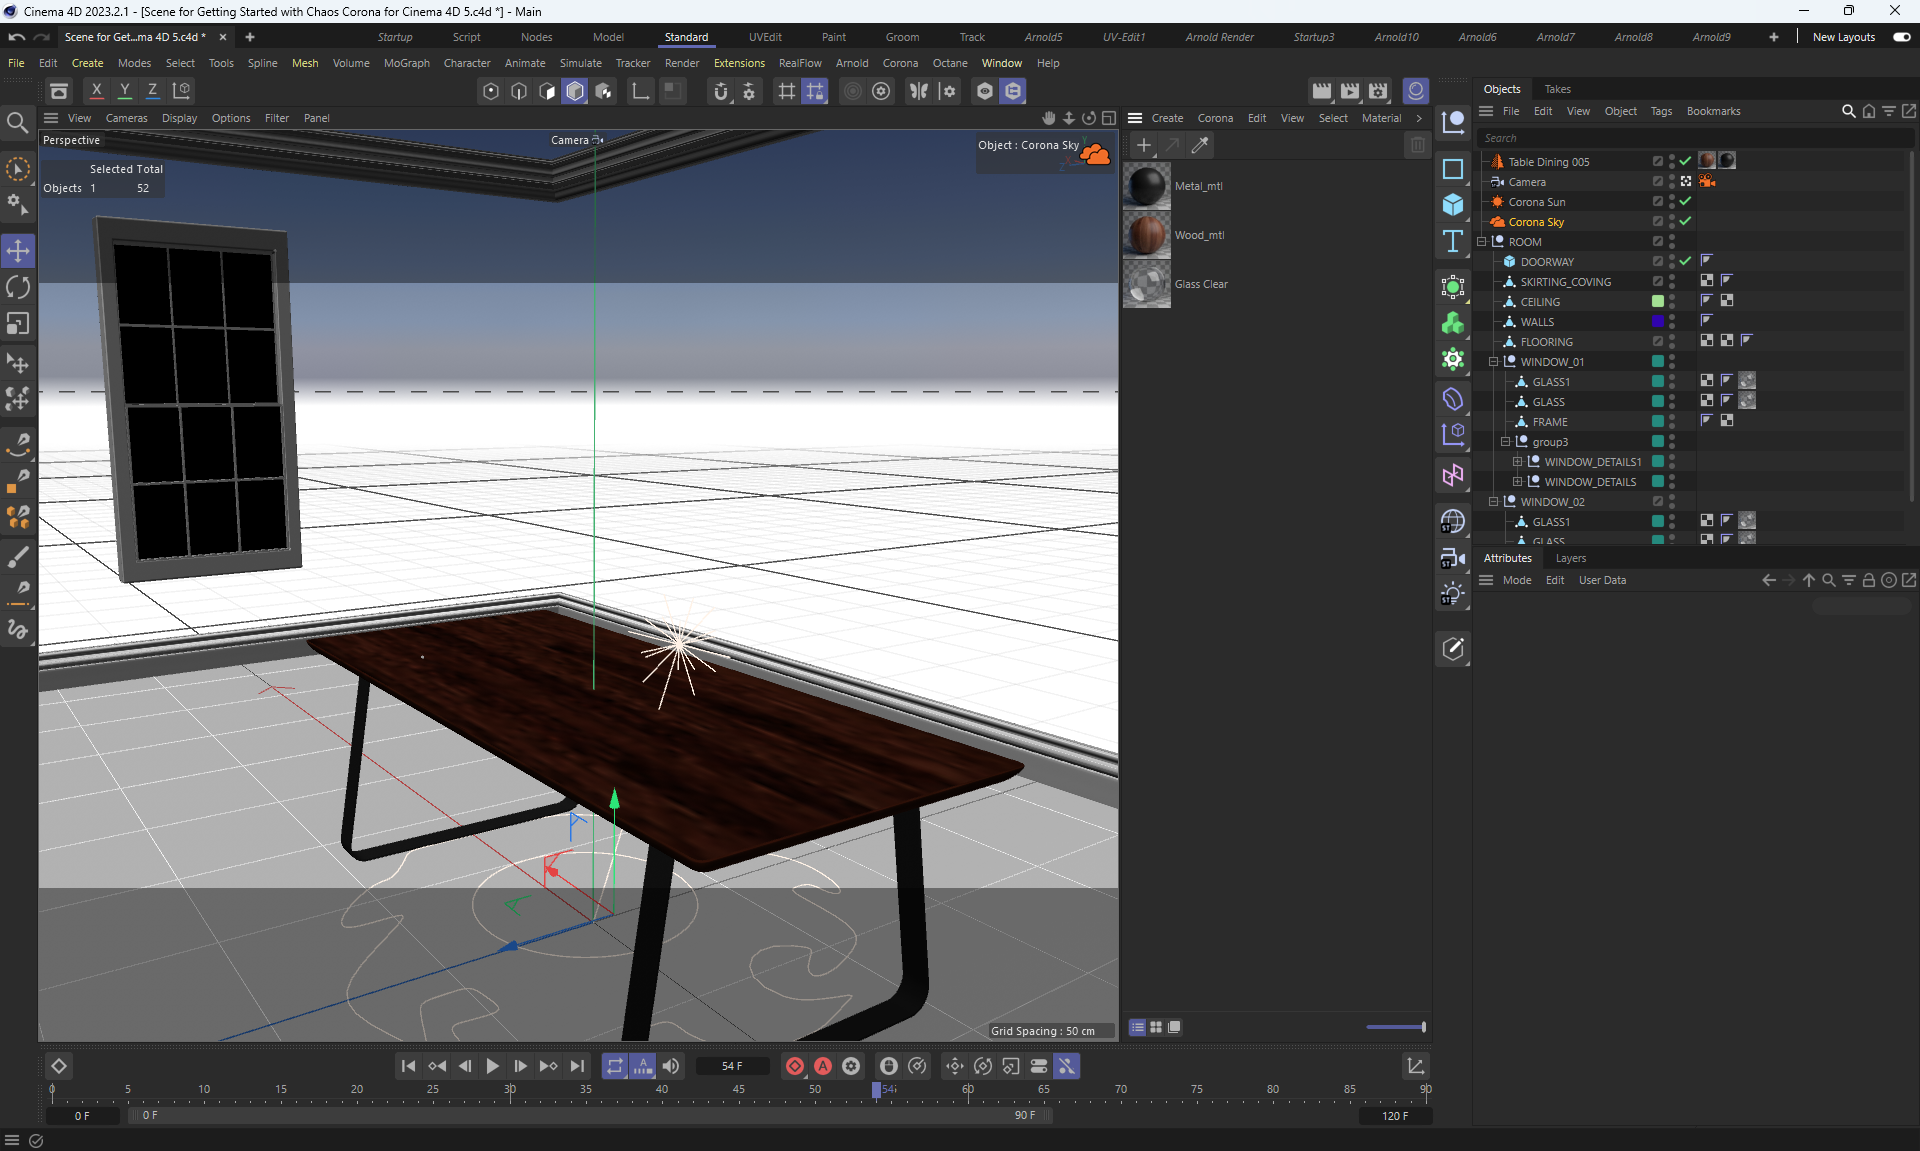
I watched the lessons Chaos Corona for Cinema 4D How To's, studied the basics of Corona in Cinema 4D, evaluated the advantages, convenience and speed of rendering. Iskhodnik was only in the first lesson with the frame of the room.
Chaos Corona for Cinema 4D How To's
Video (8mb)
image1
image2
More details according to this lesson
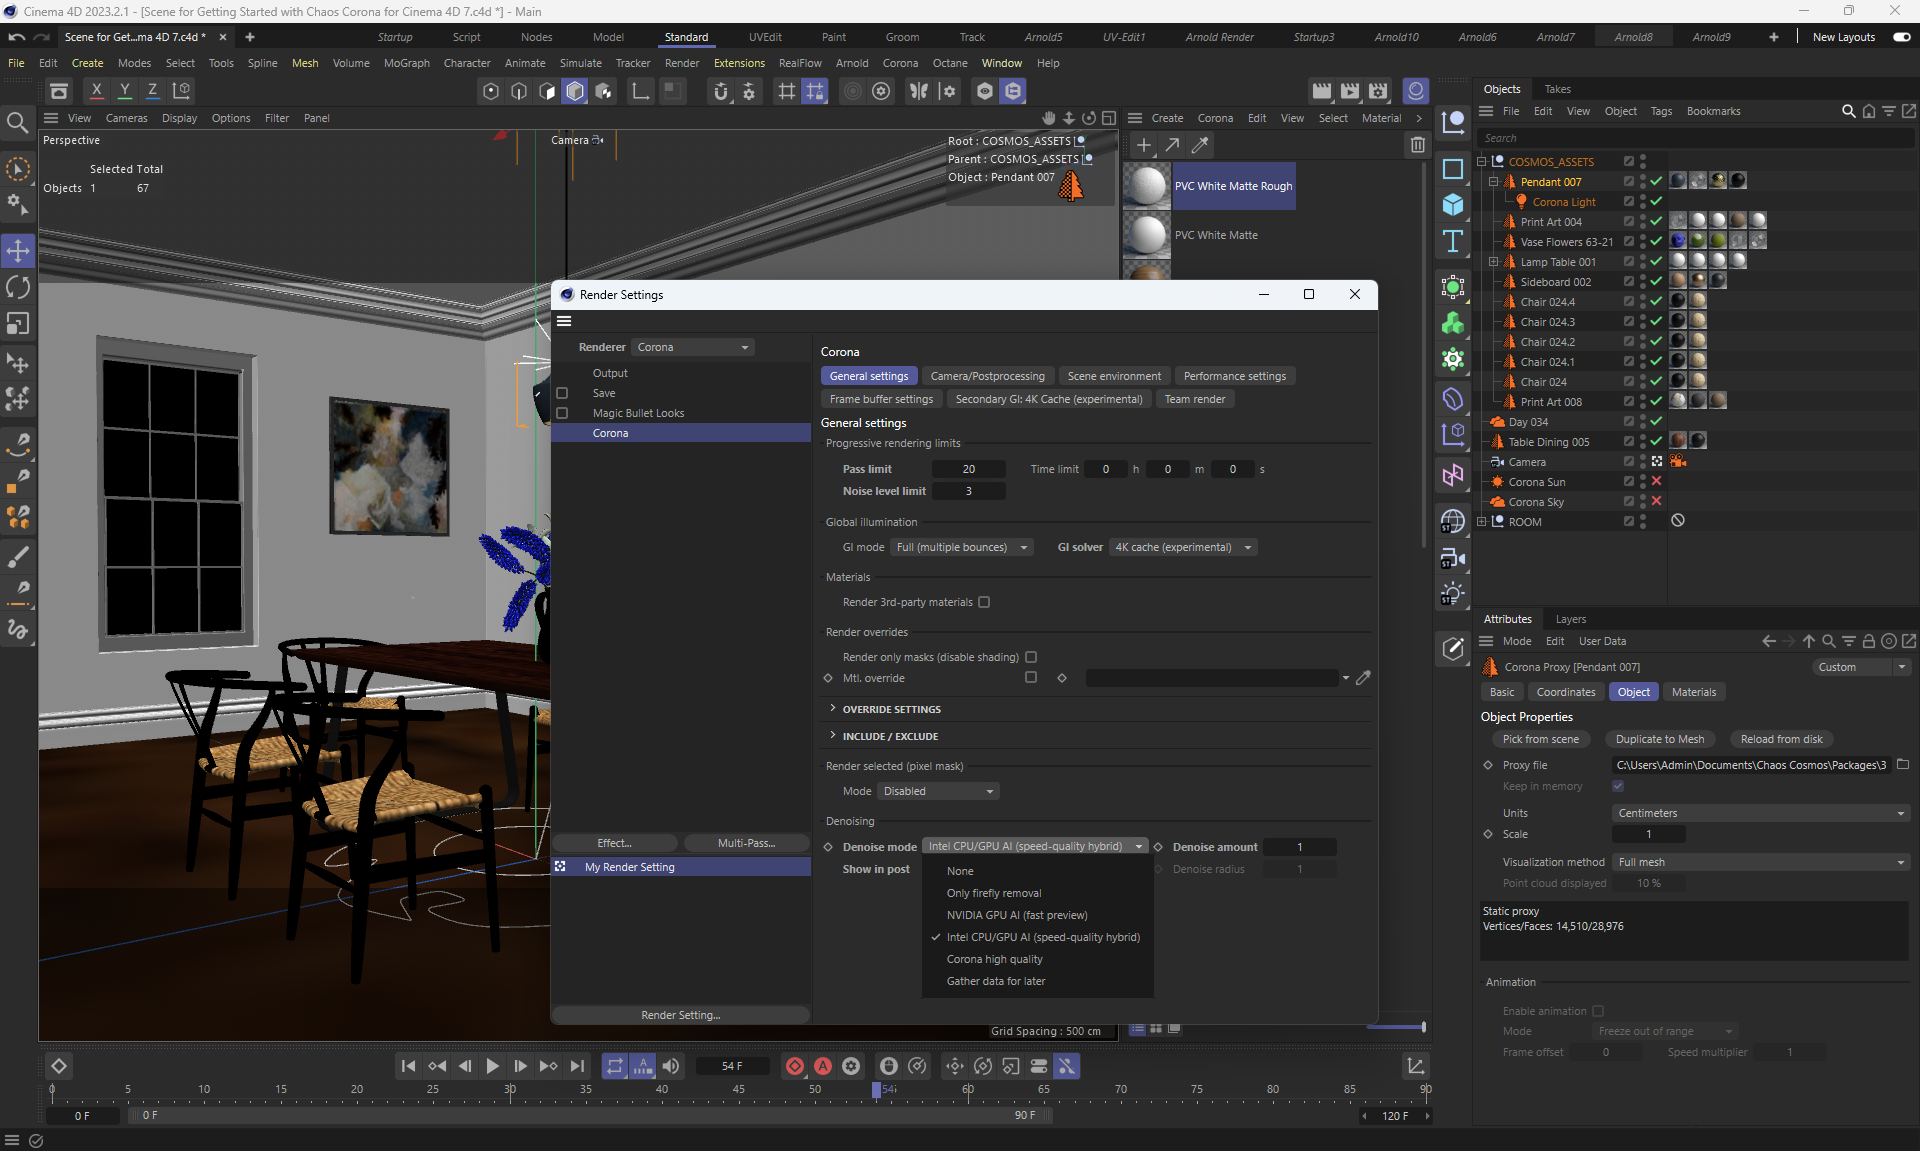
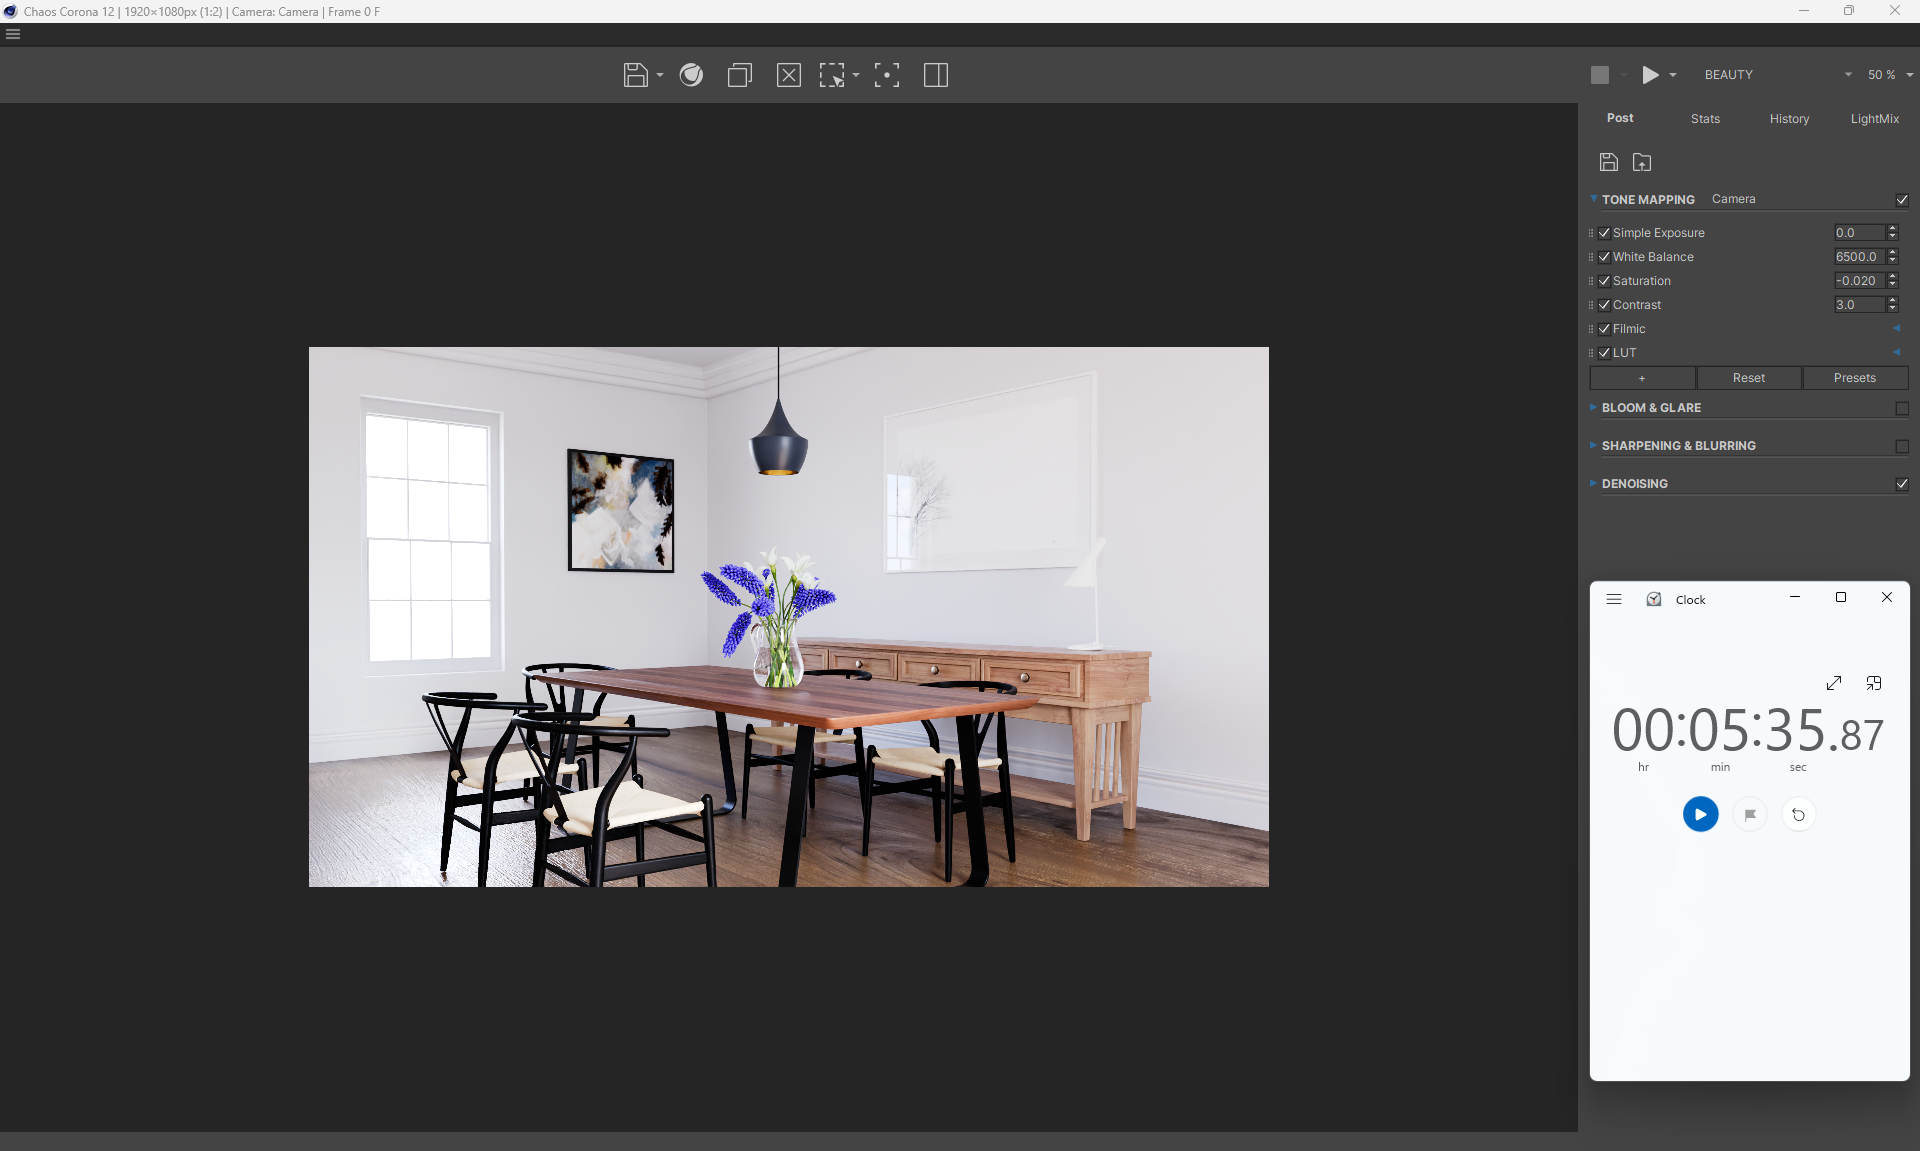
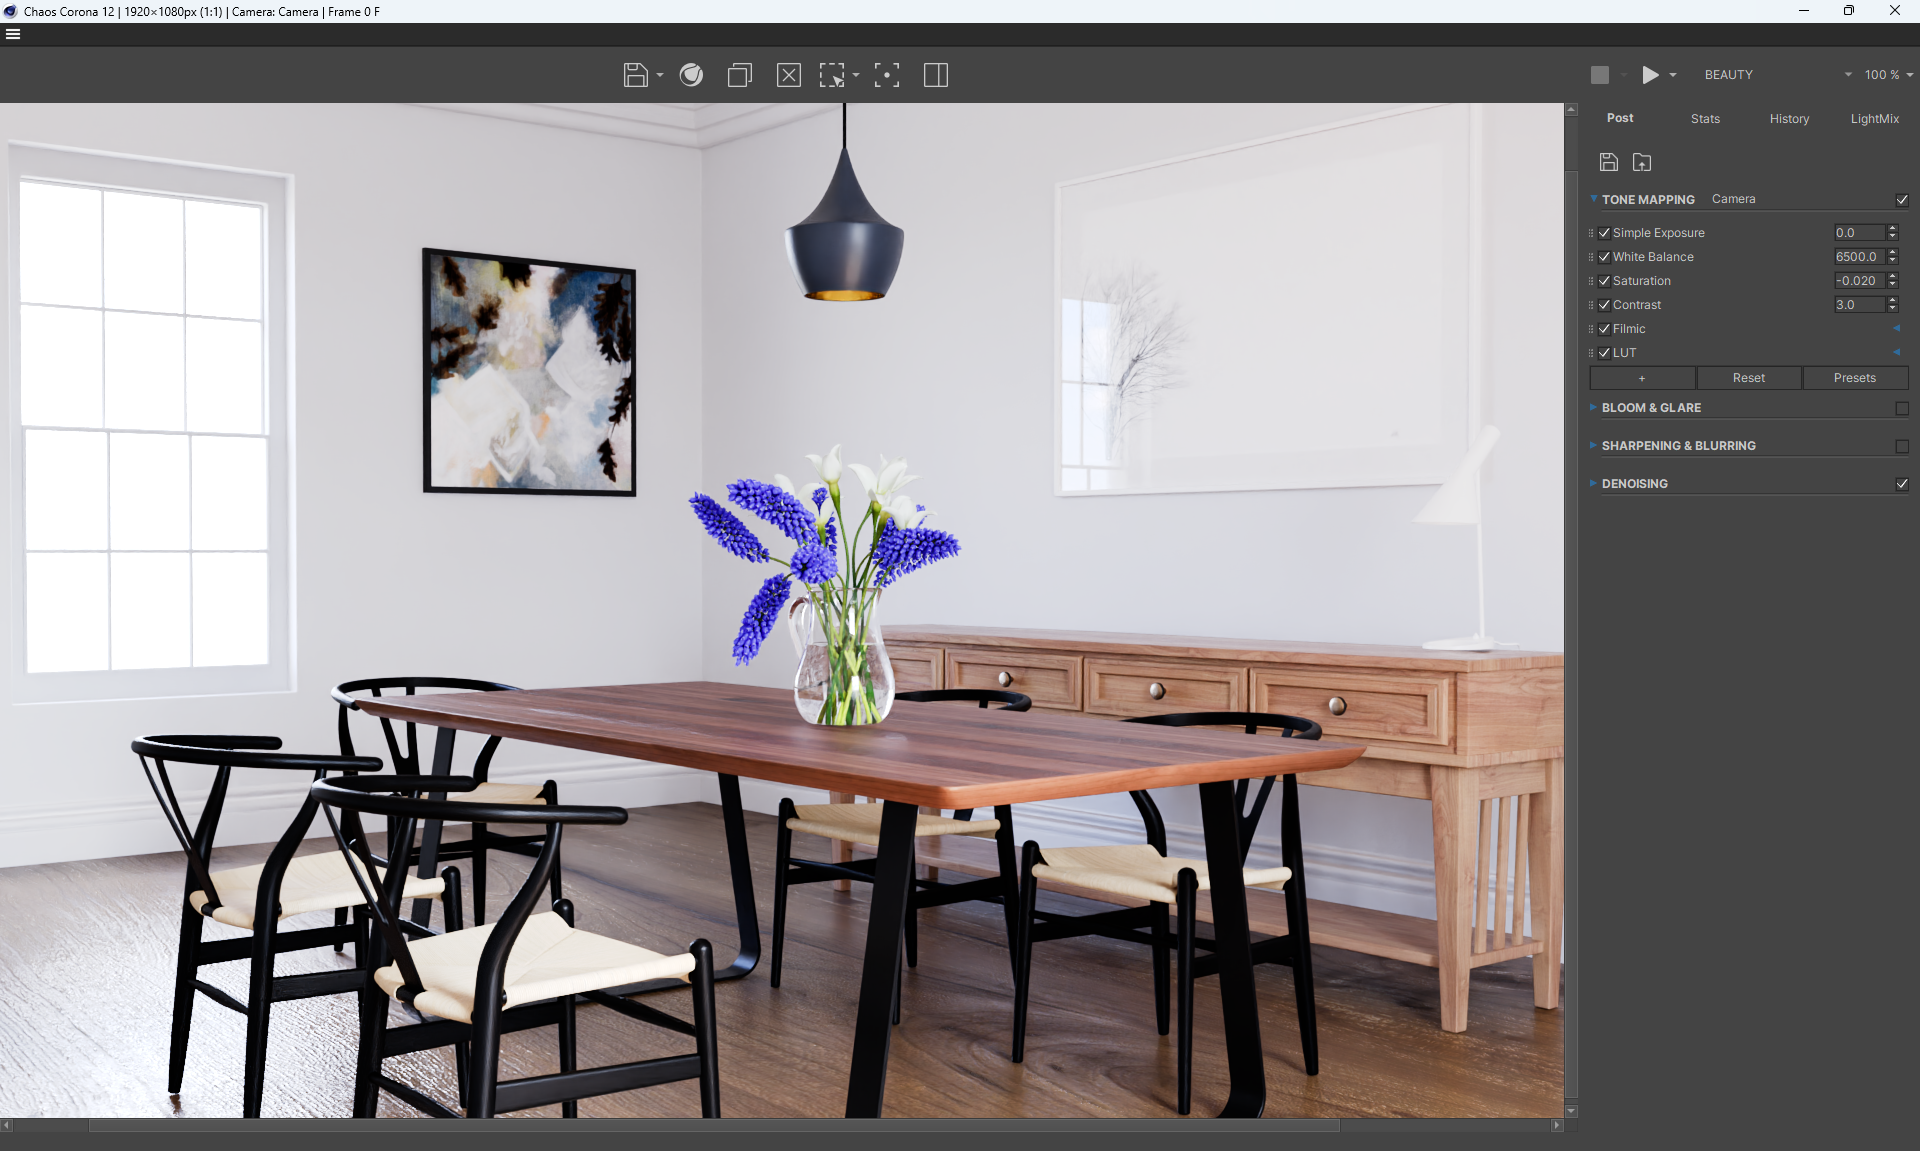
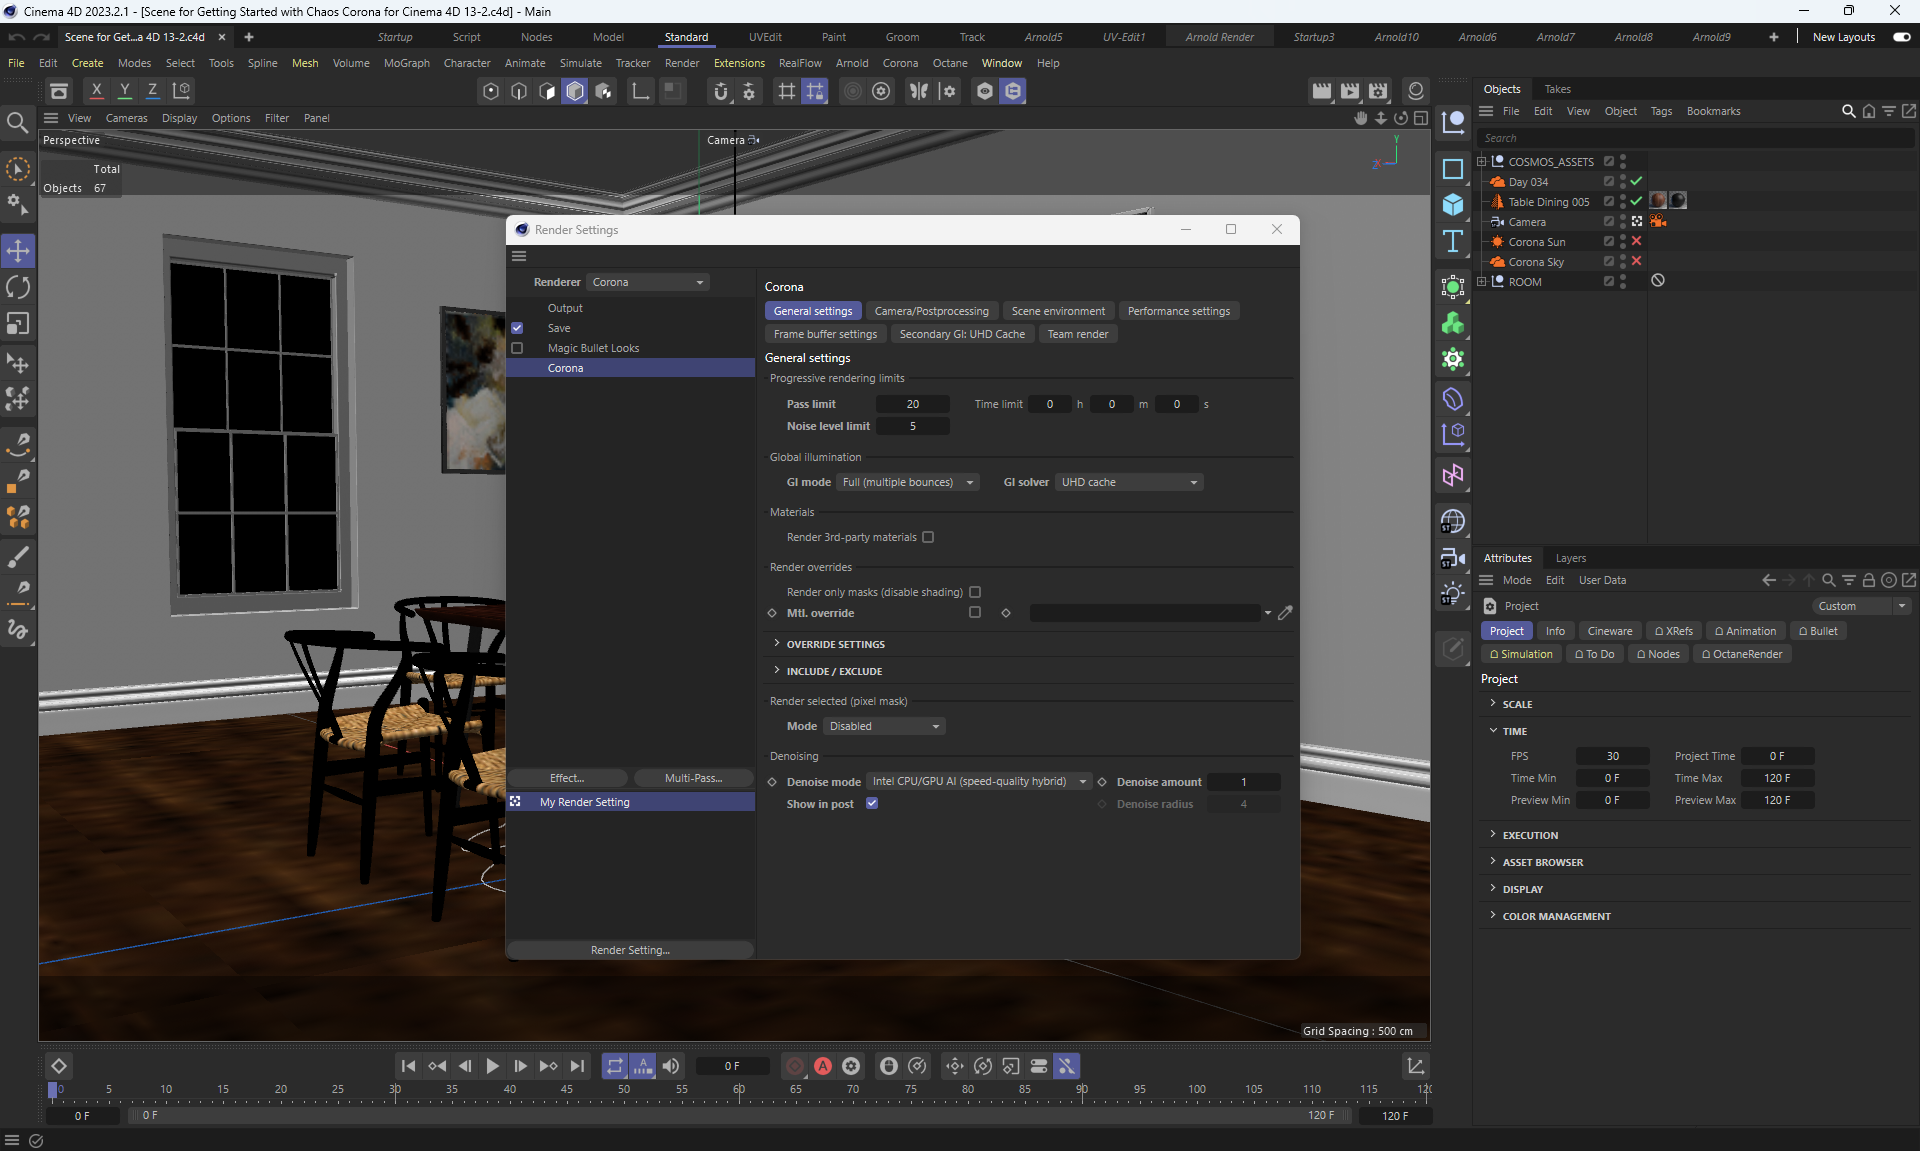
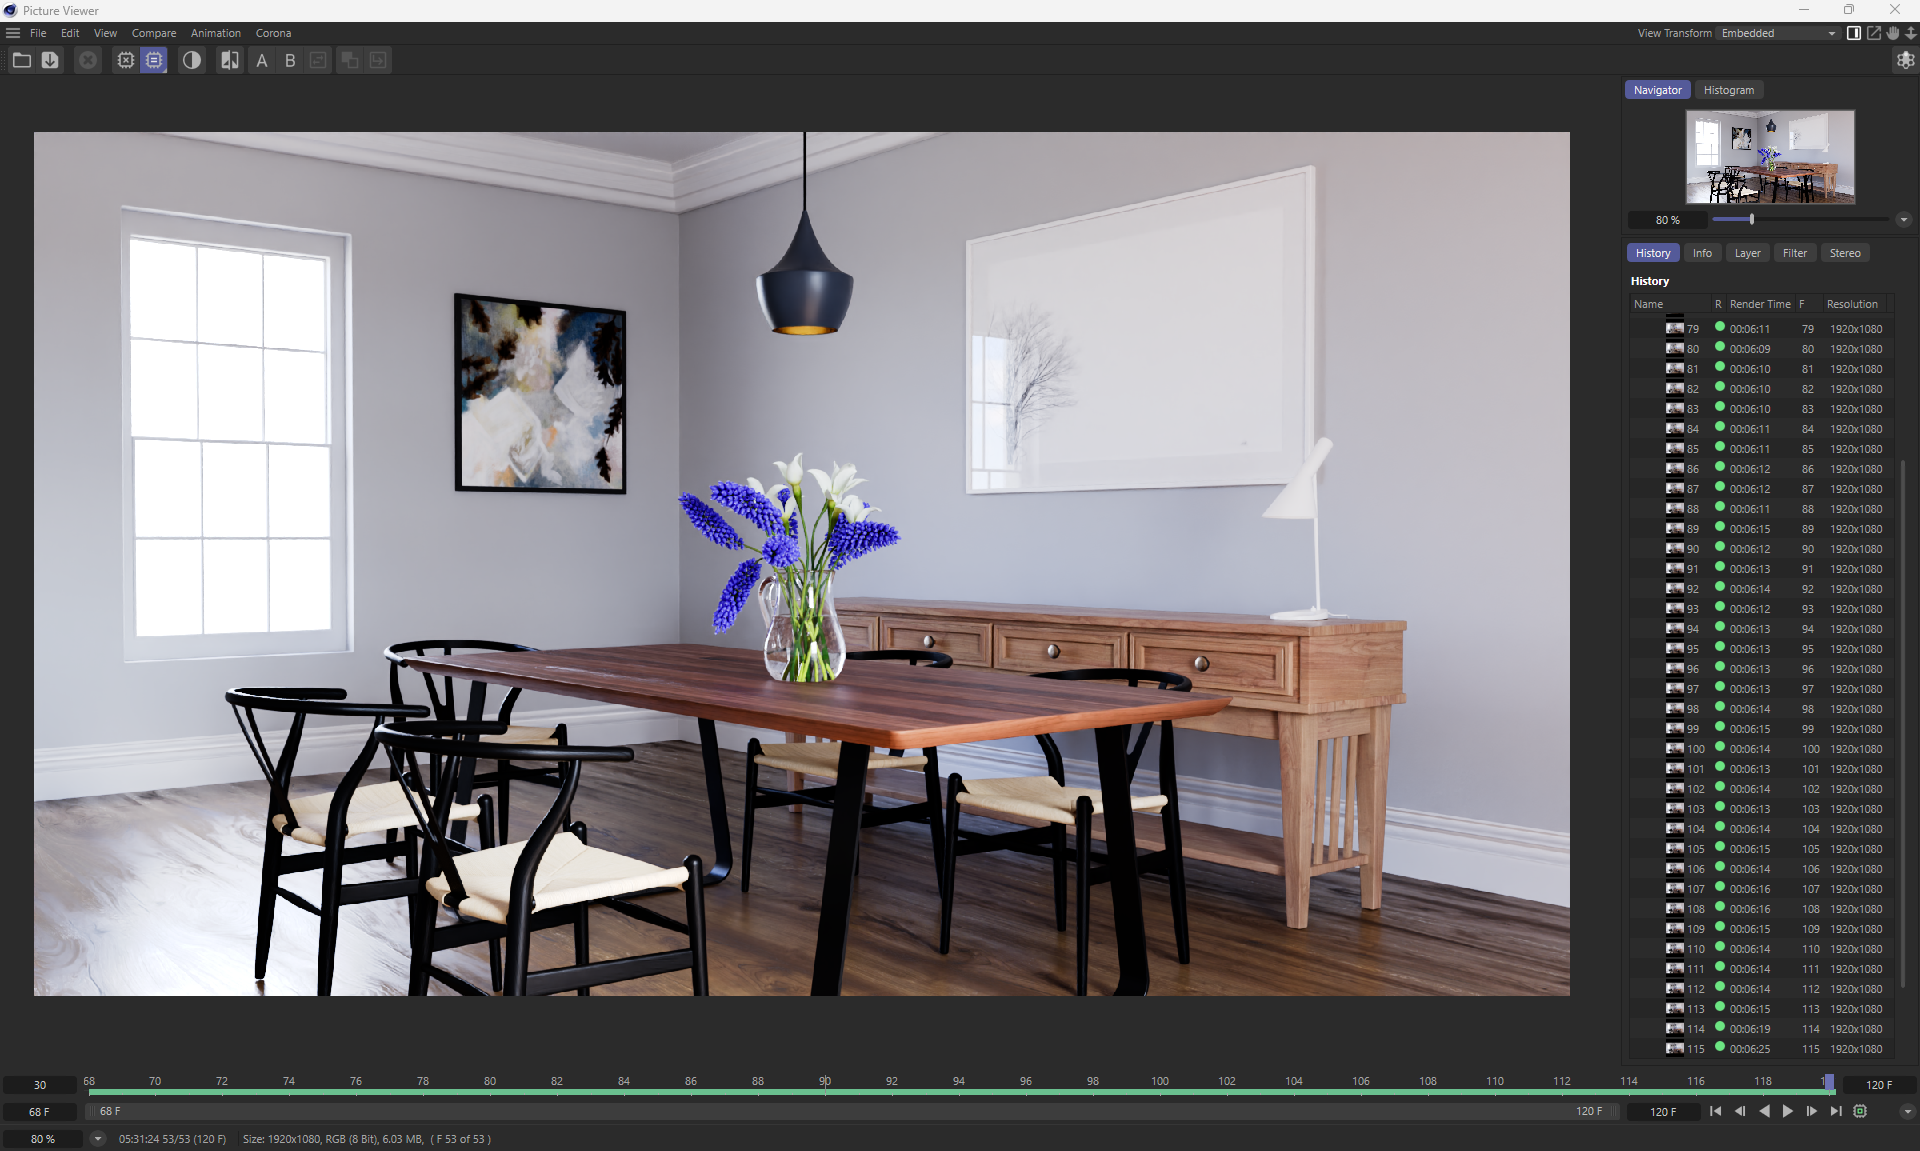
I generated a 1920×1080 image of this room from the lesson with Pass:20 settings and Intel CPU/GPU denoiser in 5 minutes and 35 seconds.
In my opinion, this is a pretty good result, given the minimum settings in the renderer for generation.
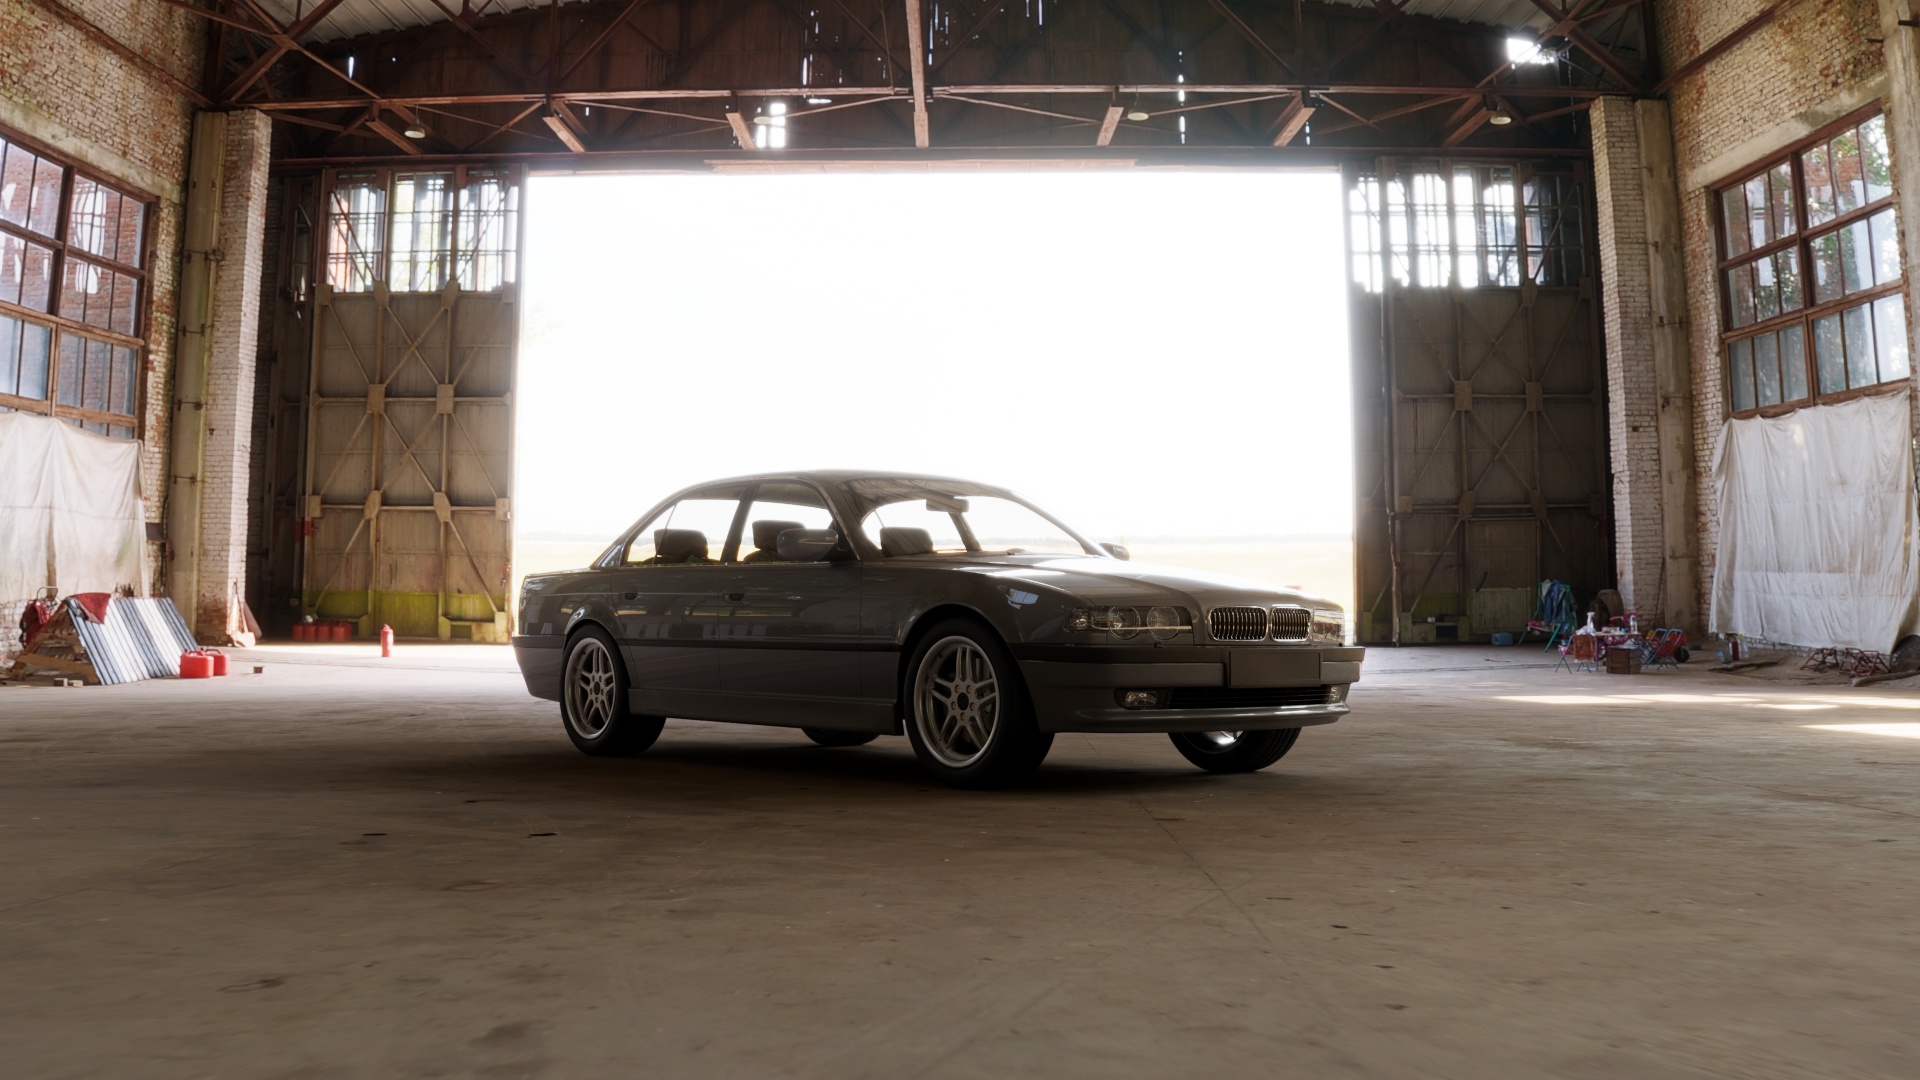
When rendering animations with lights at different settings there are shadow rattling and light flares that I need to test to remove. When rendering scenes with an hdri map such flares do not occur.
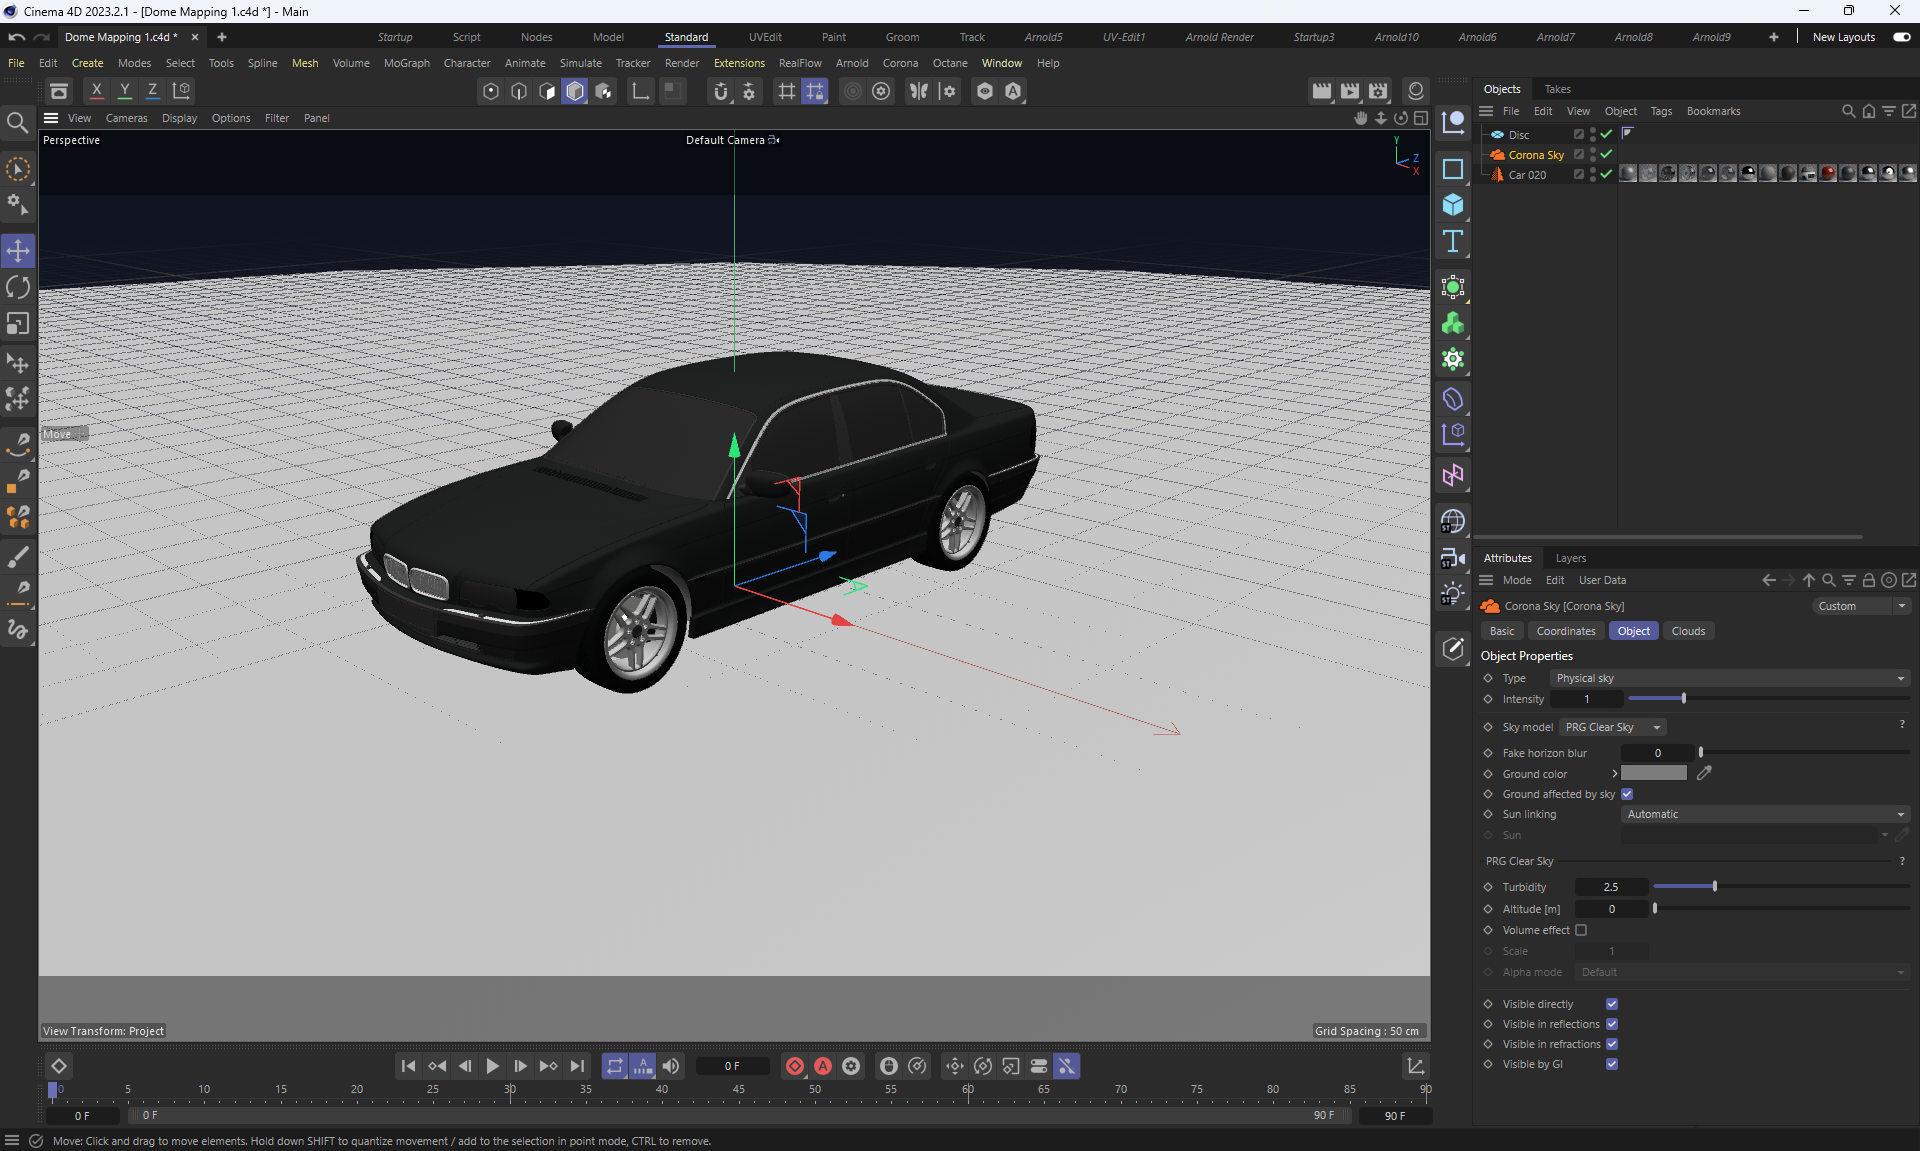
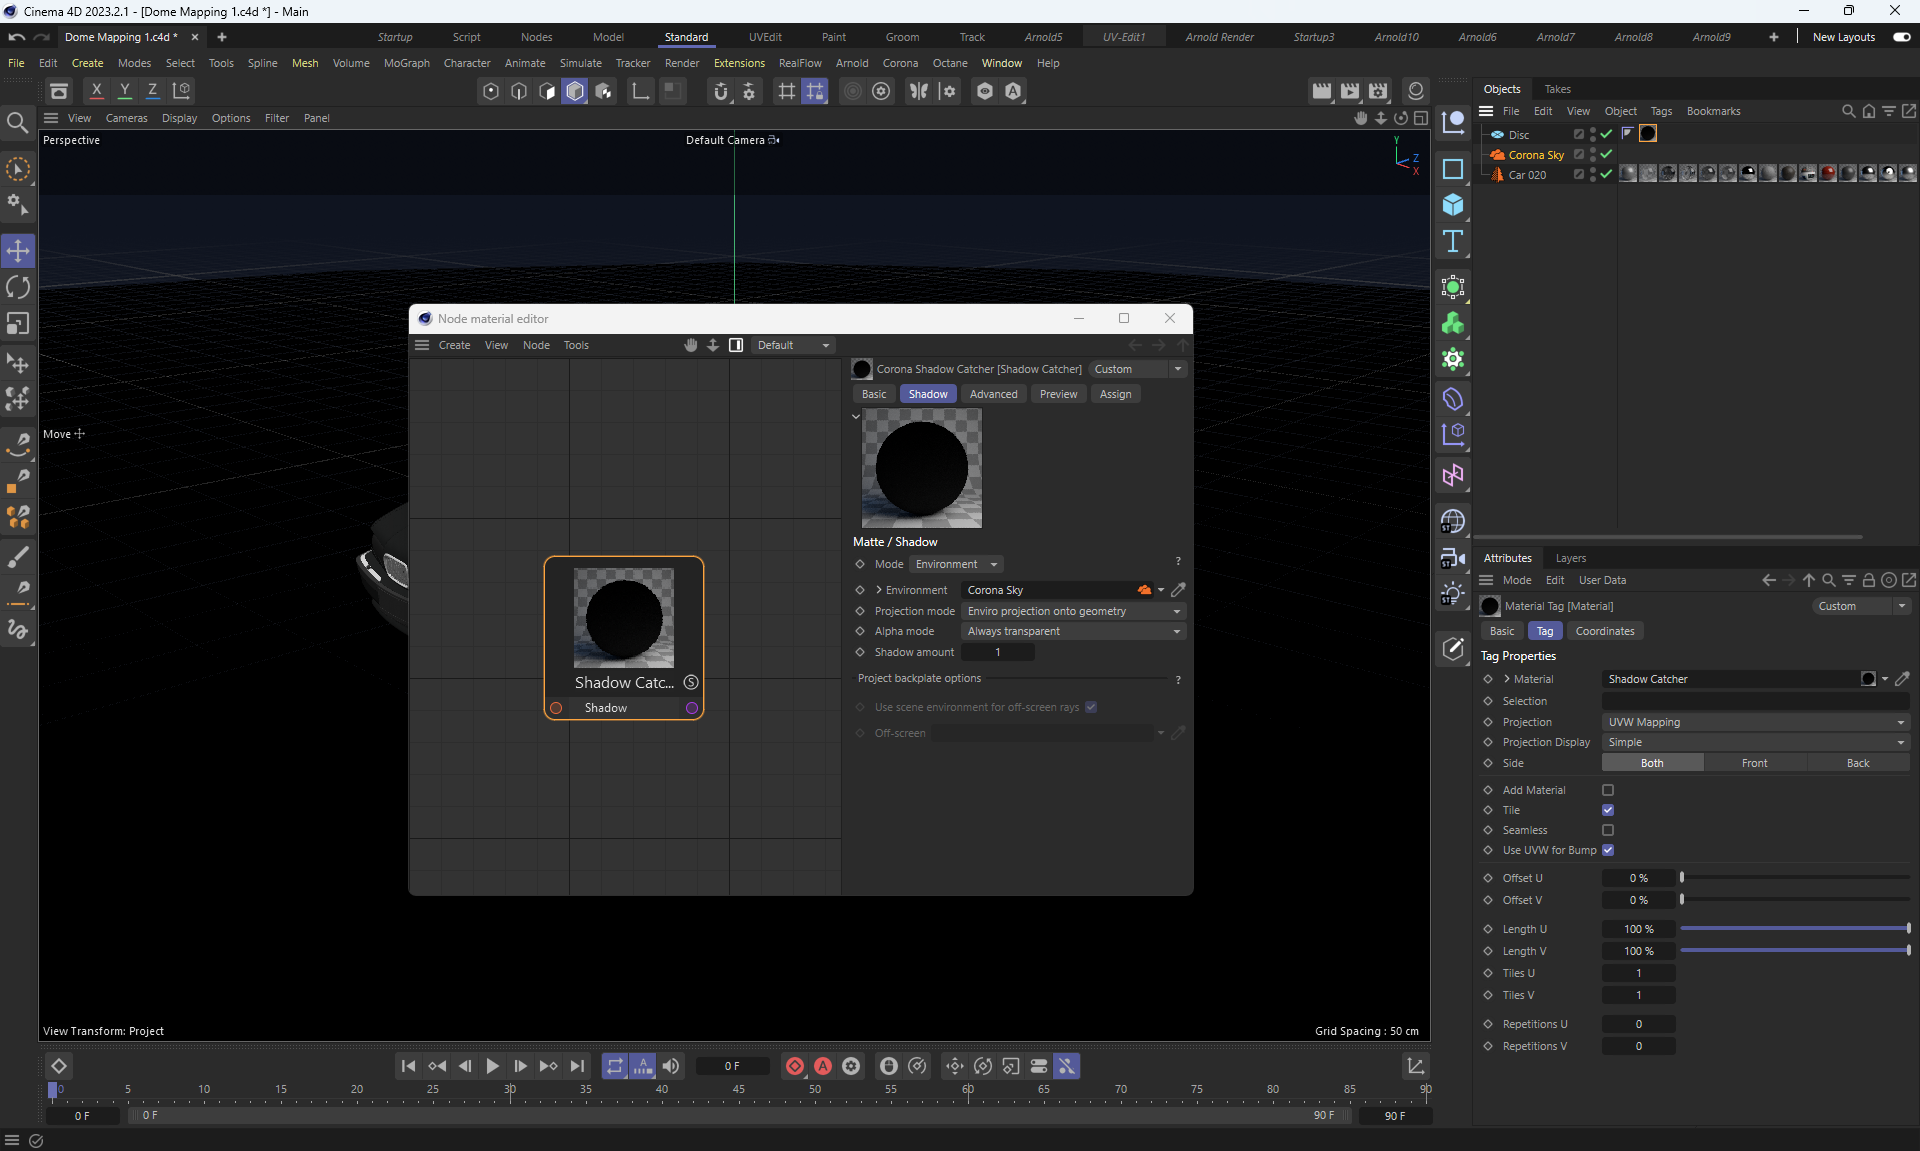
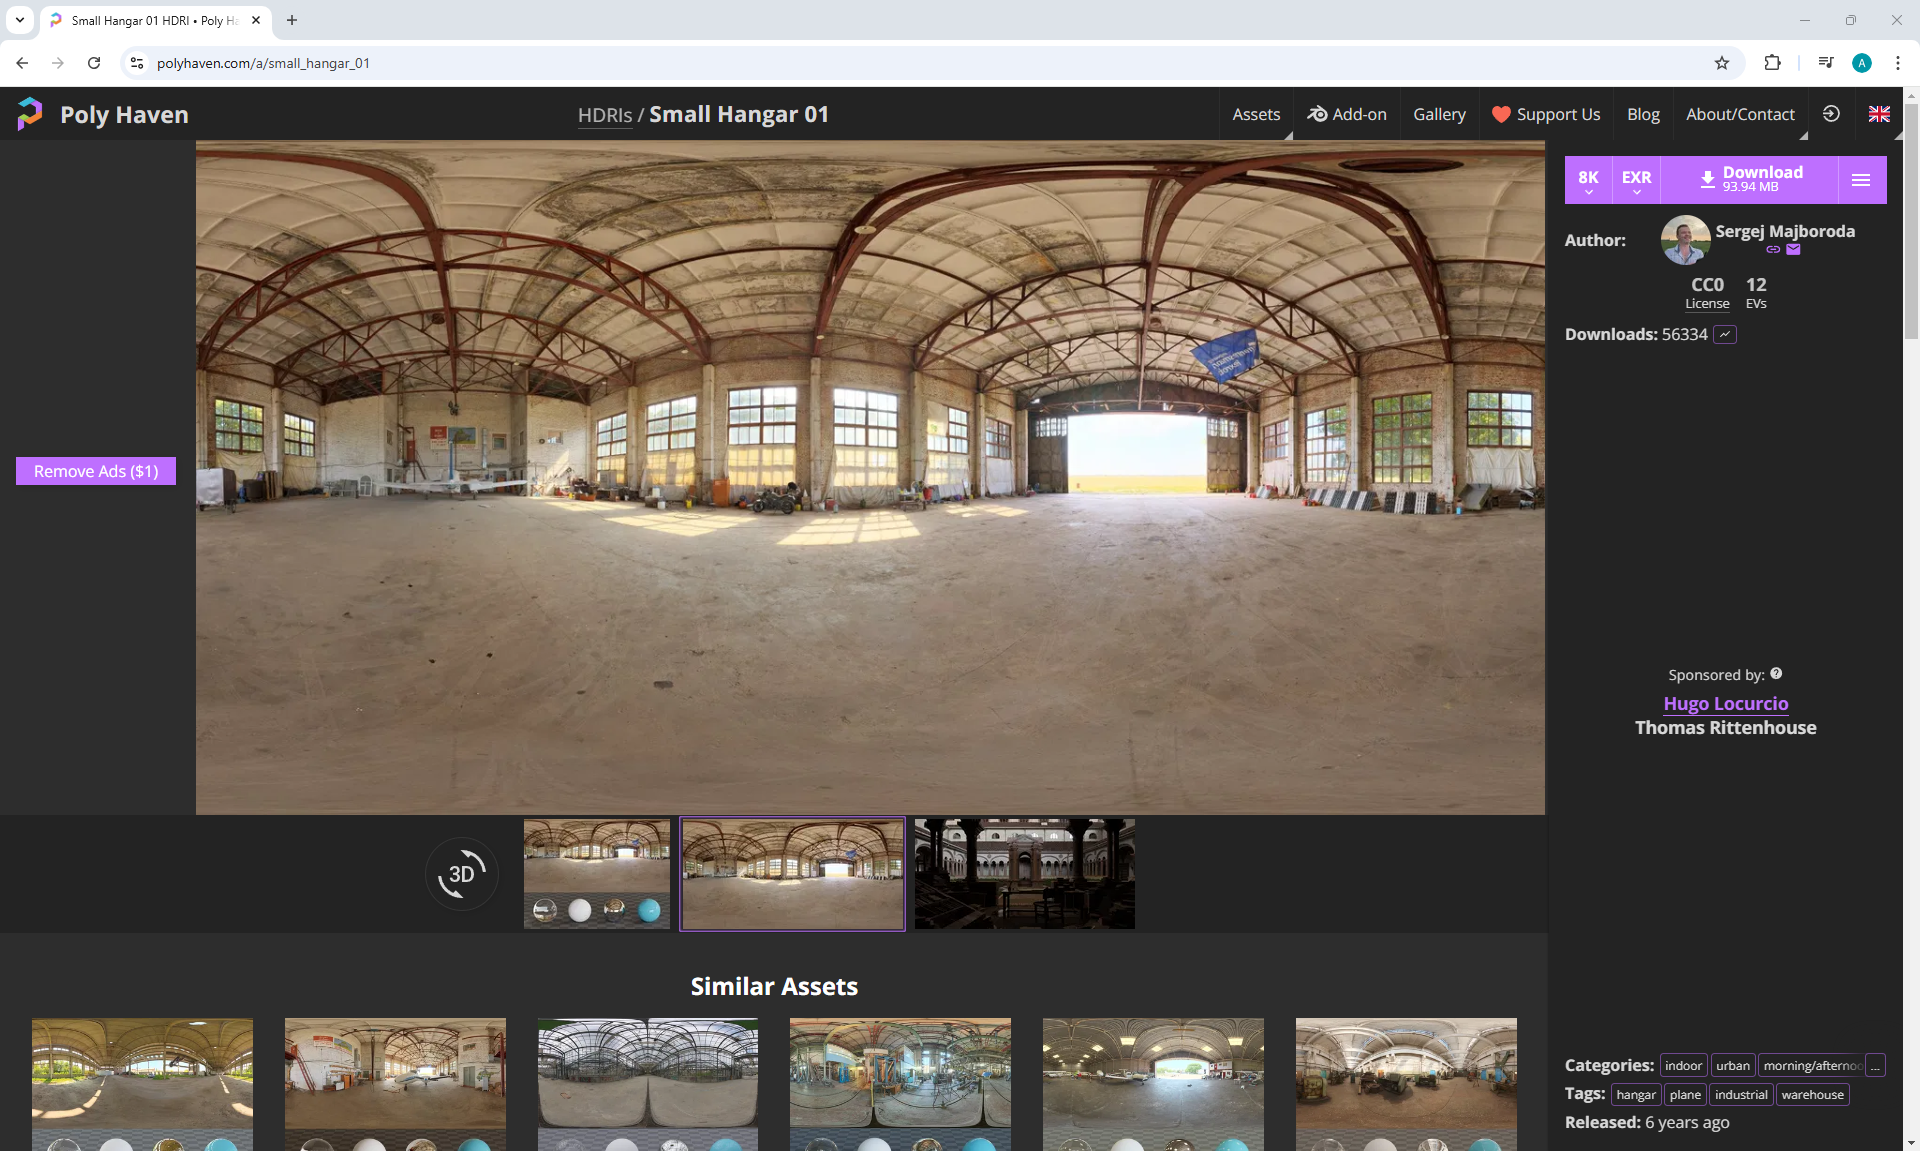
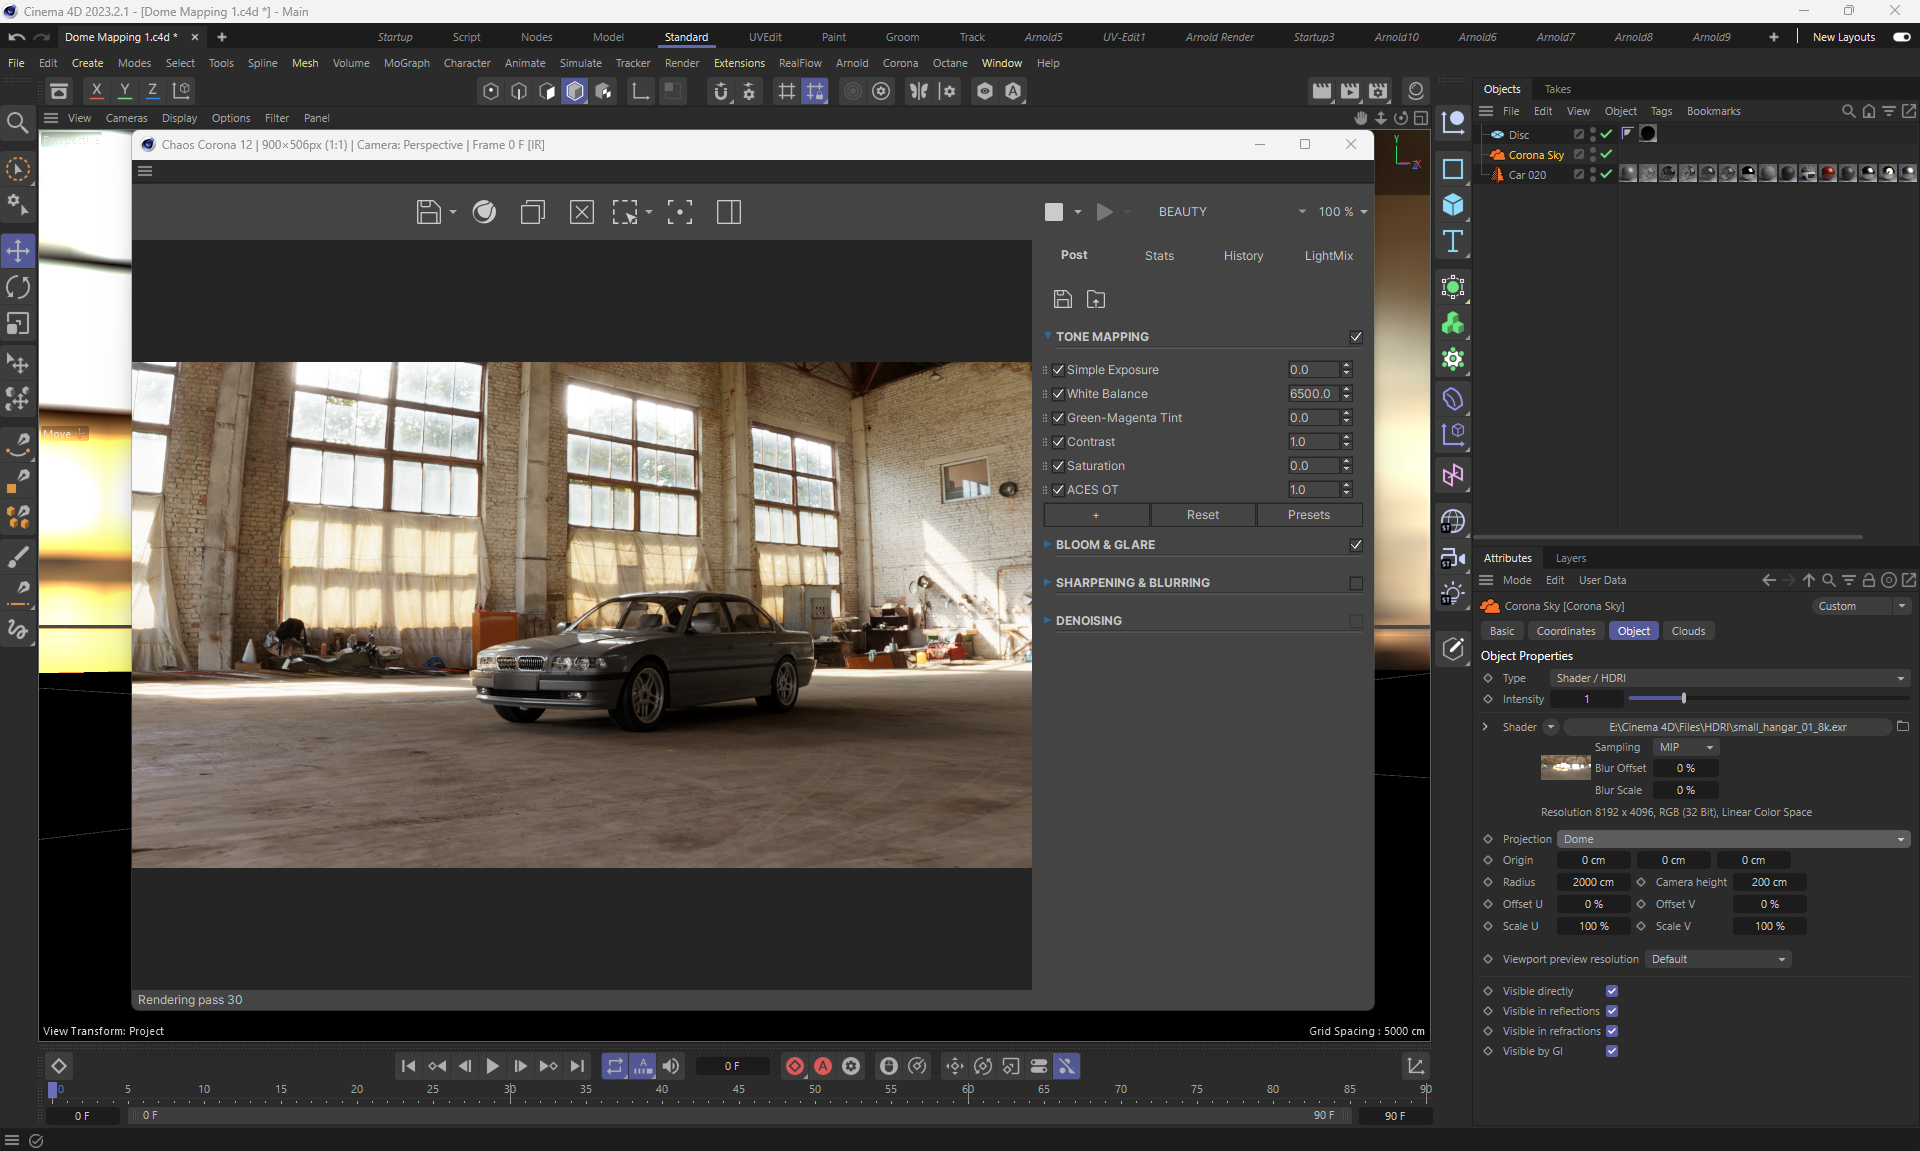
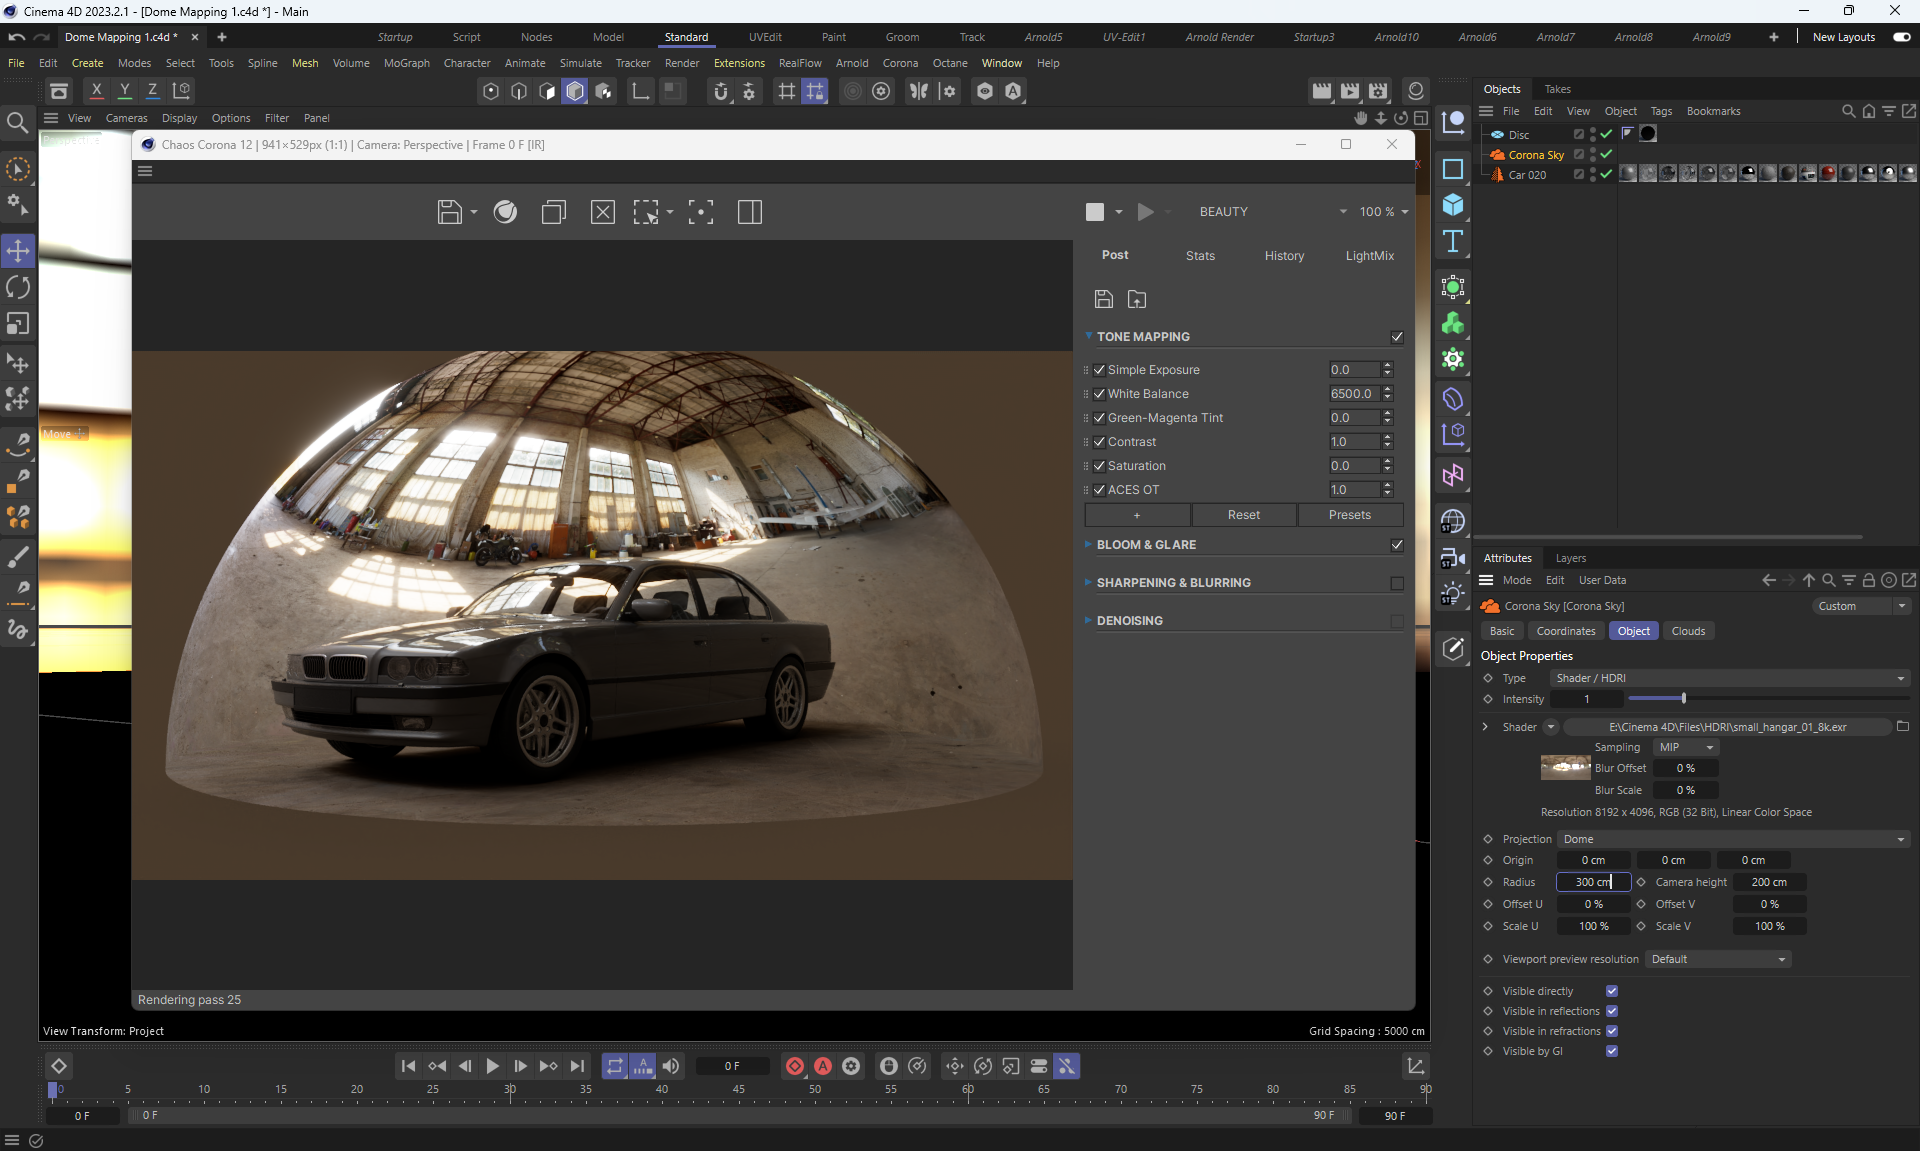
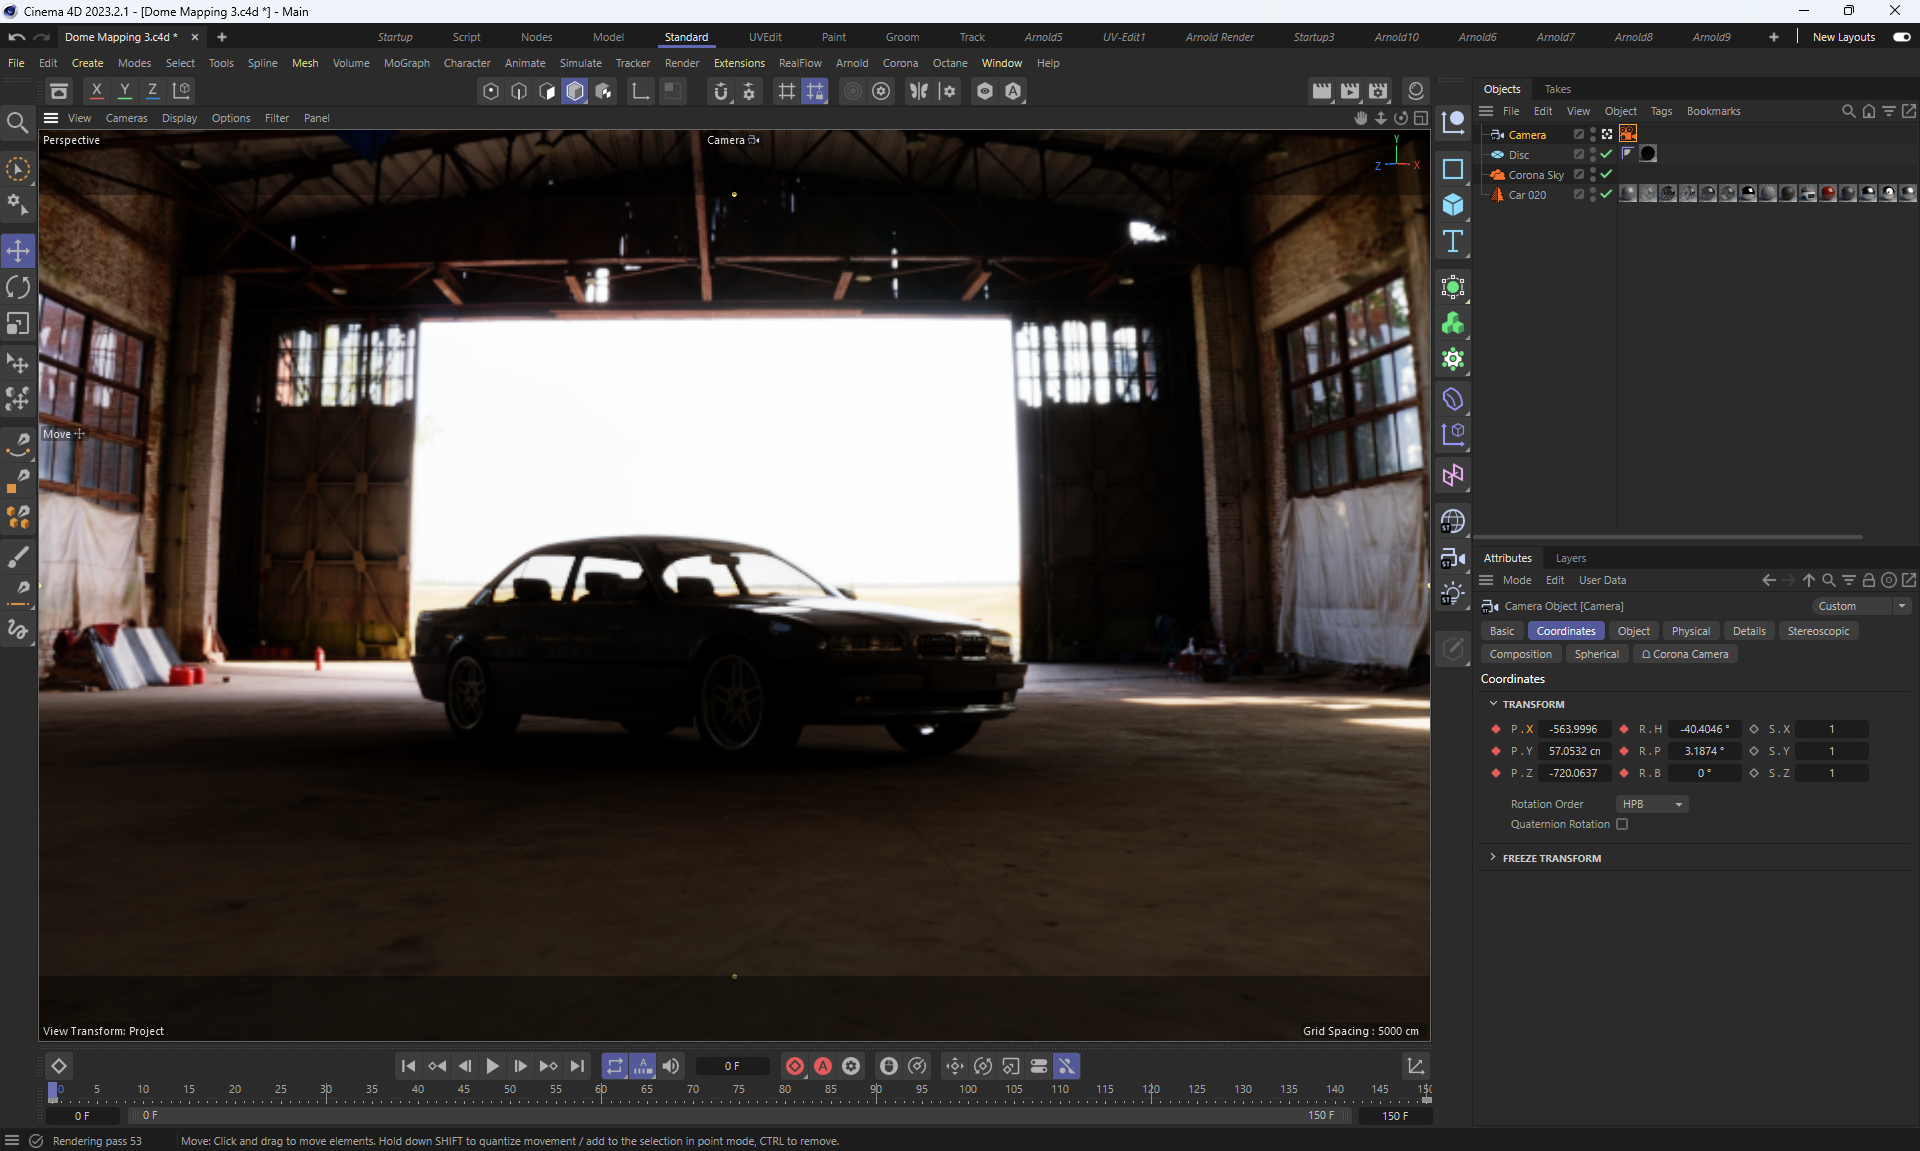
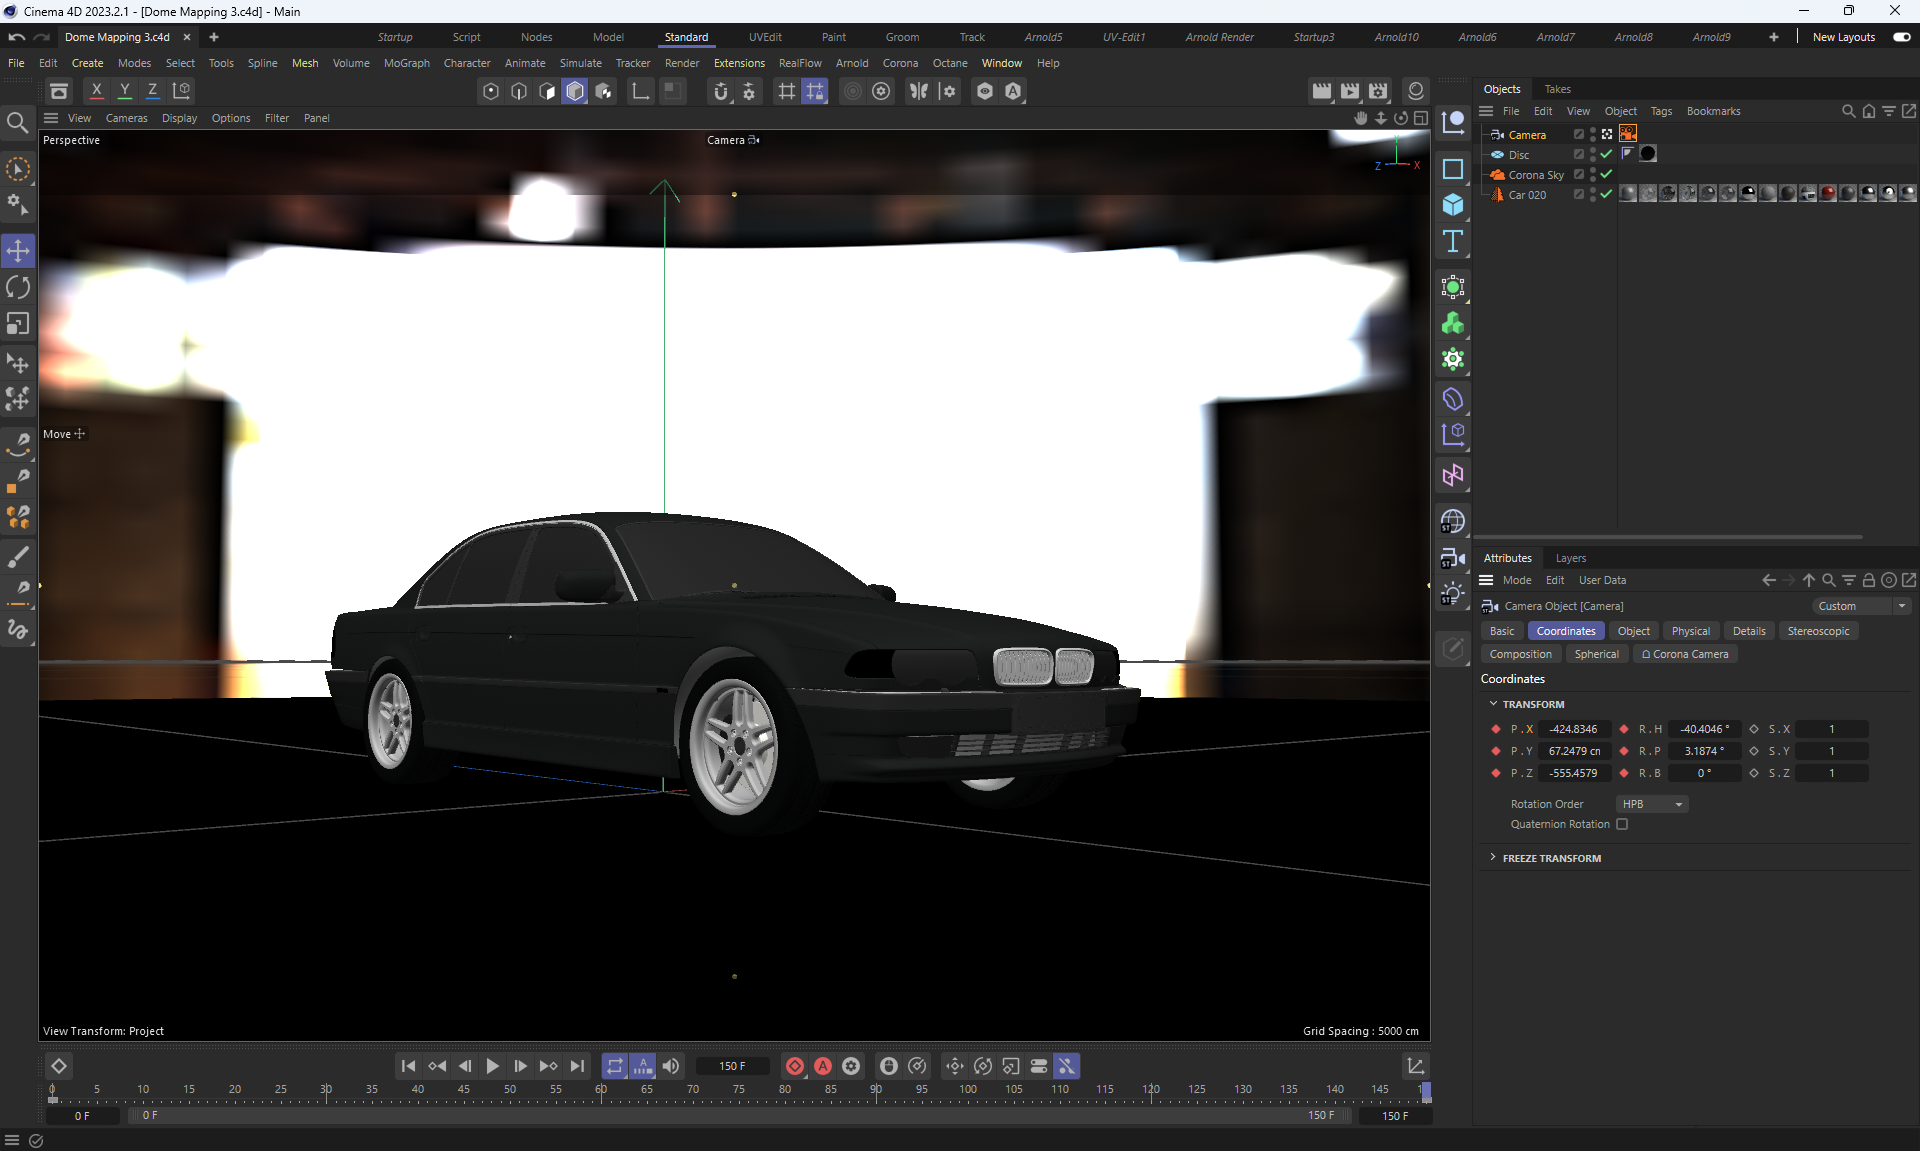
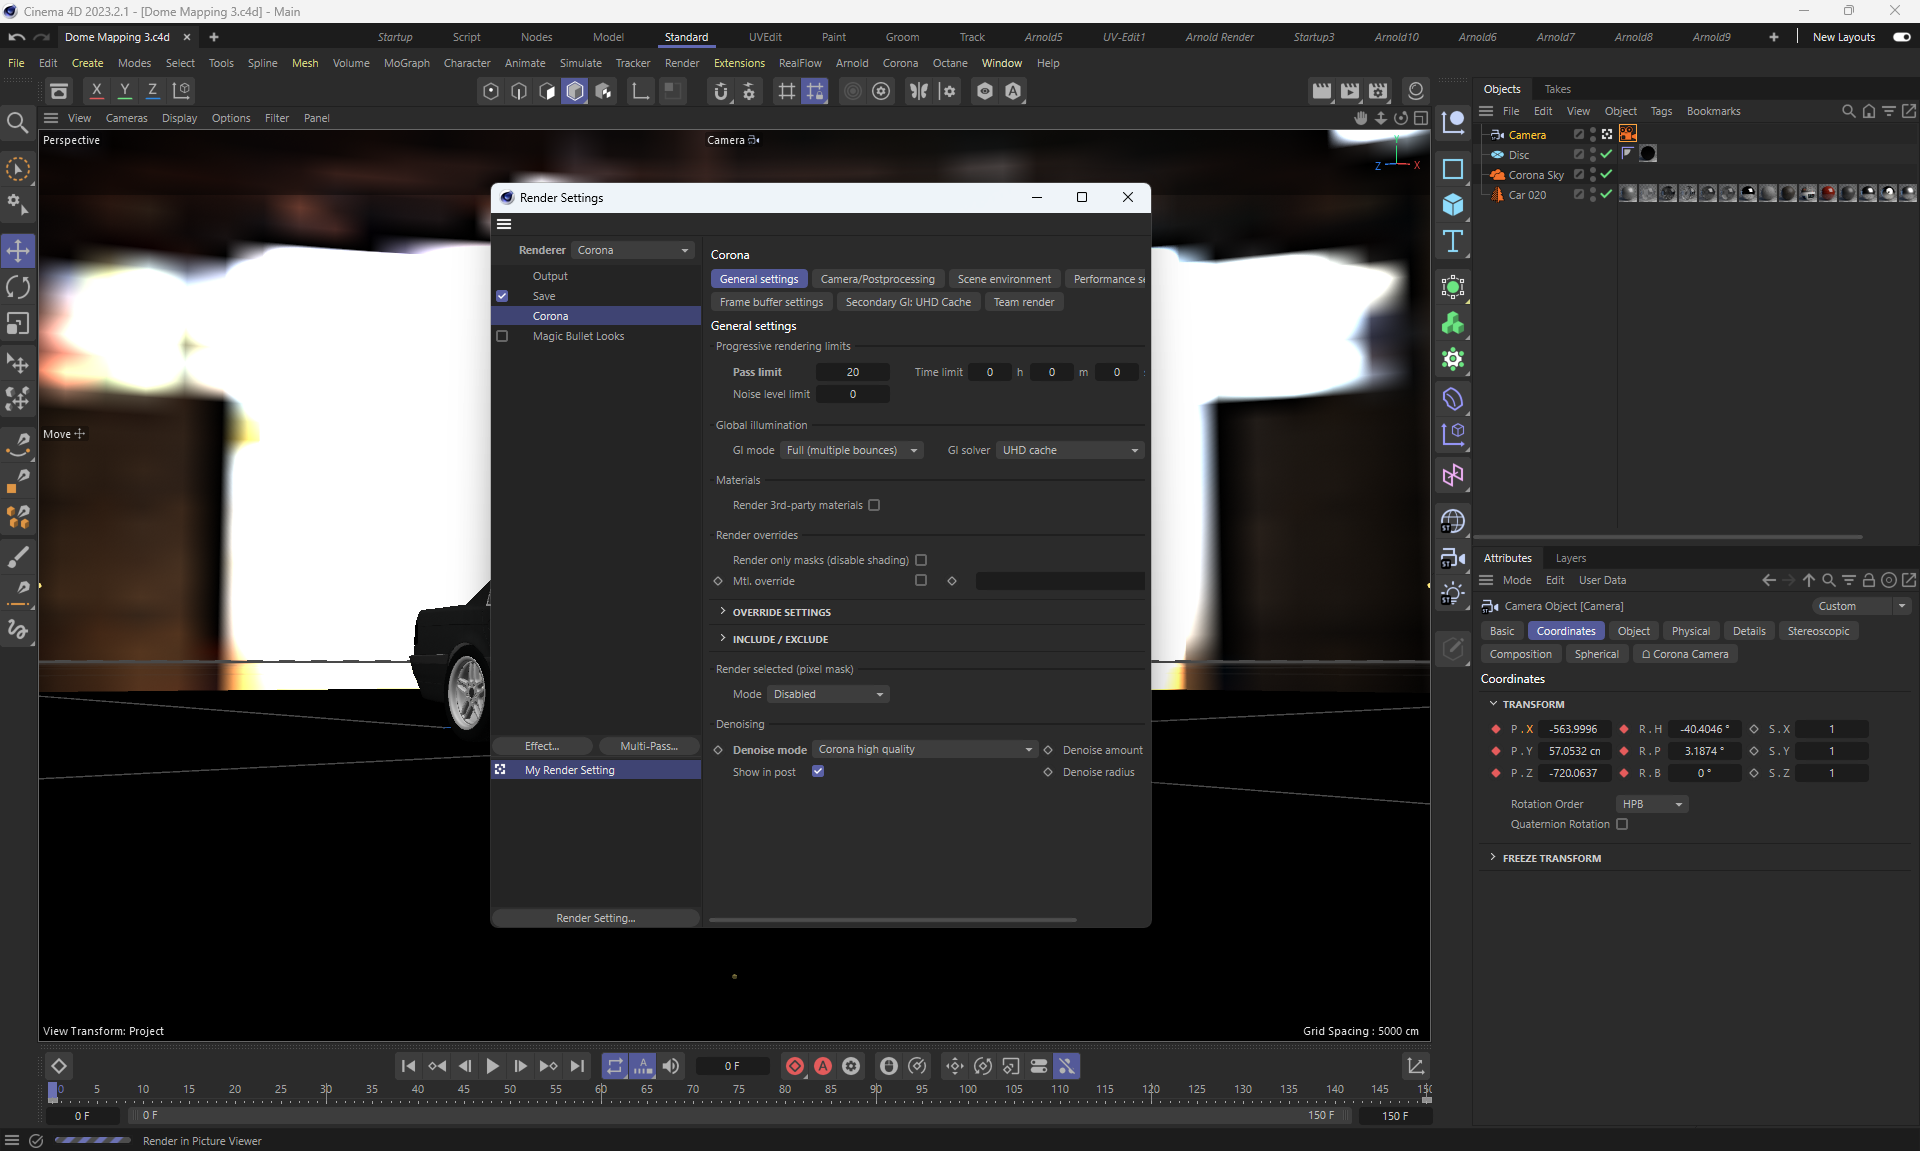
Dome Mapping with Chaos Corona for Cinema 4D
Video (9mb)
image
Sample Scenes Corona for Cinema 4D
I watched the scenes in which they are used Chaos Scans materials.
About working with Chaos Scans, the materials tell:
Chaos Scans with Chaos Corona in Cinema 4D | Real-World Materials Scans
These materials in vrscan format are downloaded from the site, have a large weight: 200-300 MB.
Image1
image2
I tested the Corona render, generated the image. These 1920x1080 images took 3-12 minutes to generate.
C4D, Corona, Photoshop - Creating an Interior-visualization with Cinema 4D & Corona render
I tested the Corona render in Cinema 4D, modeled the interior from the lesson to get a similar result.
More details according to this lesson
At the end of the lesson, the author generated a multipath image in layers and refined the image in Photoshop.
I did not do color correction, I was satisfied with the version generated by the Corona renderer.
Generated a 4000×4000 image in an hour and a half, there was a small amount of grain.
By using Image Enhancer
I enlarged the image, the graininess was cleaned up, then I returned it to the original size and edited it in Photoshop (I blurred part of the girl's face and removed white spots along the line of plinths).
In the lesson the author used different combinations of images for the texture of the walls so that repeating patterns were not visible. It is possible to improve the texture of a dark wall so that there are no noticeable sharp differences in texture.
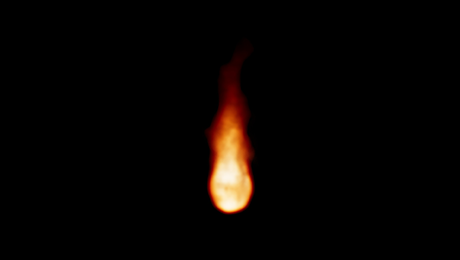
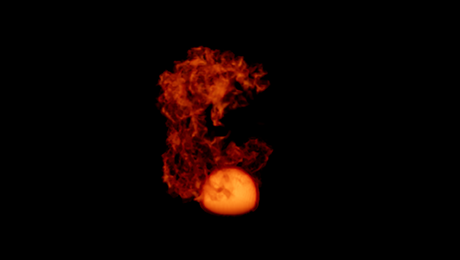
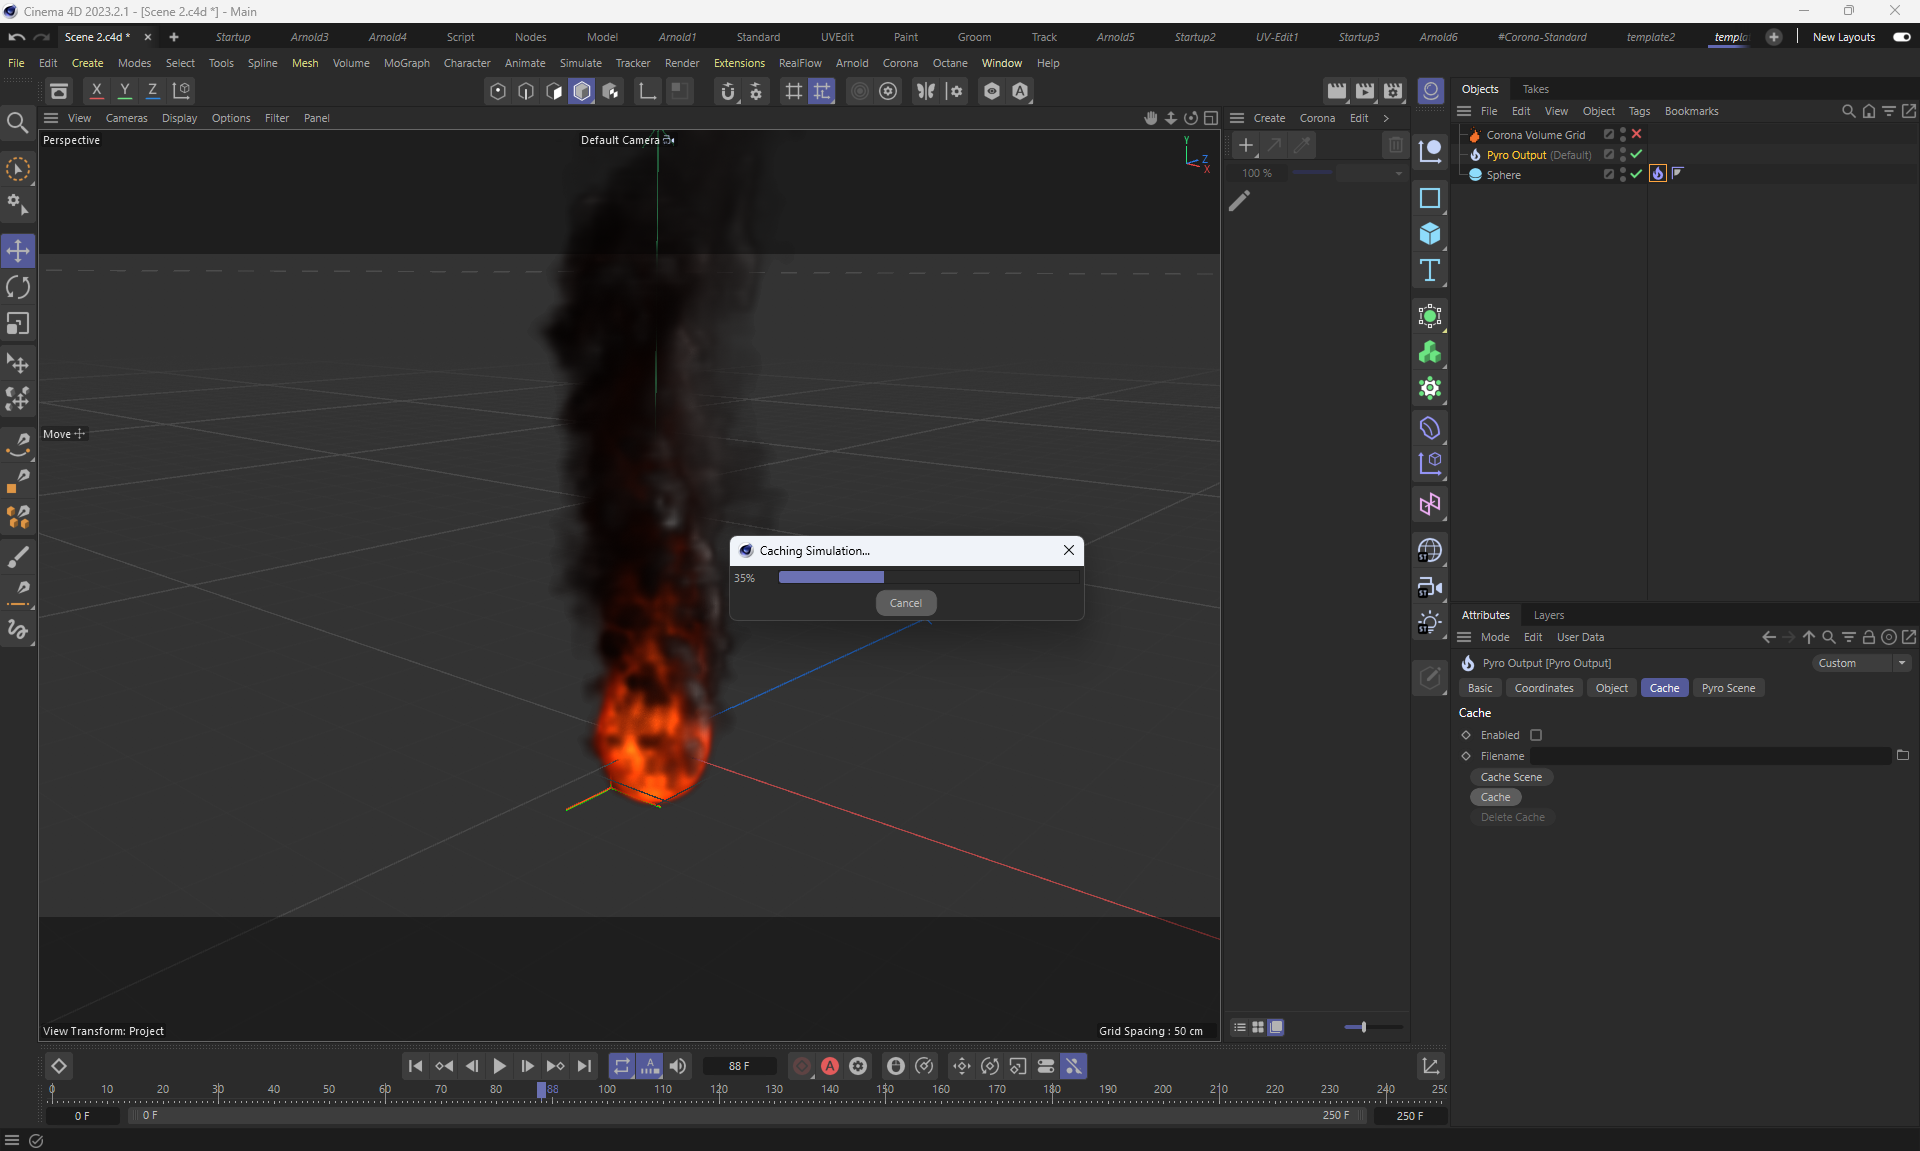
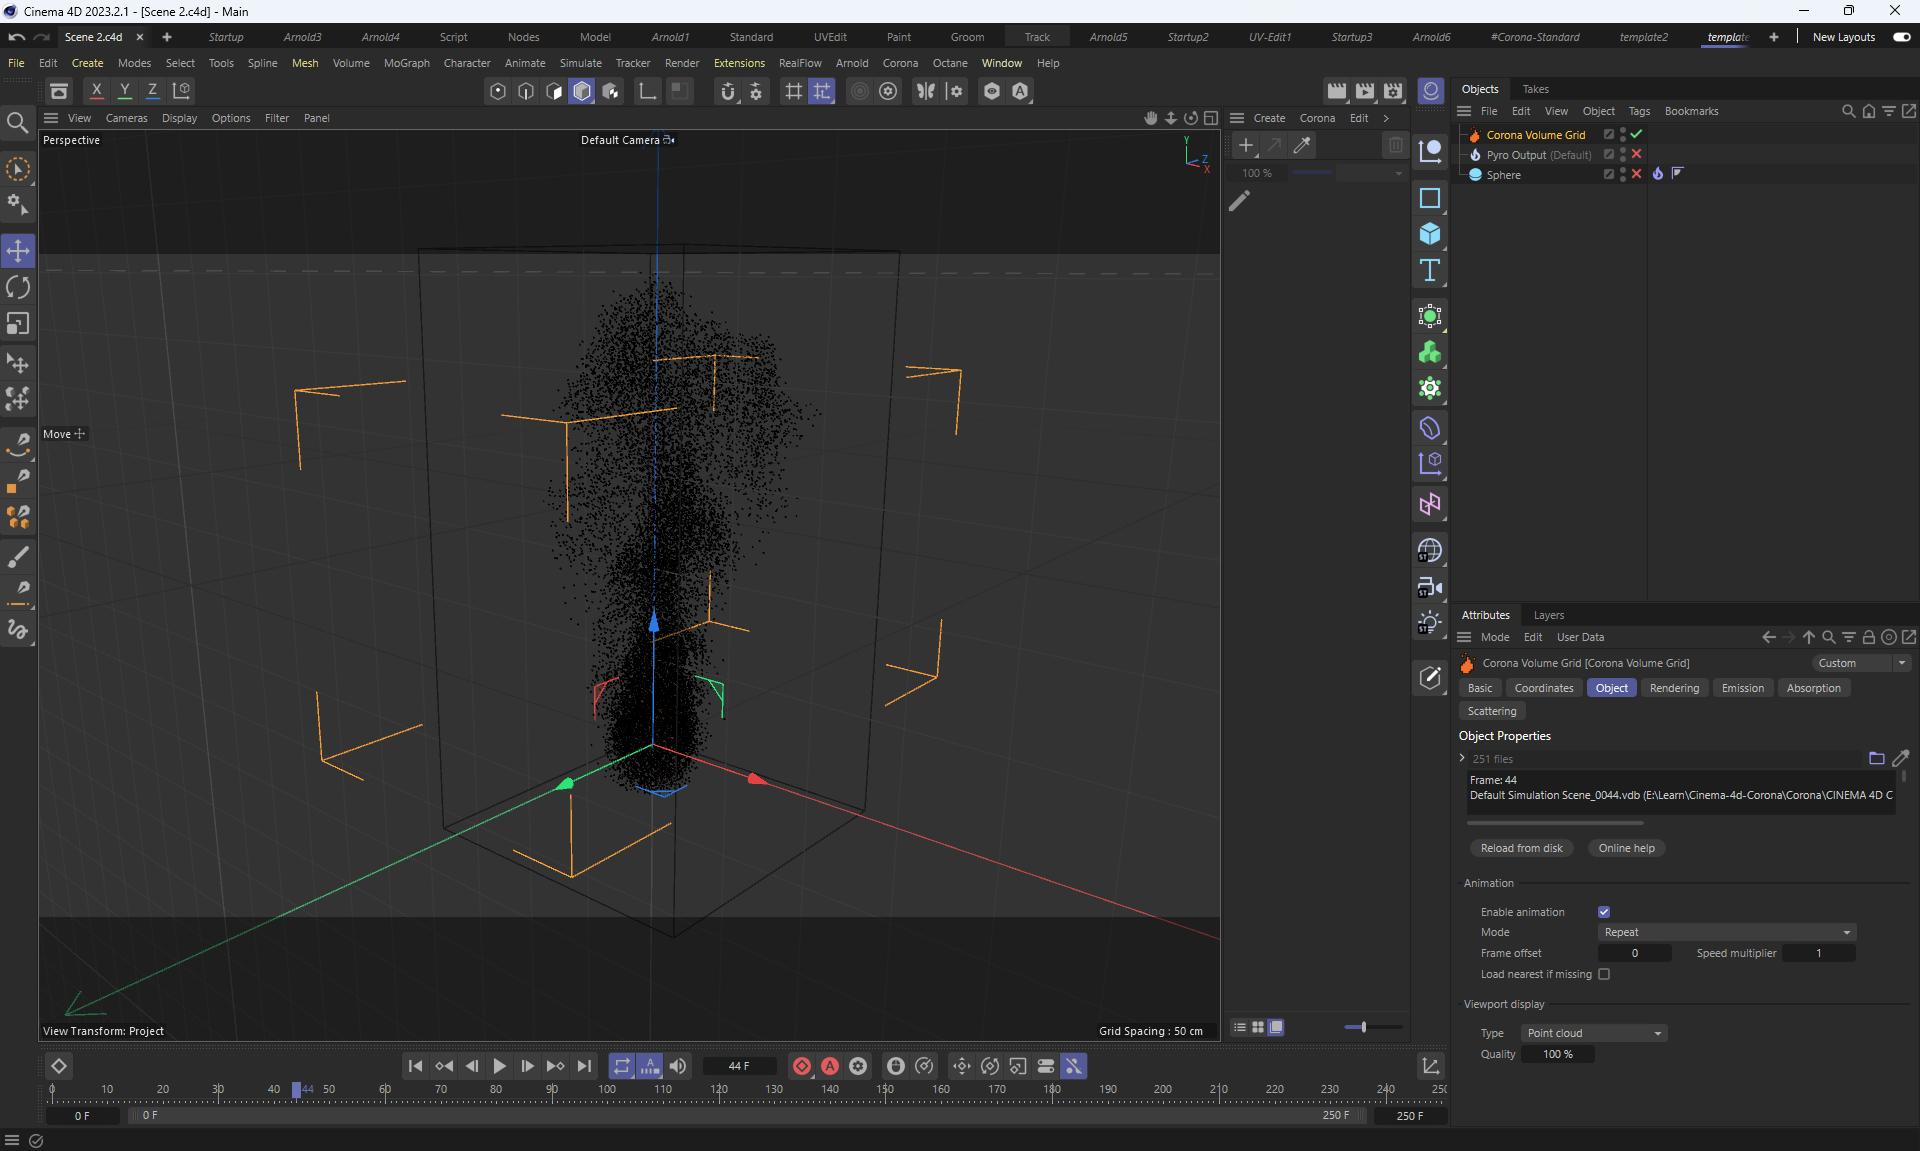
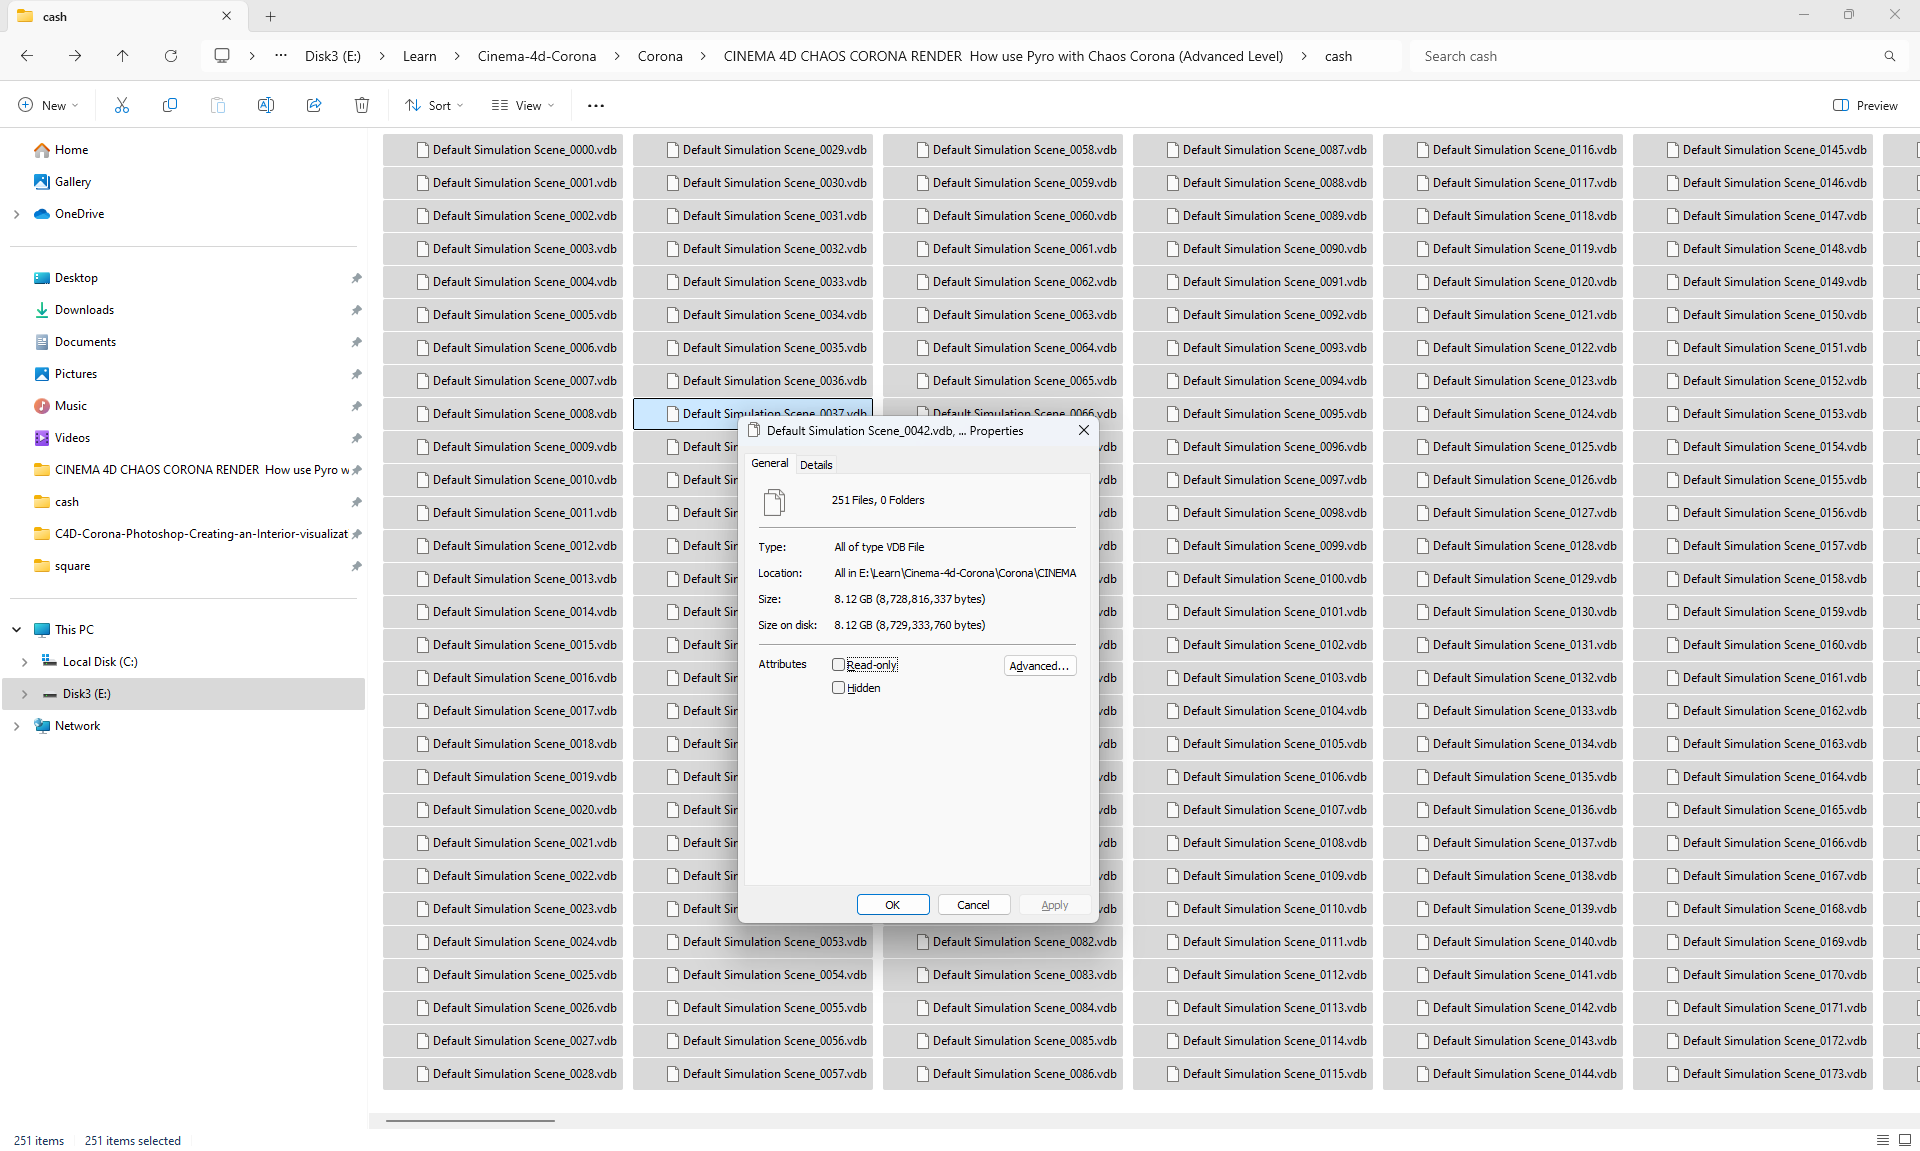
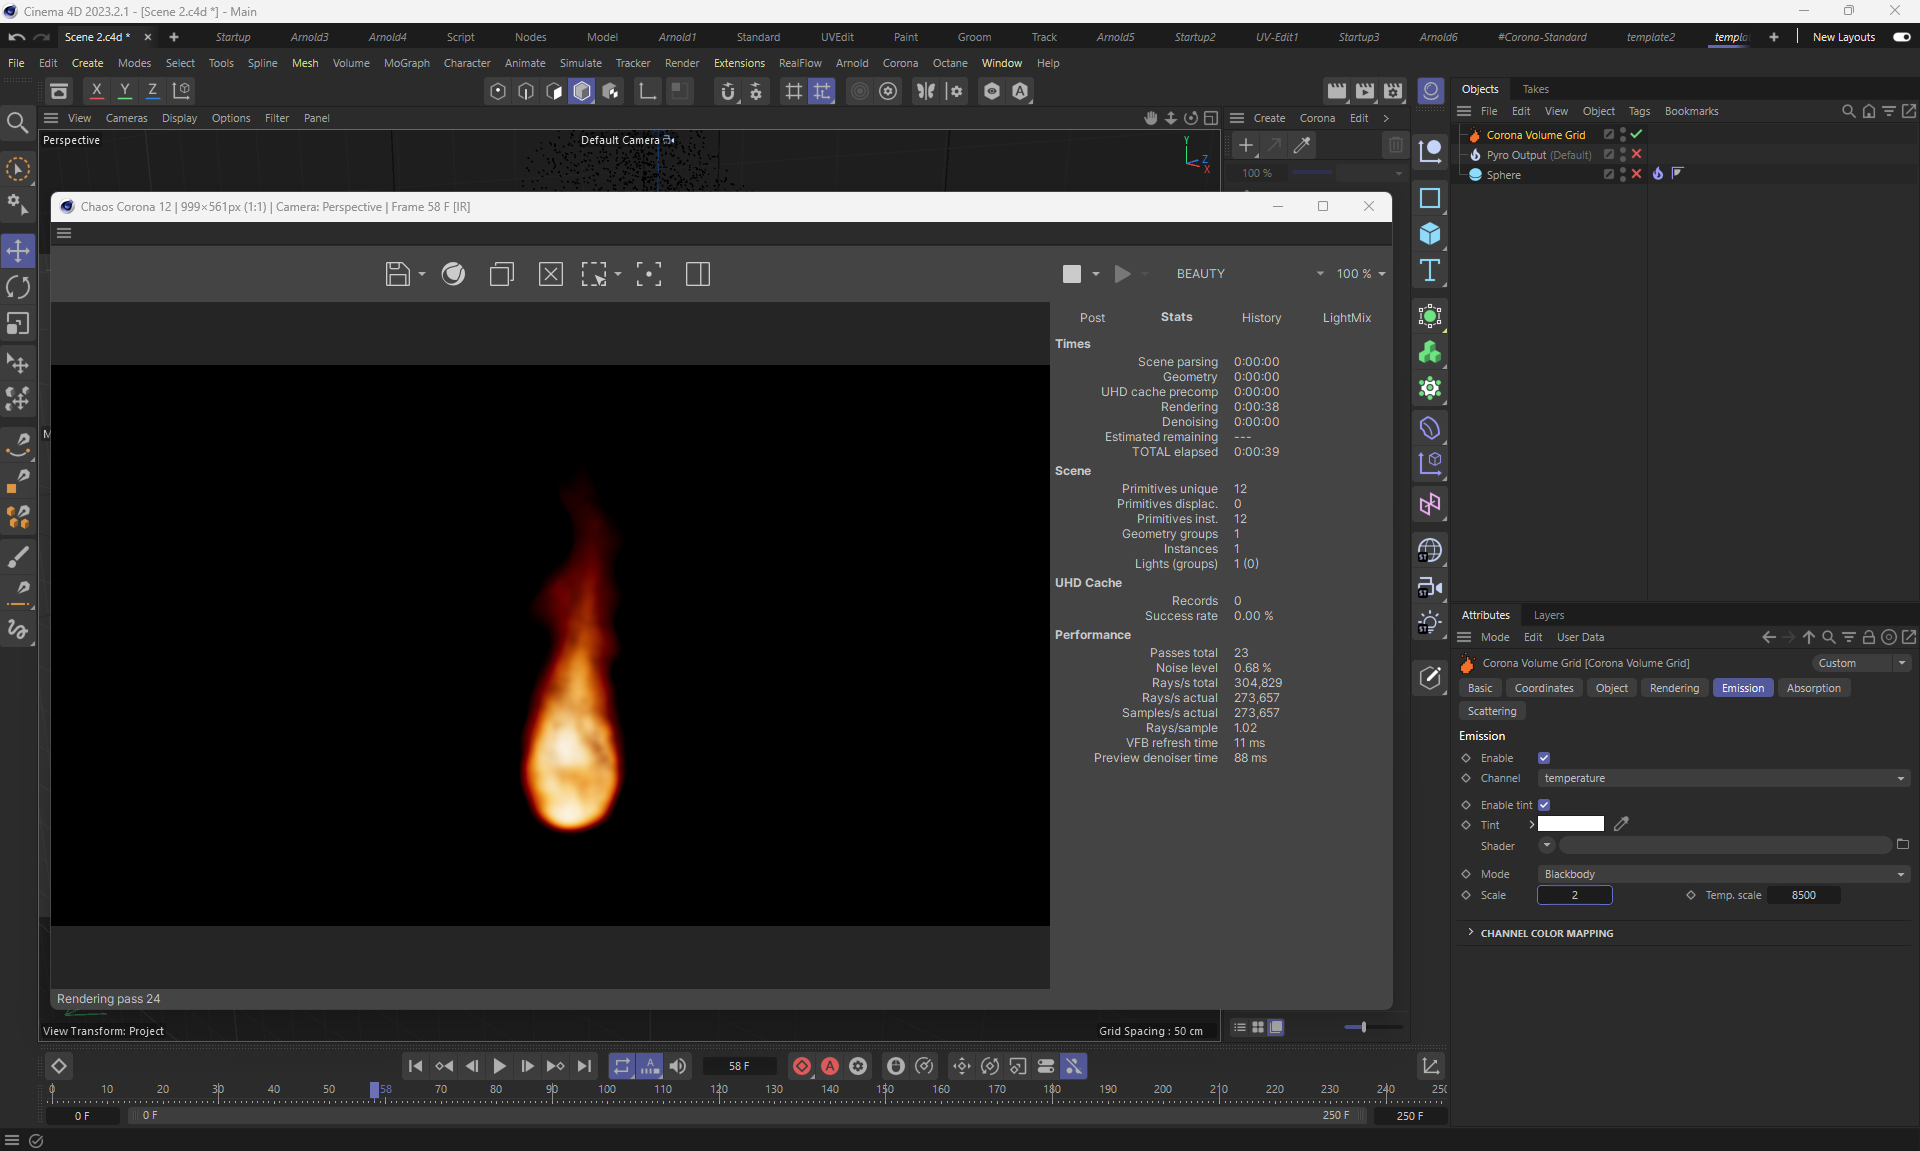
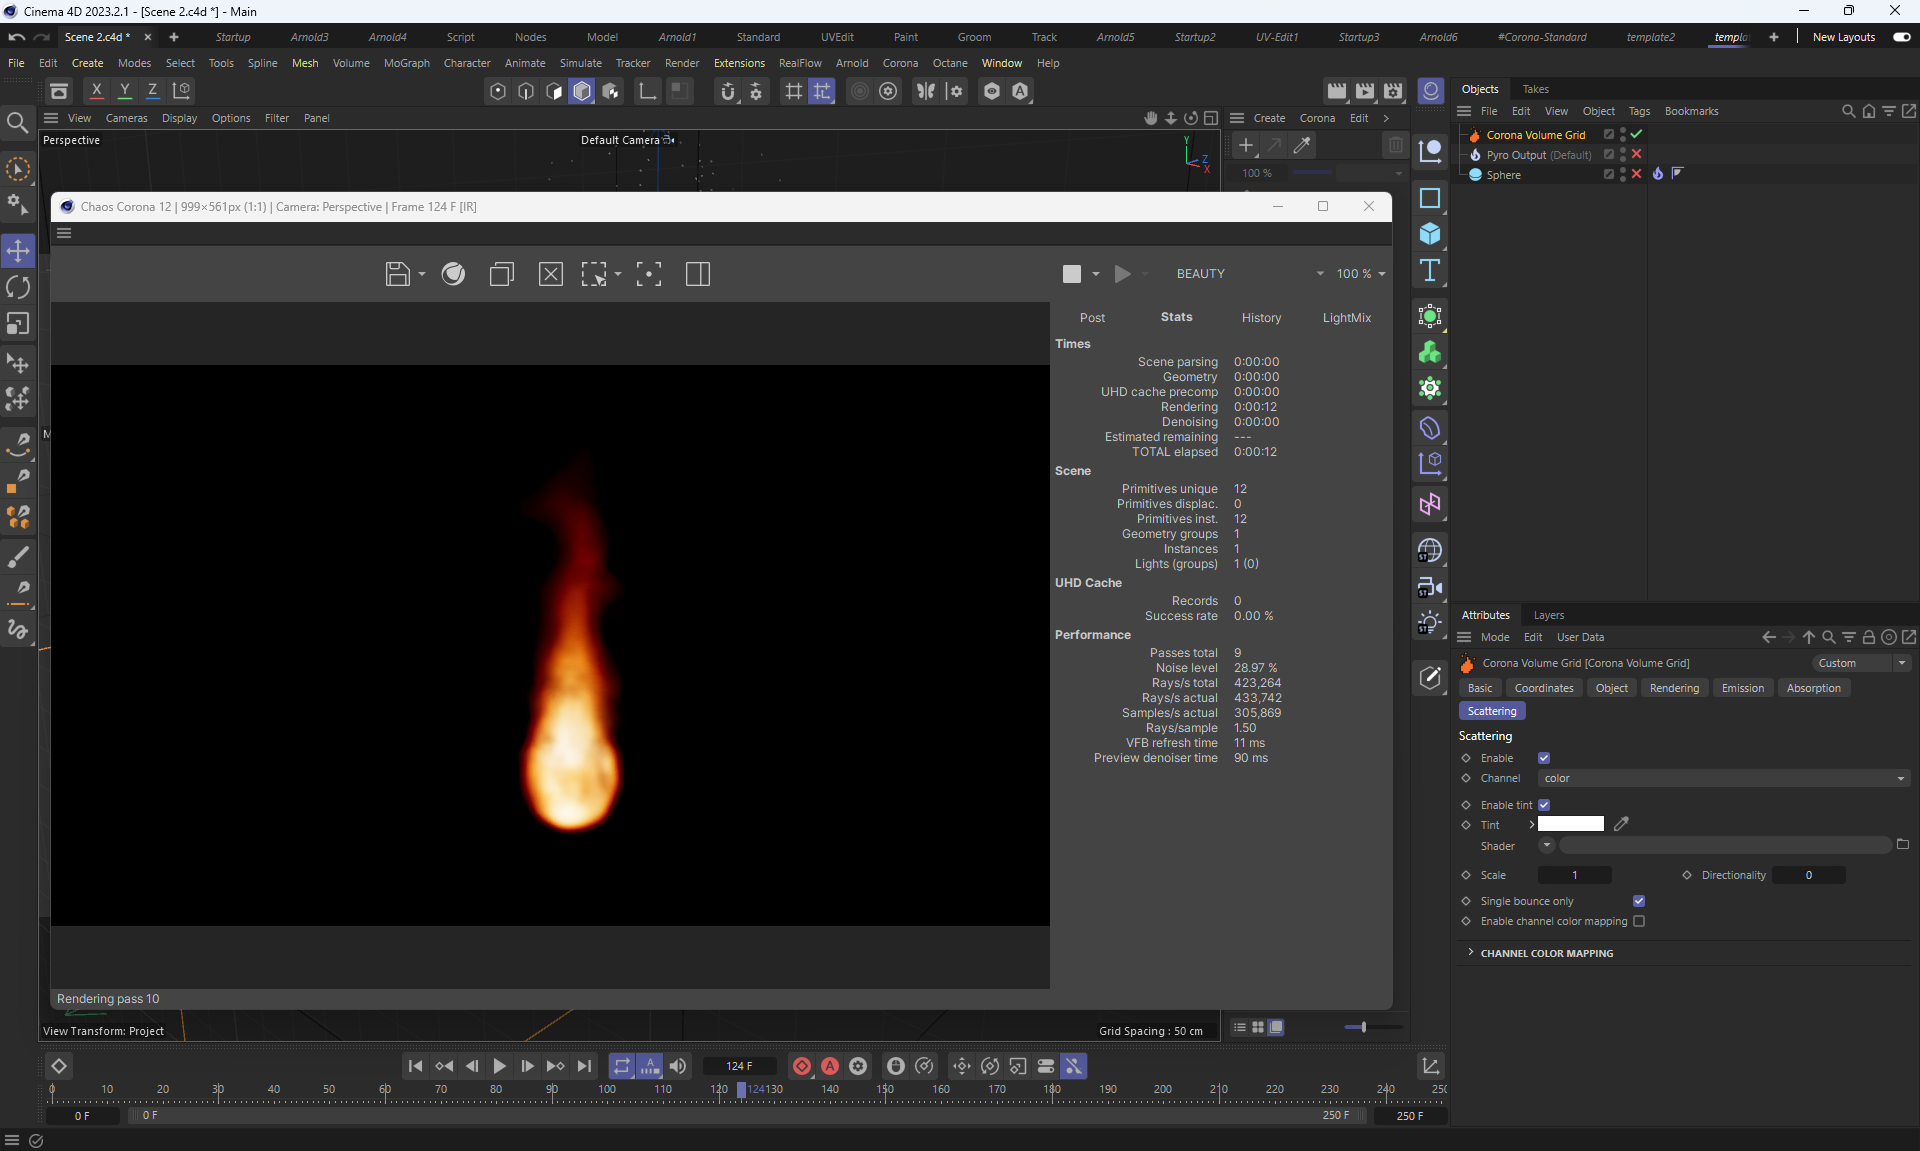
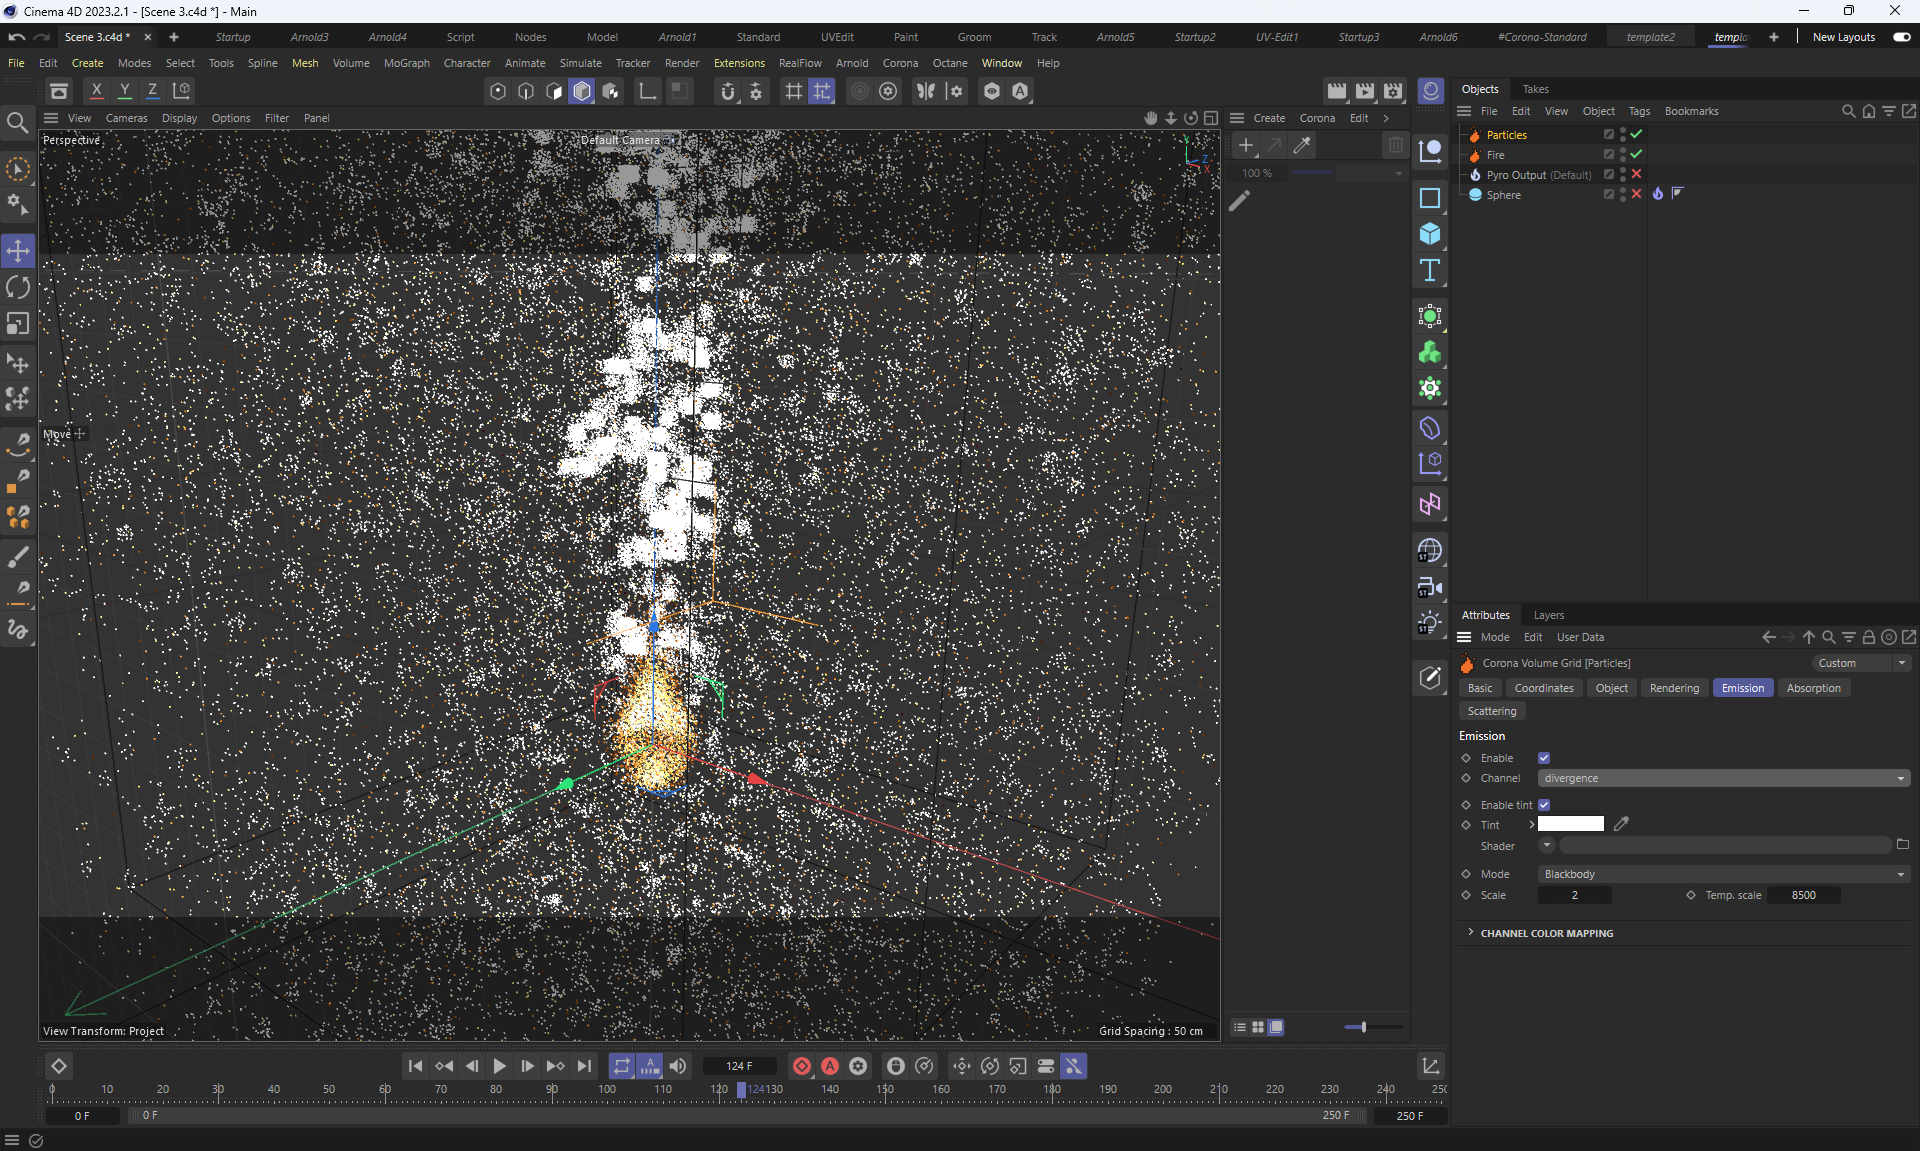
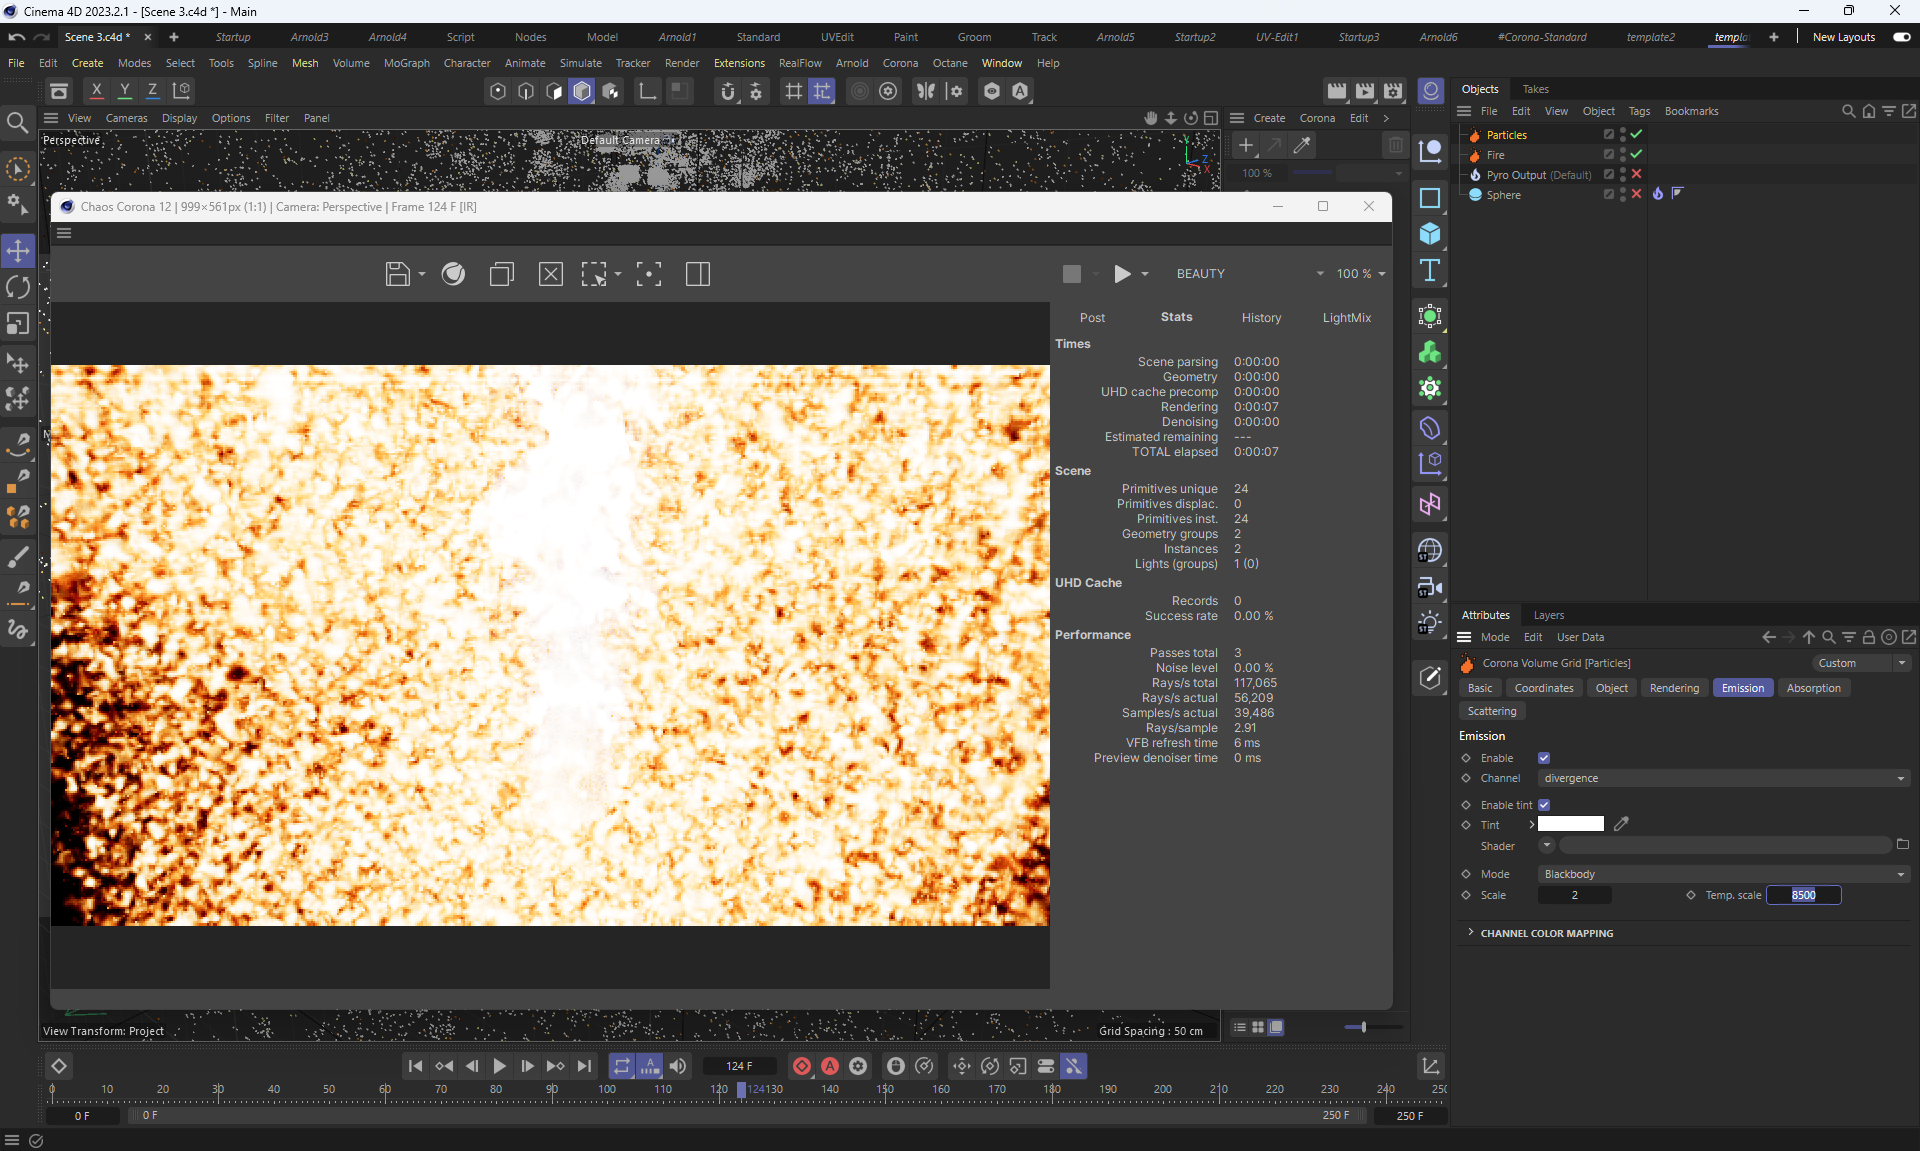
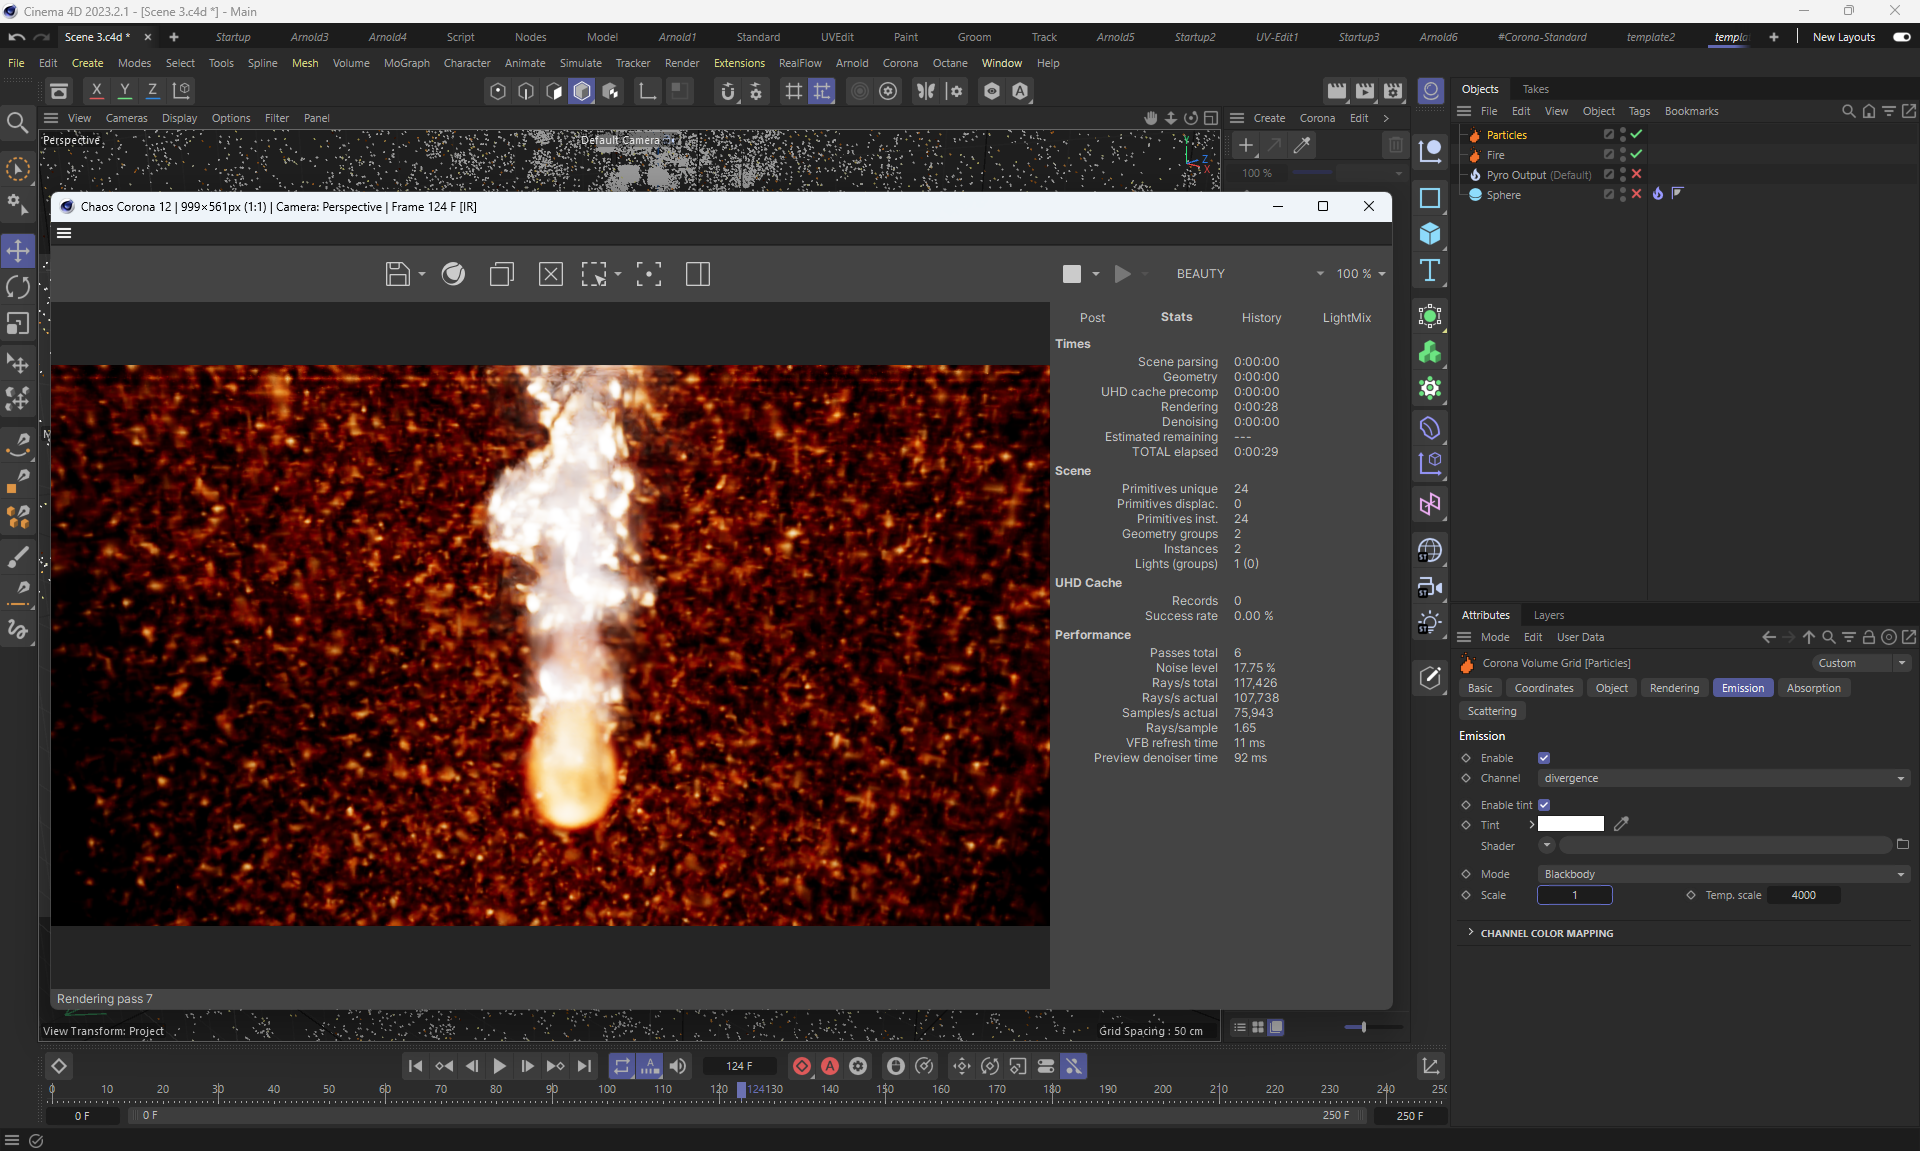
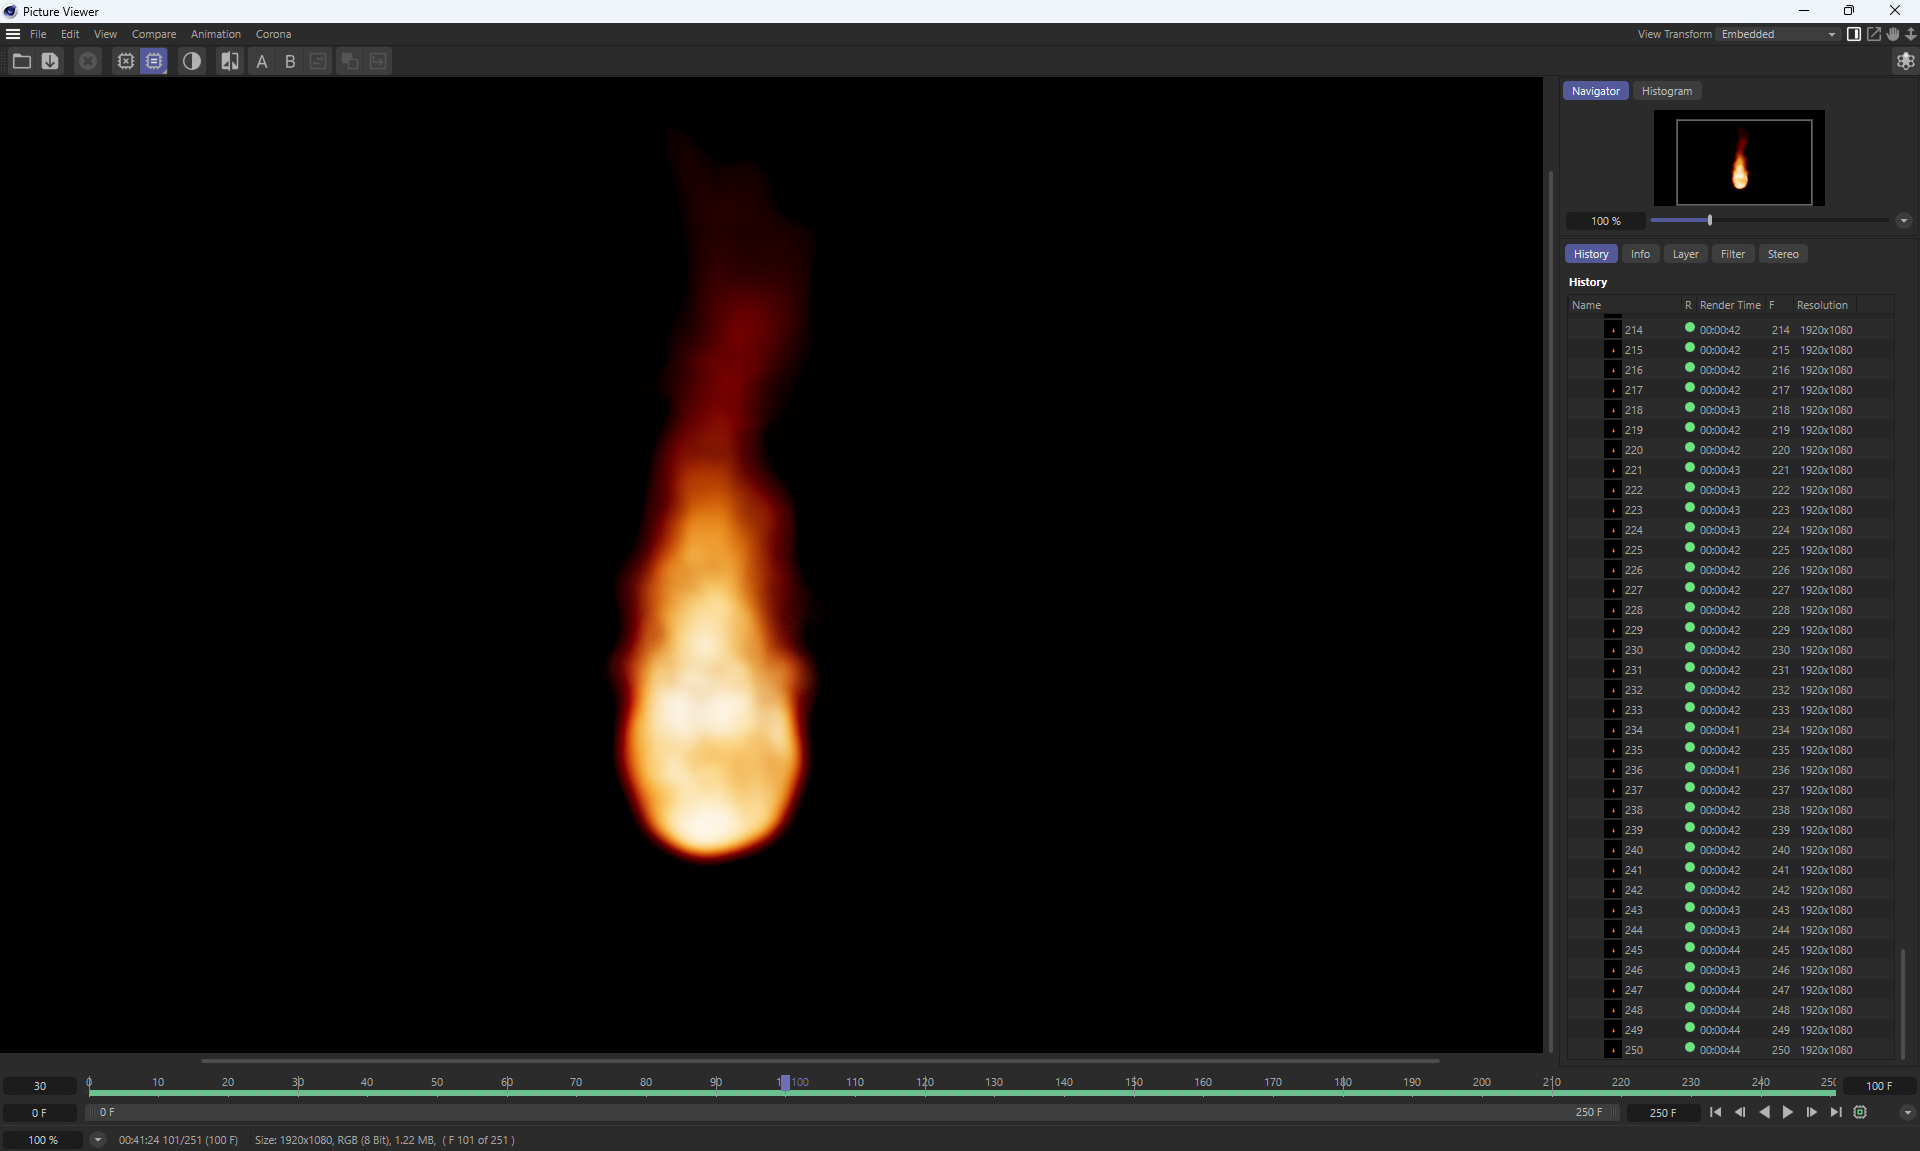
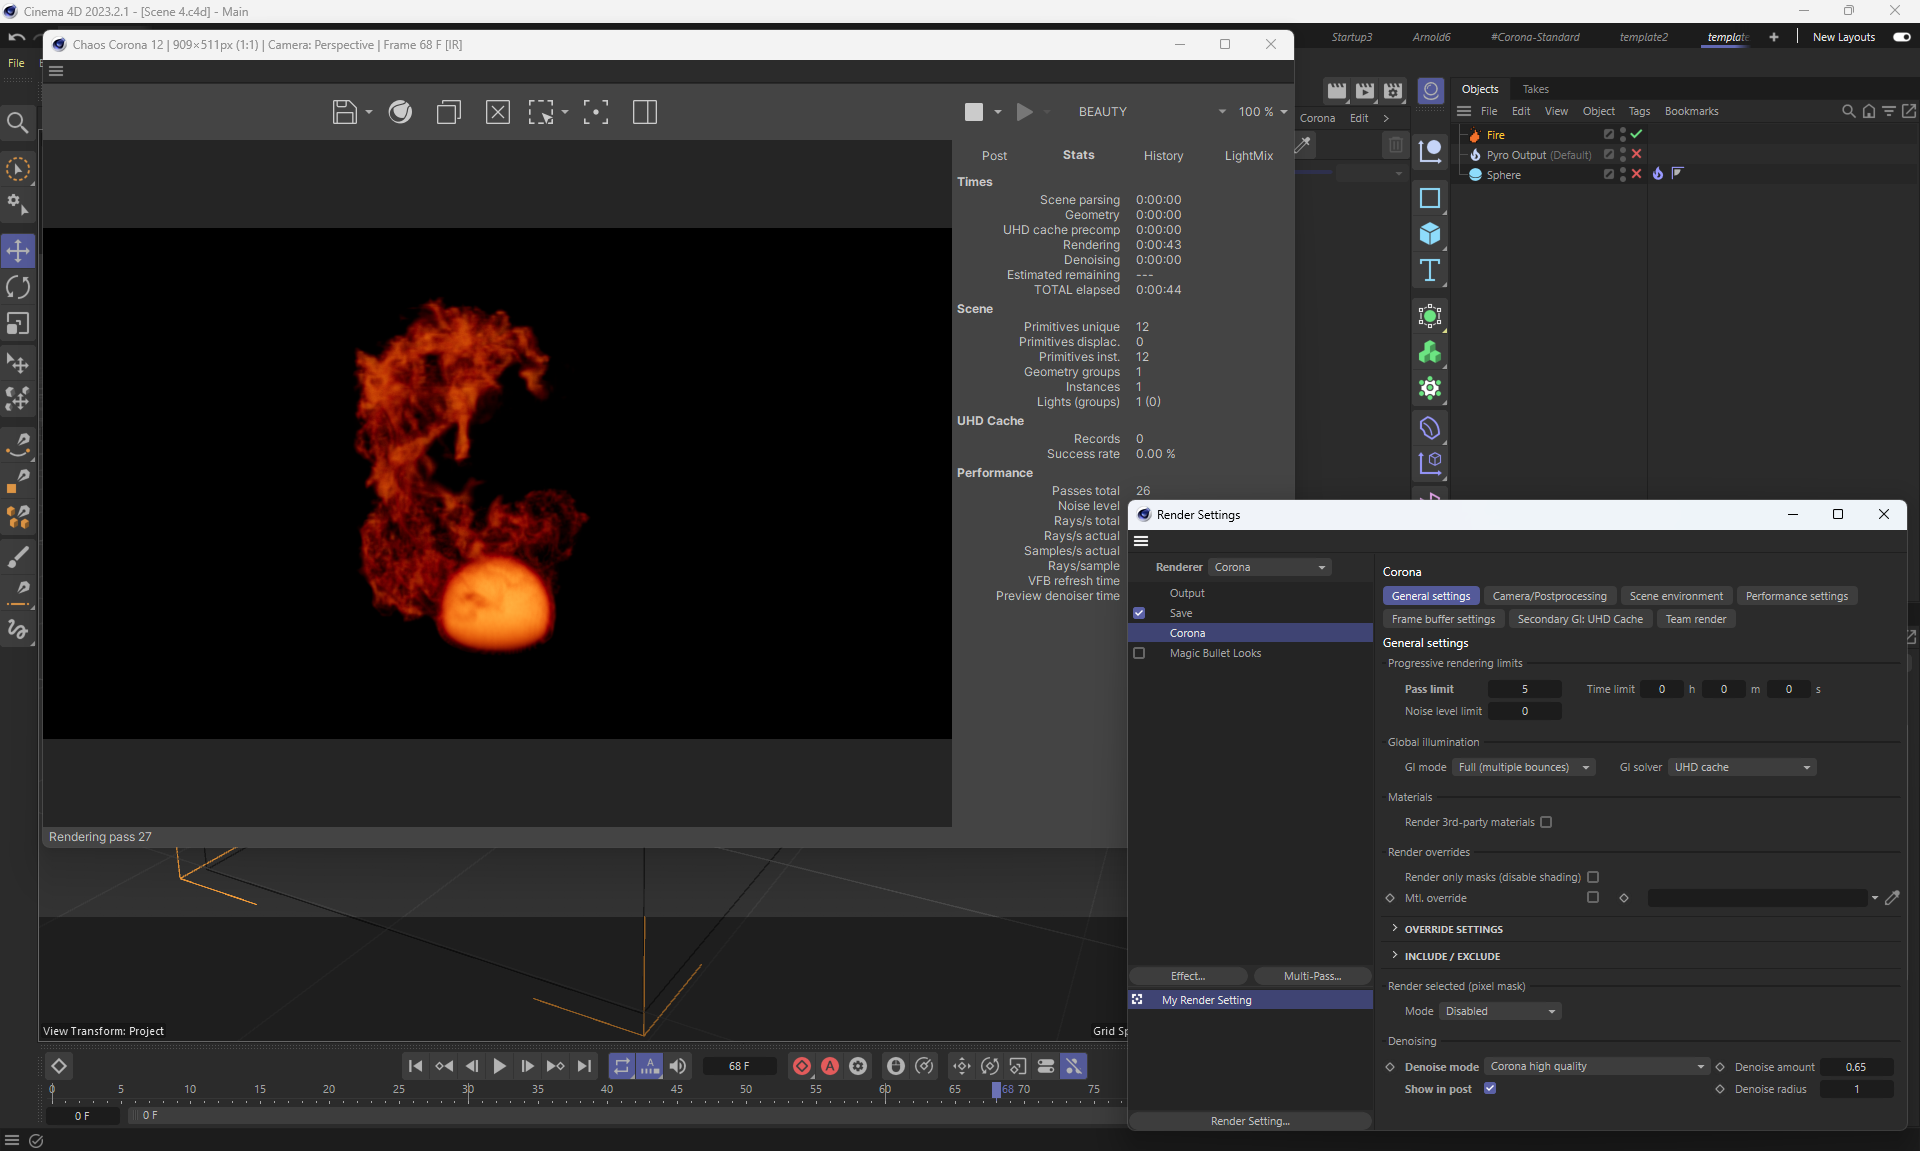
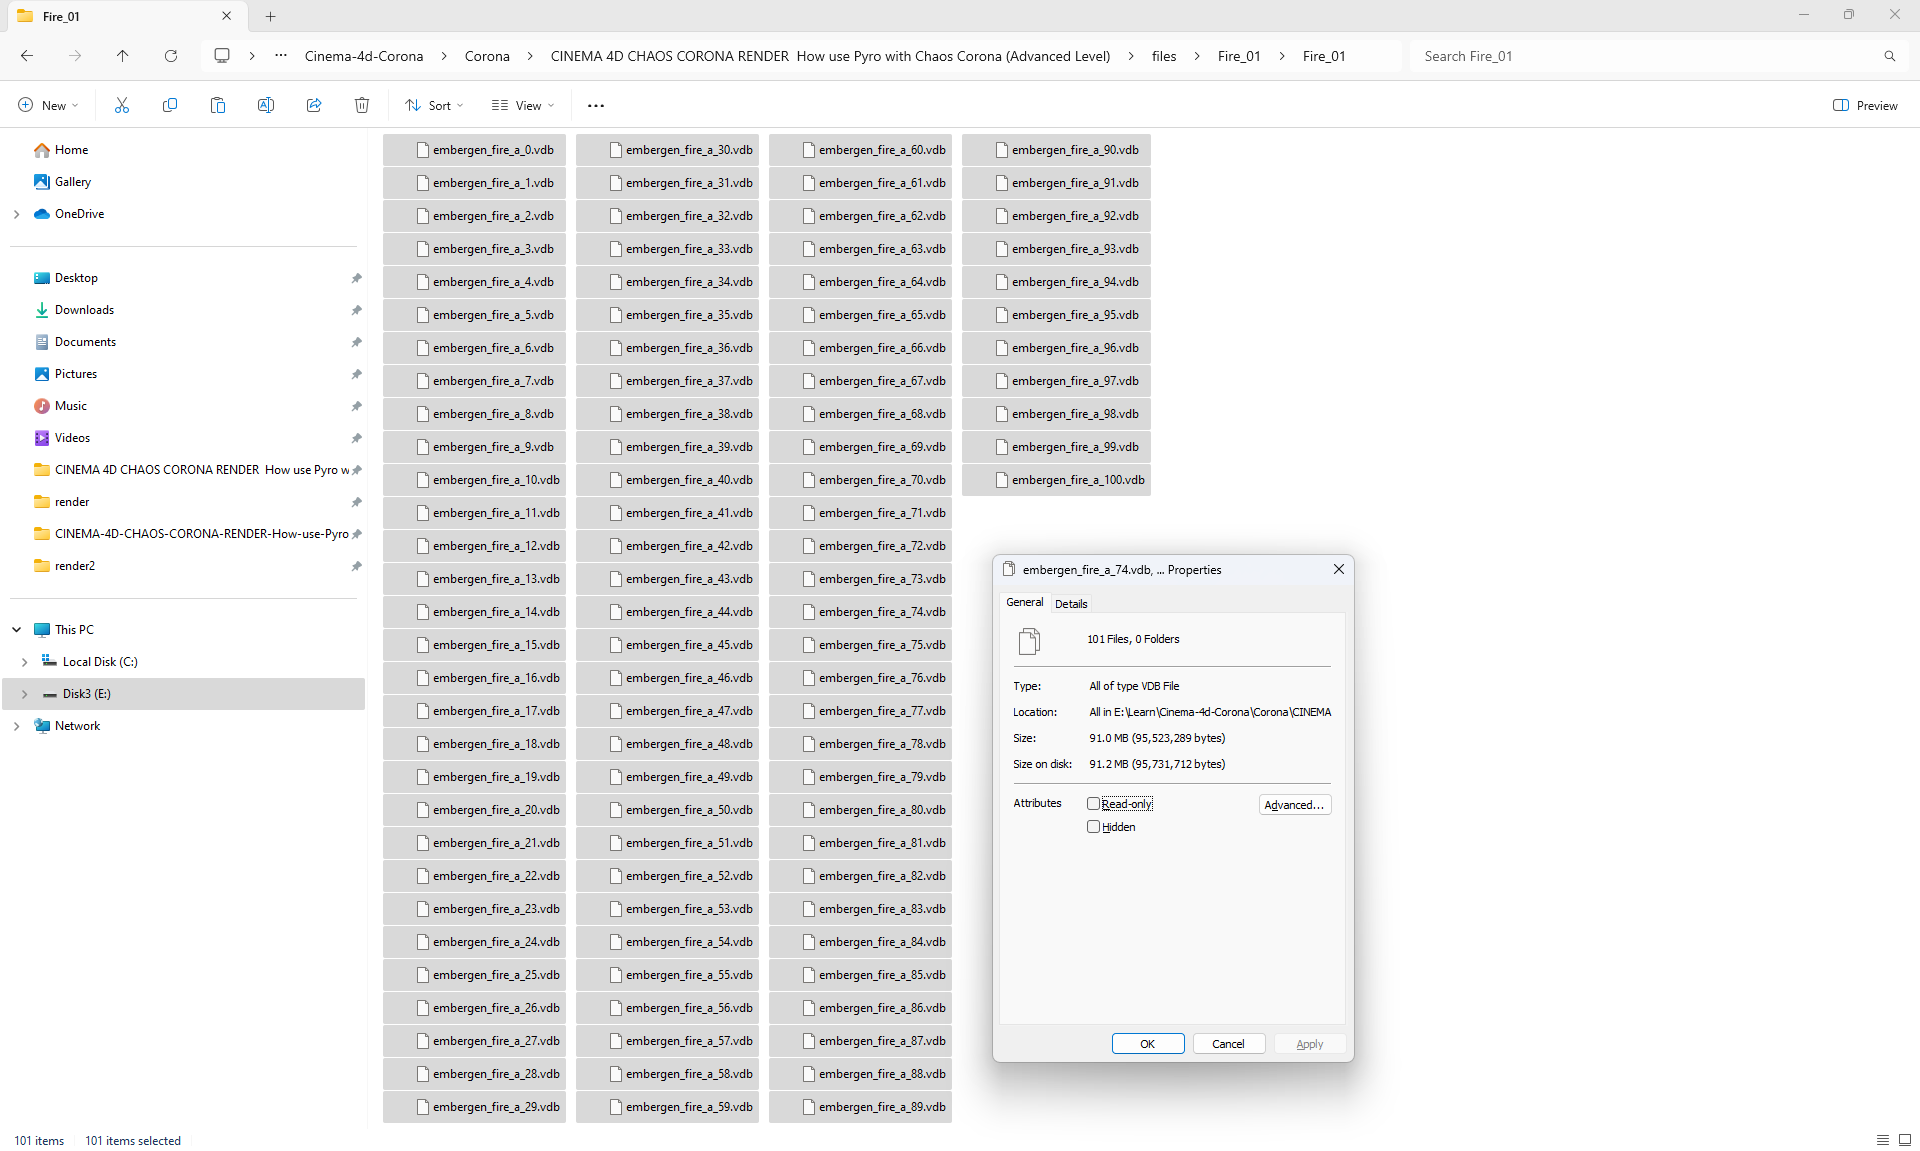
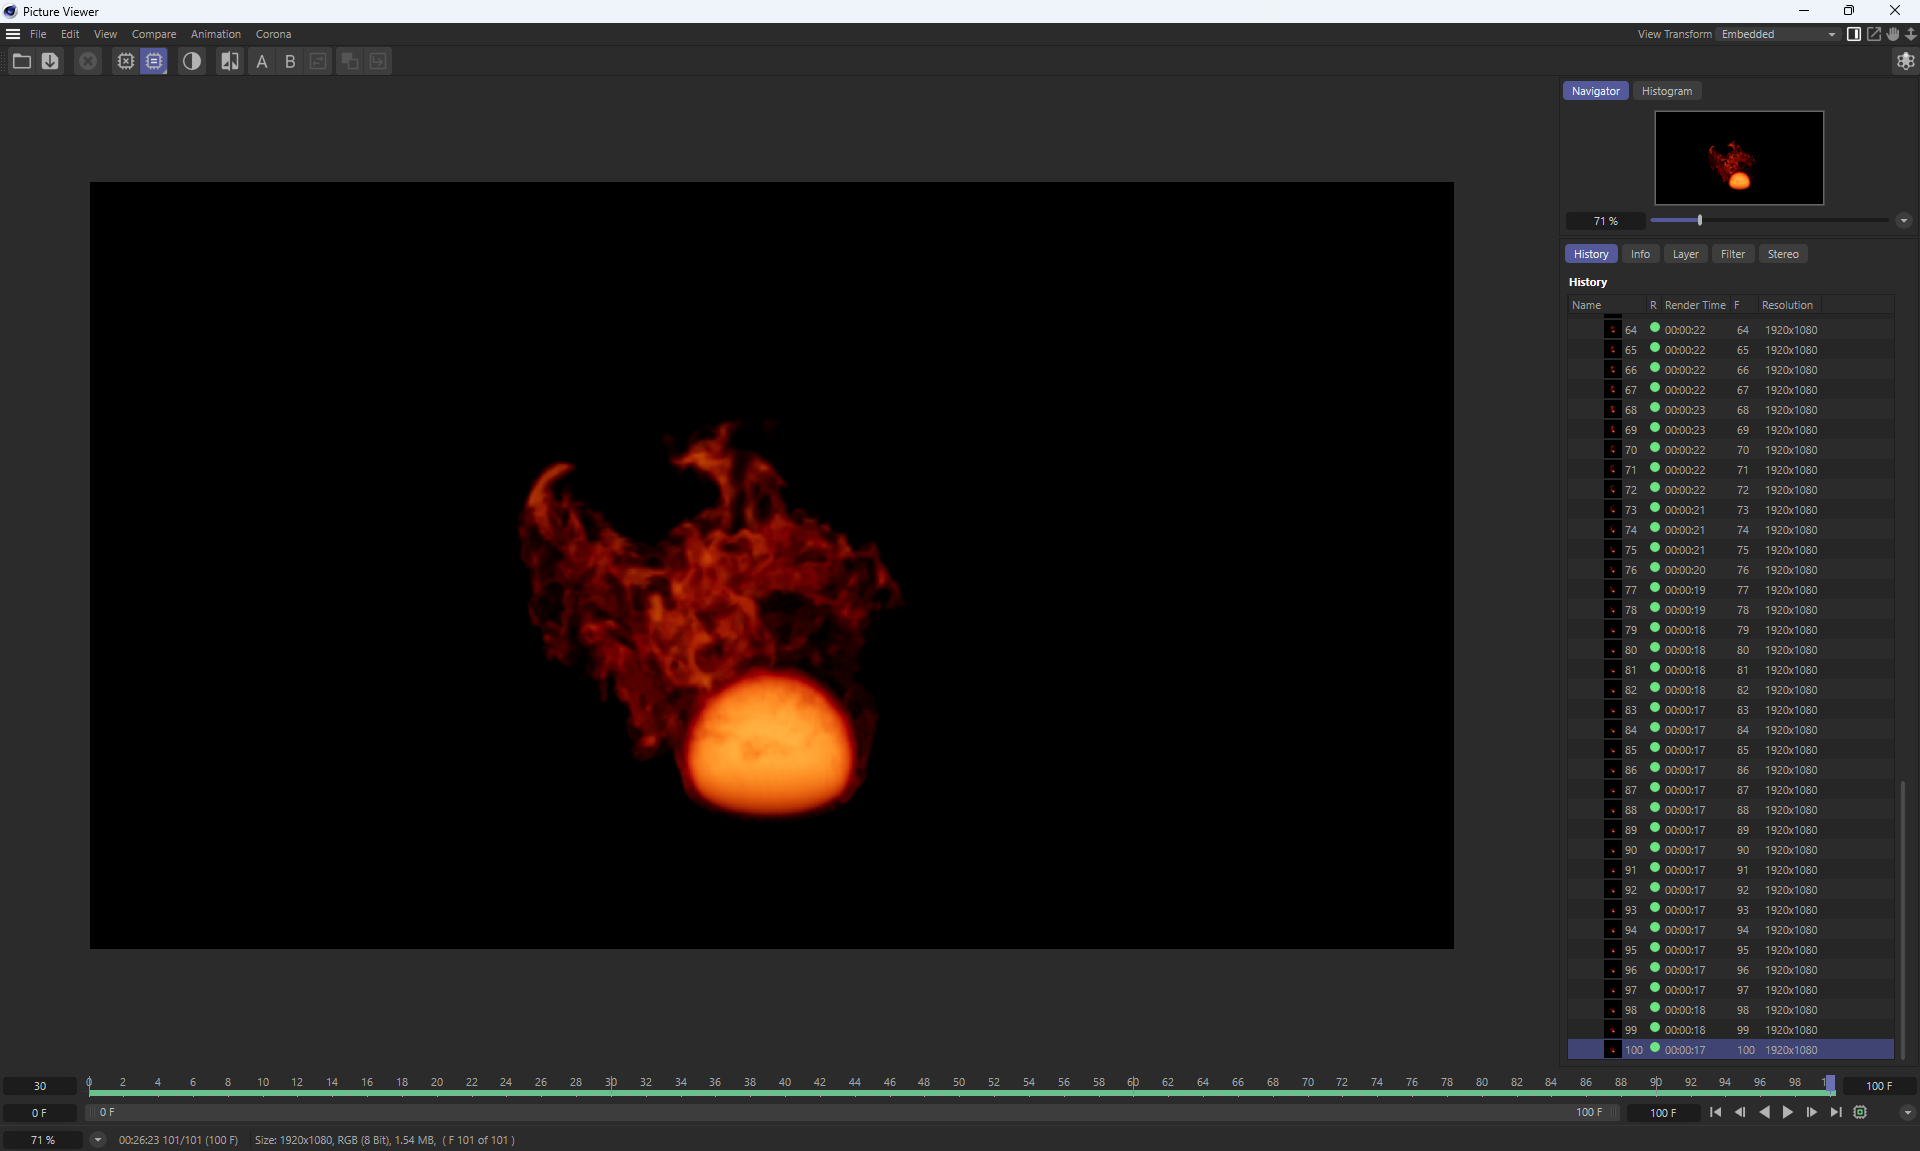
CINEMA 4D / CHAOS CORONA RENDER / How use Pyro with Chaos Corona (Advanced Level)
More details according to this lesson
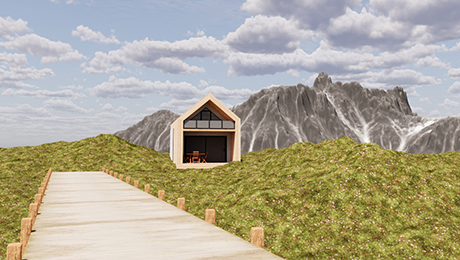
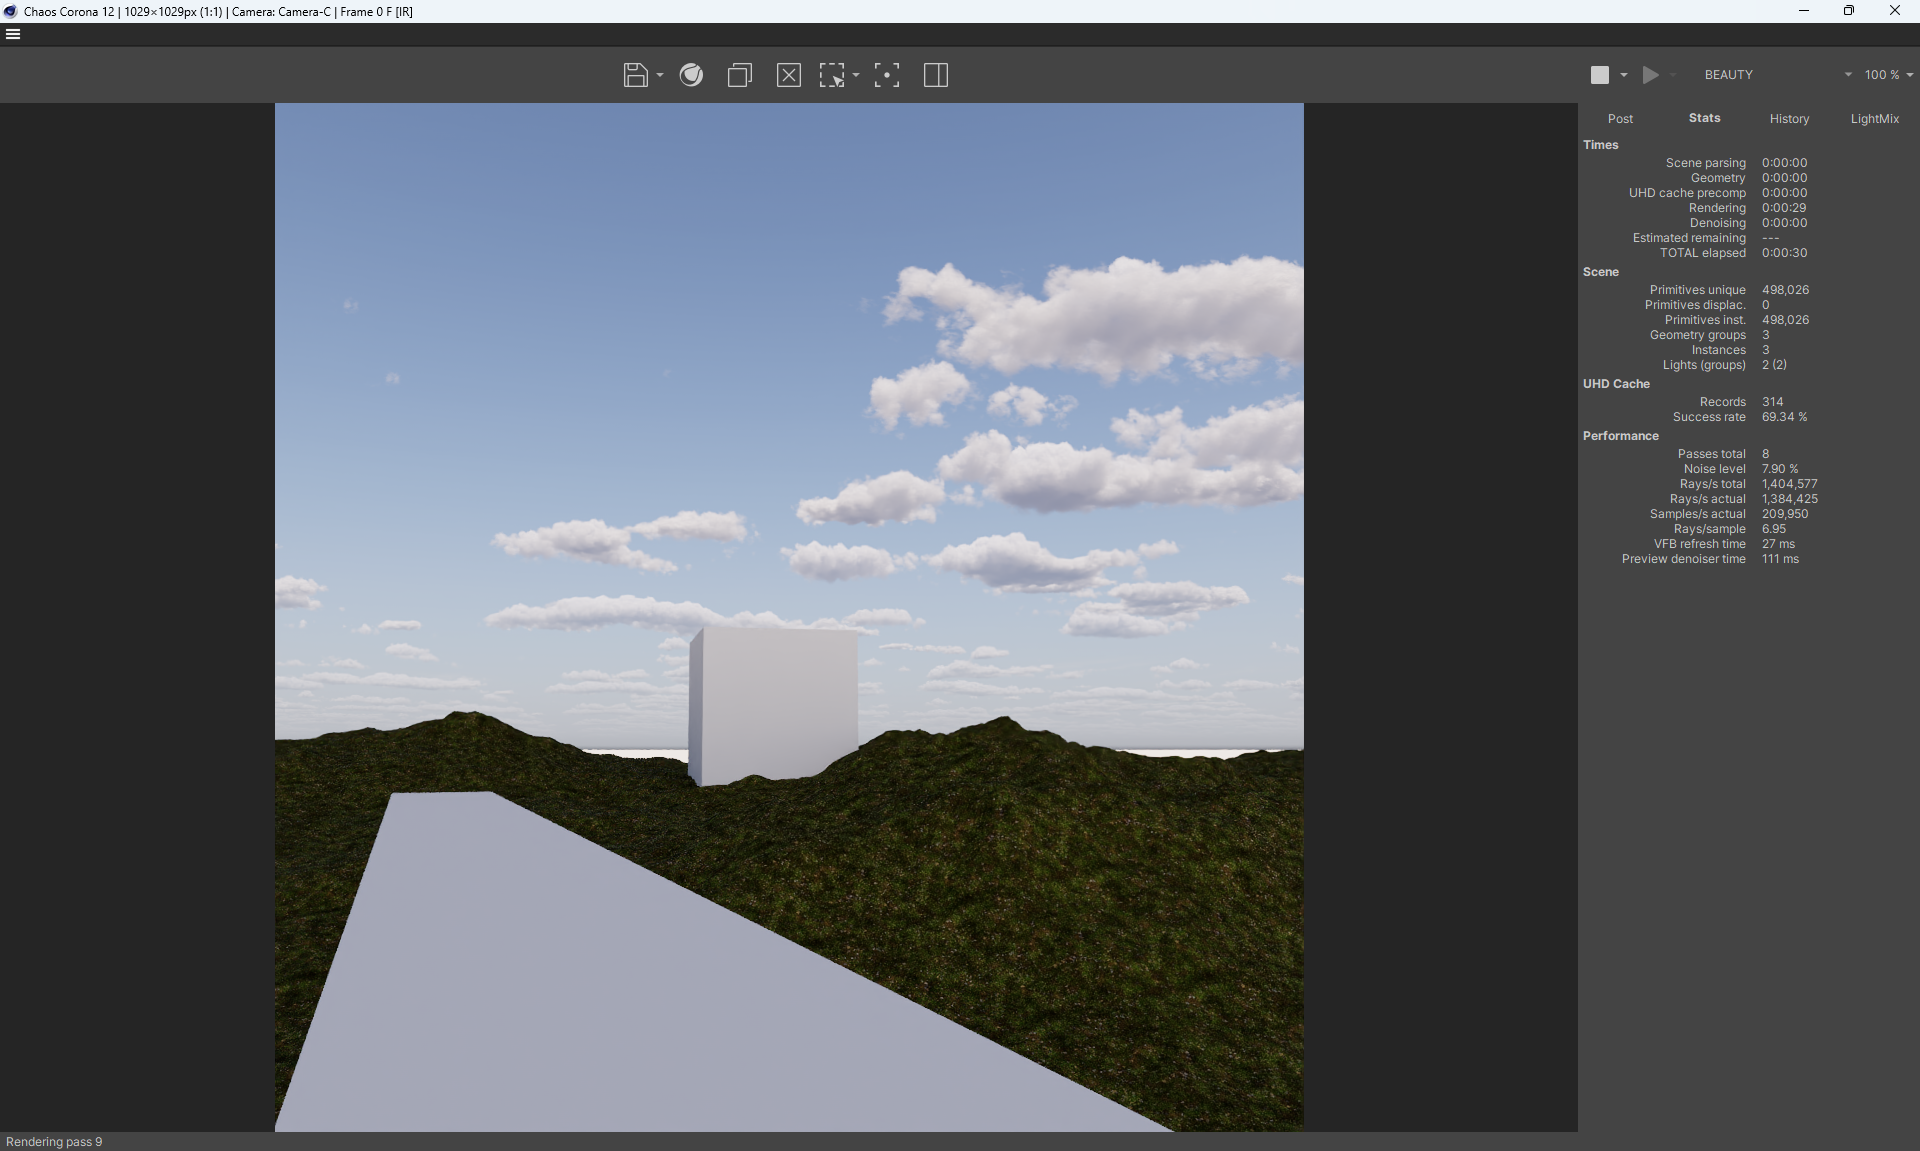
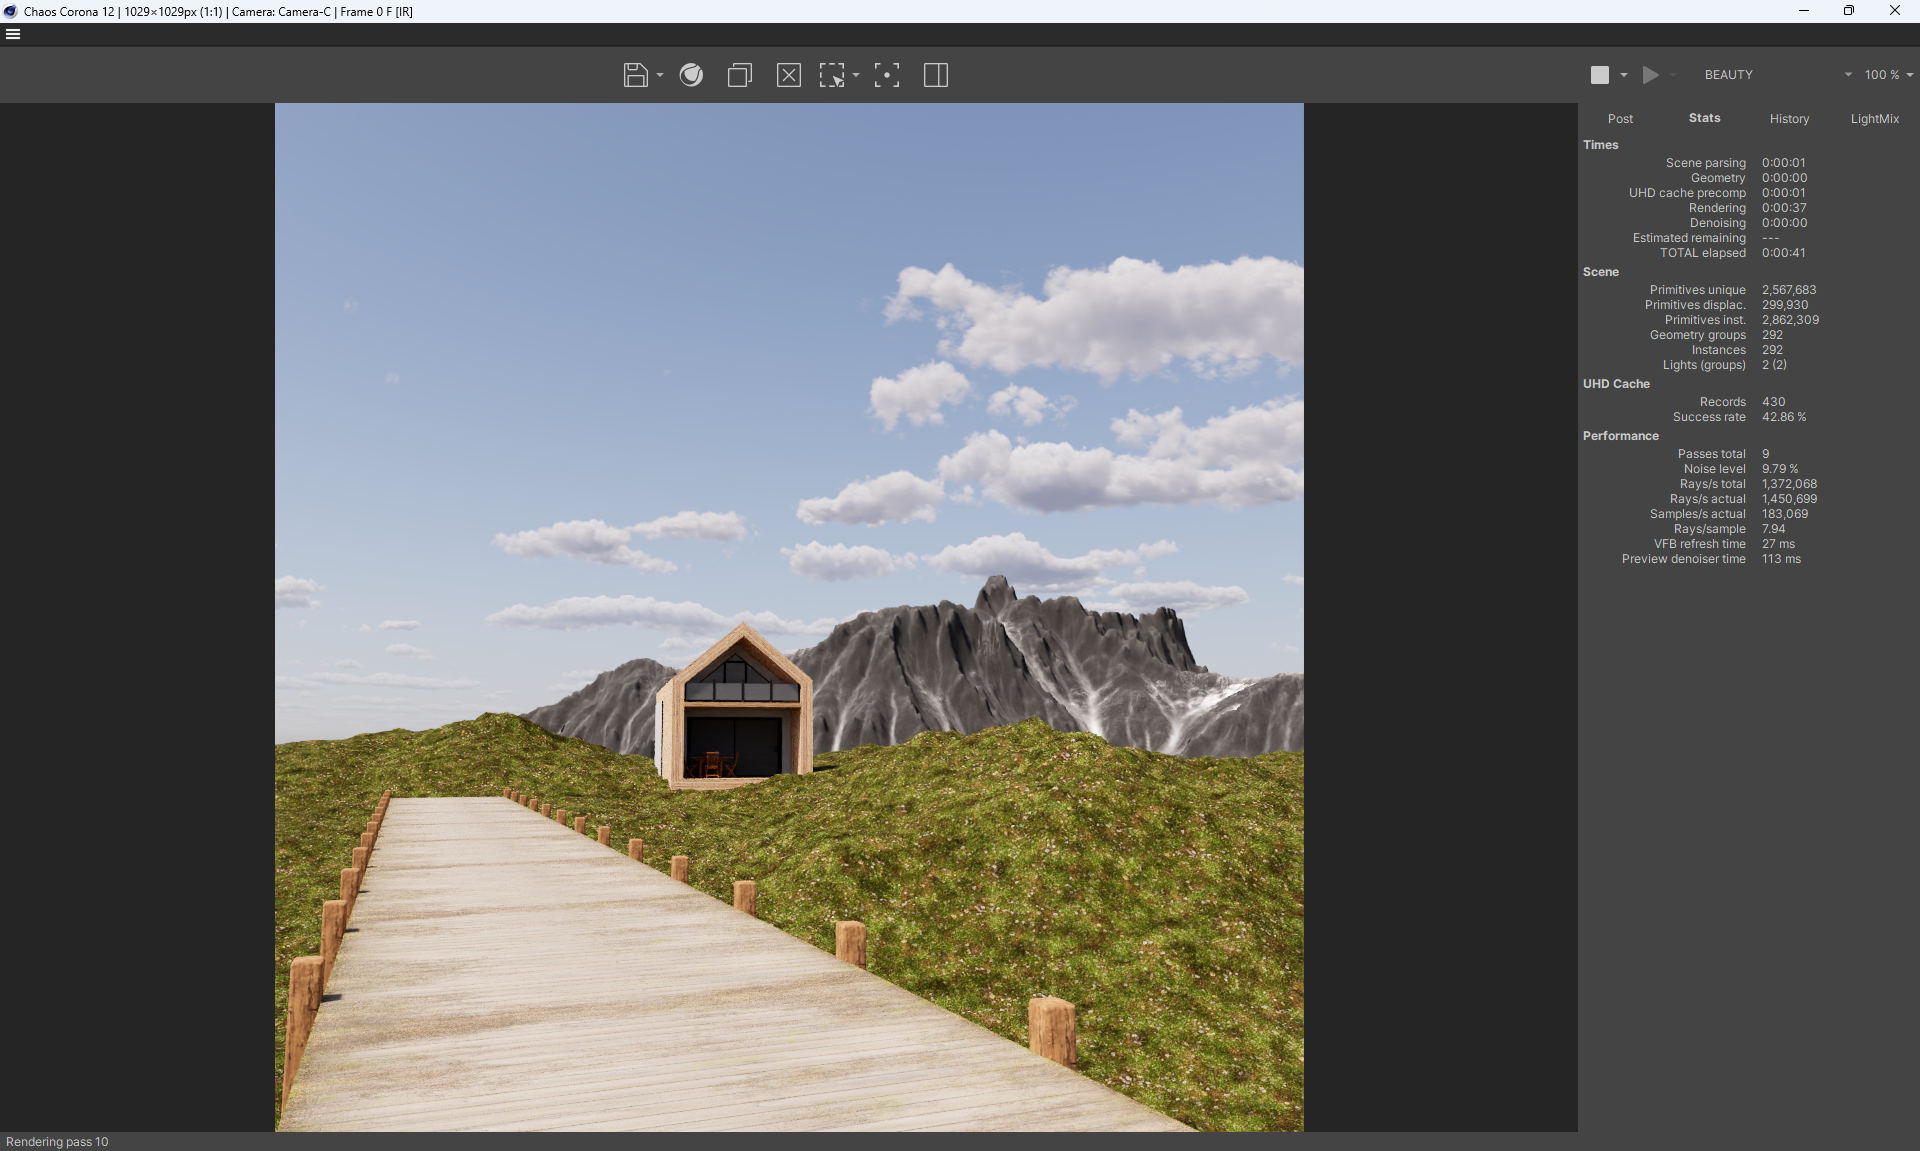
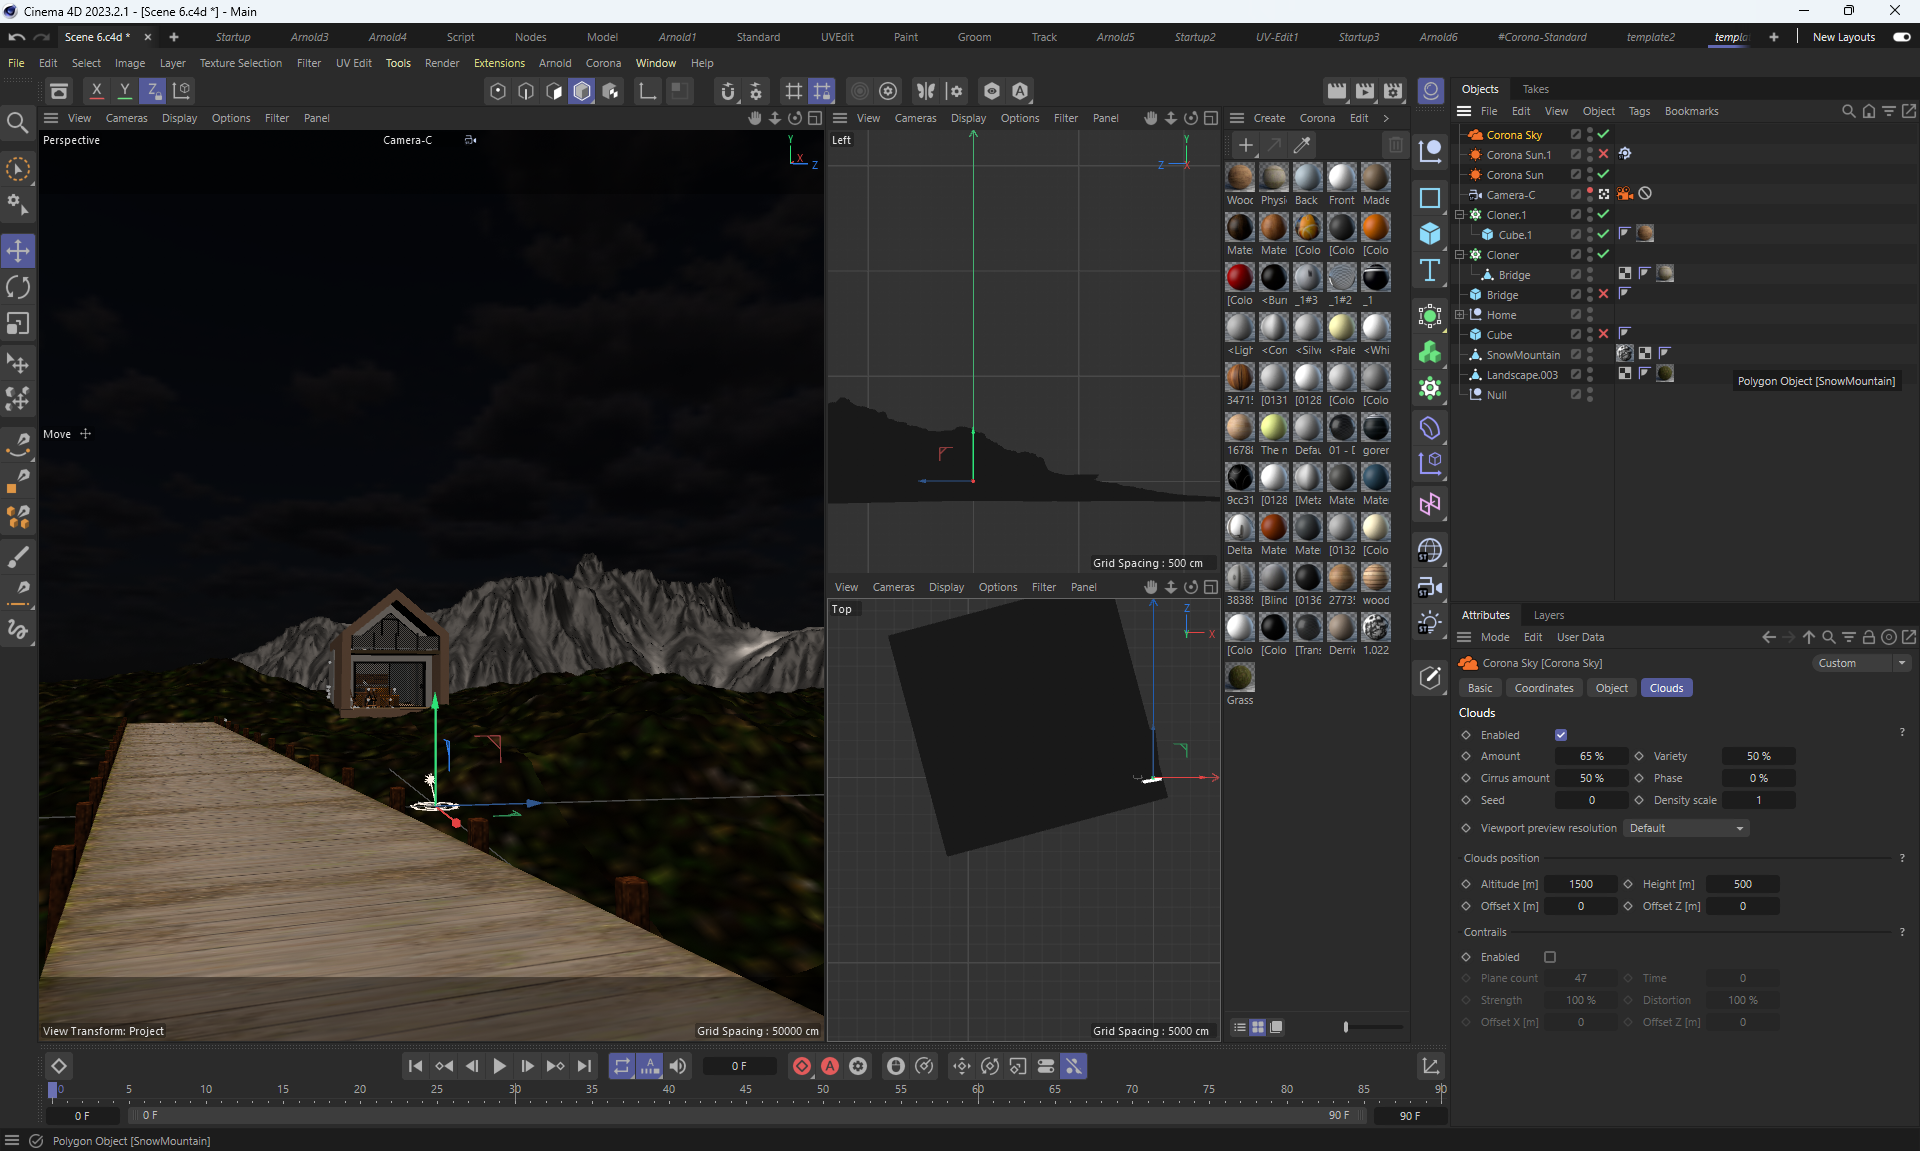
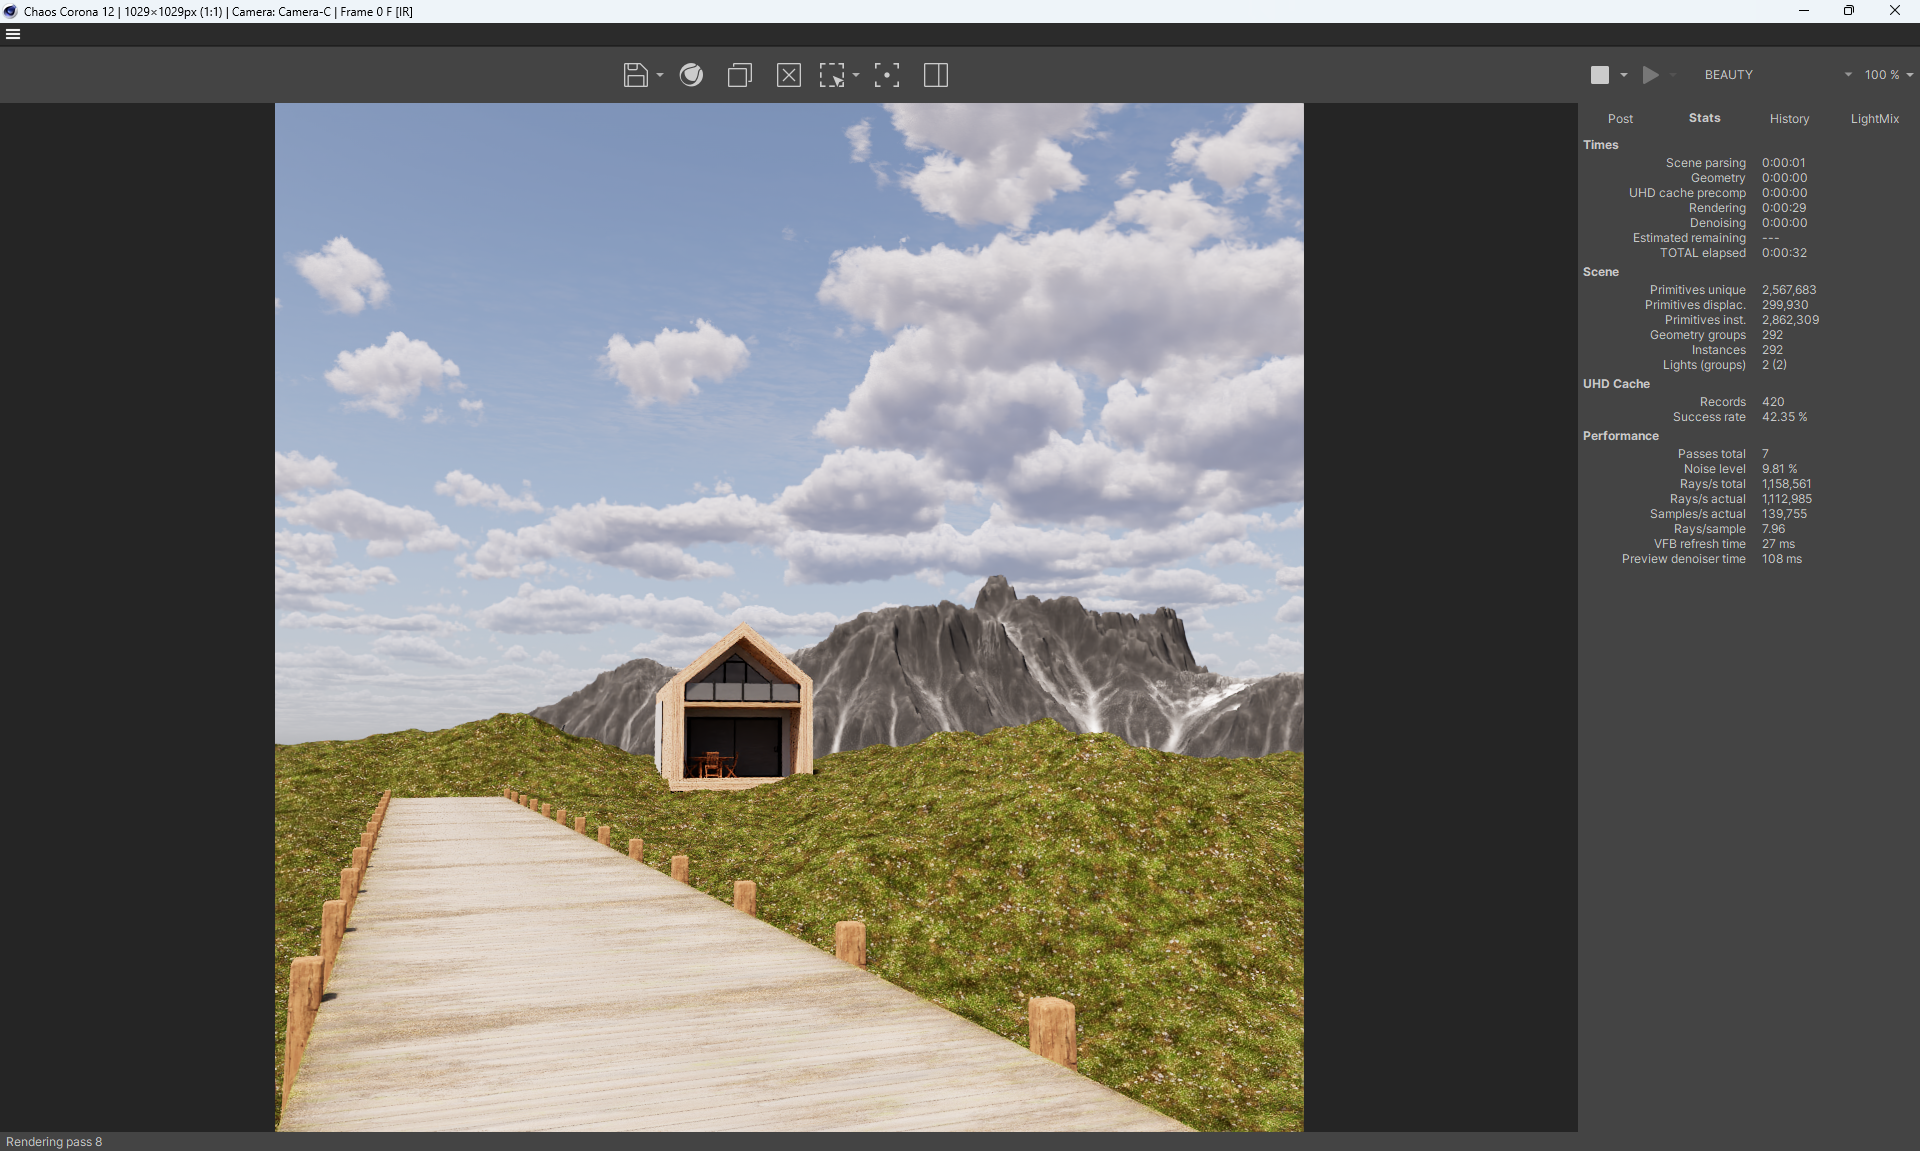
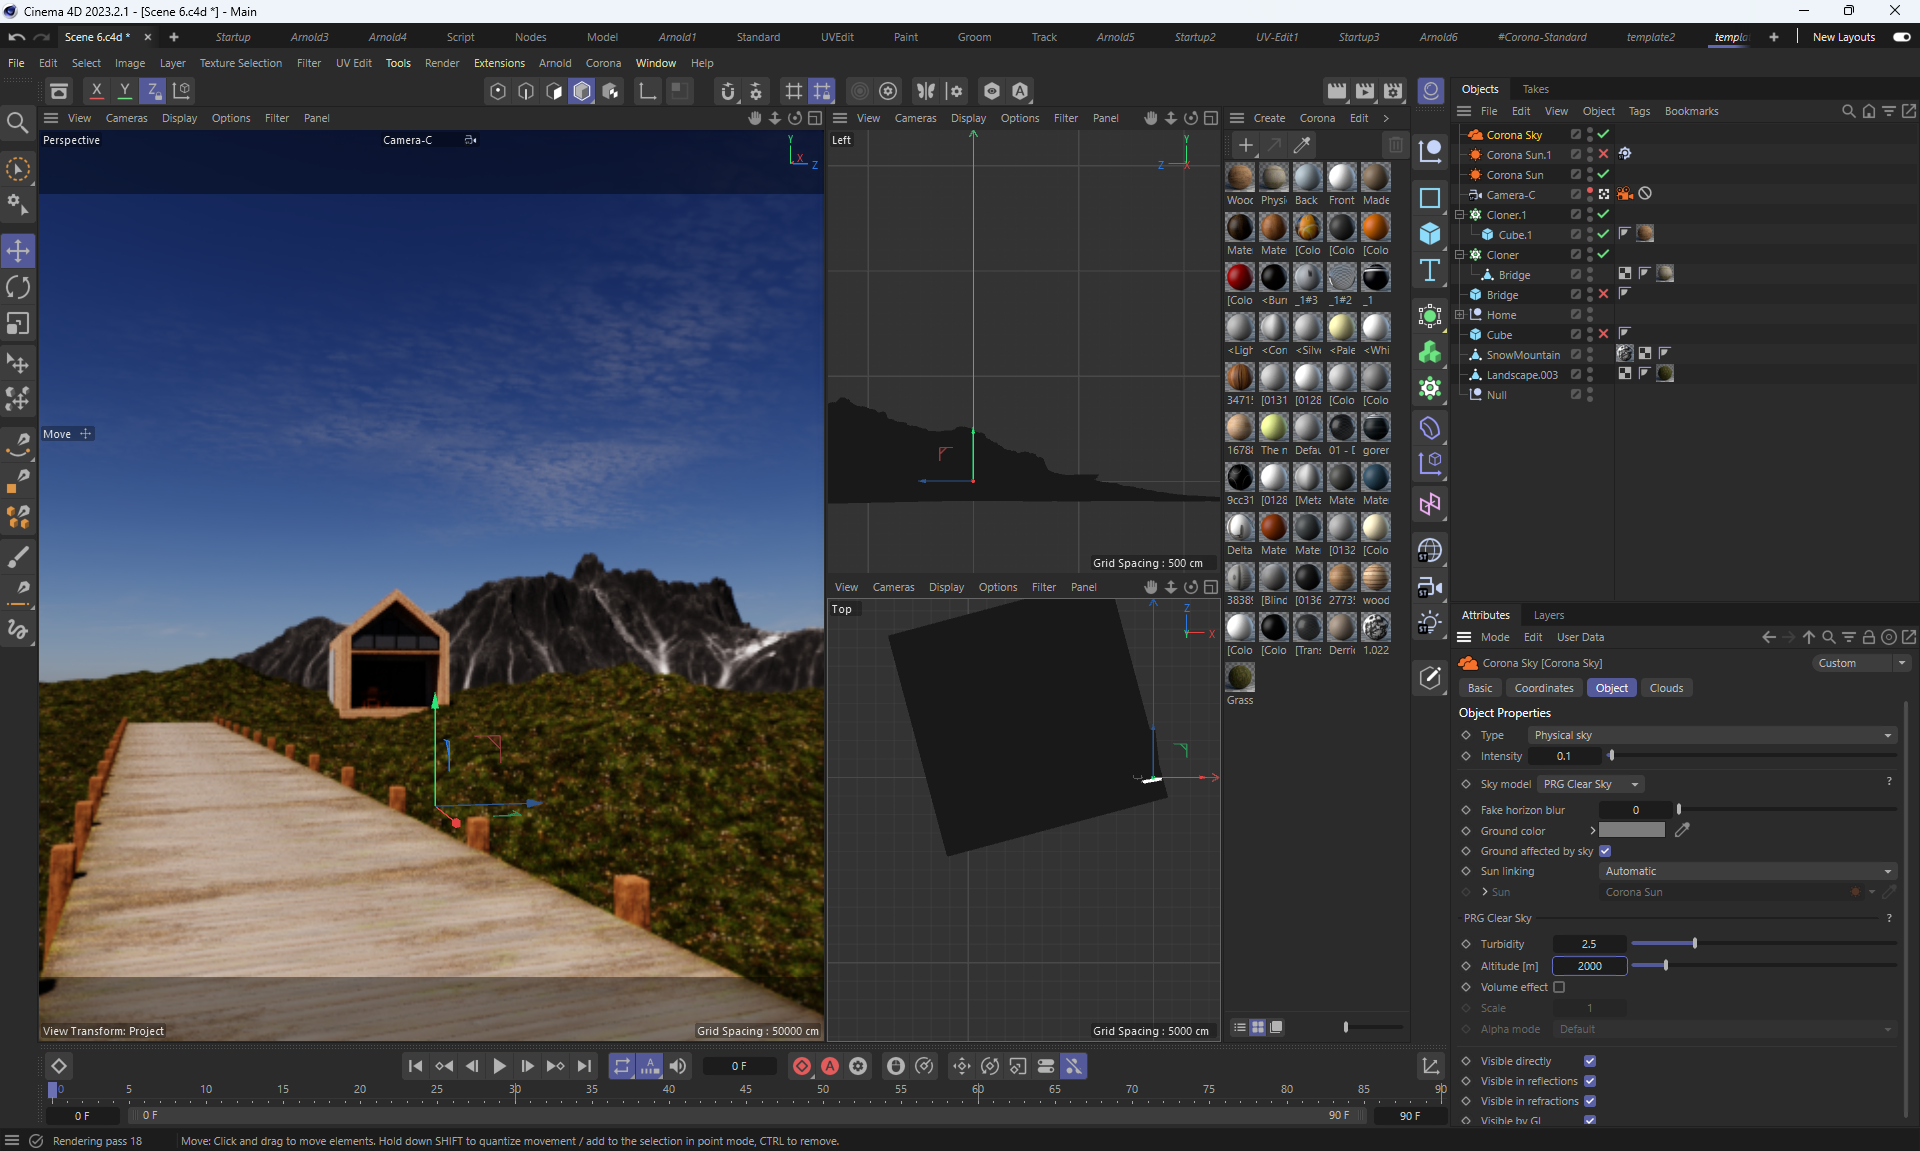
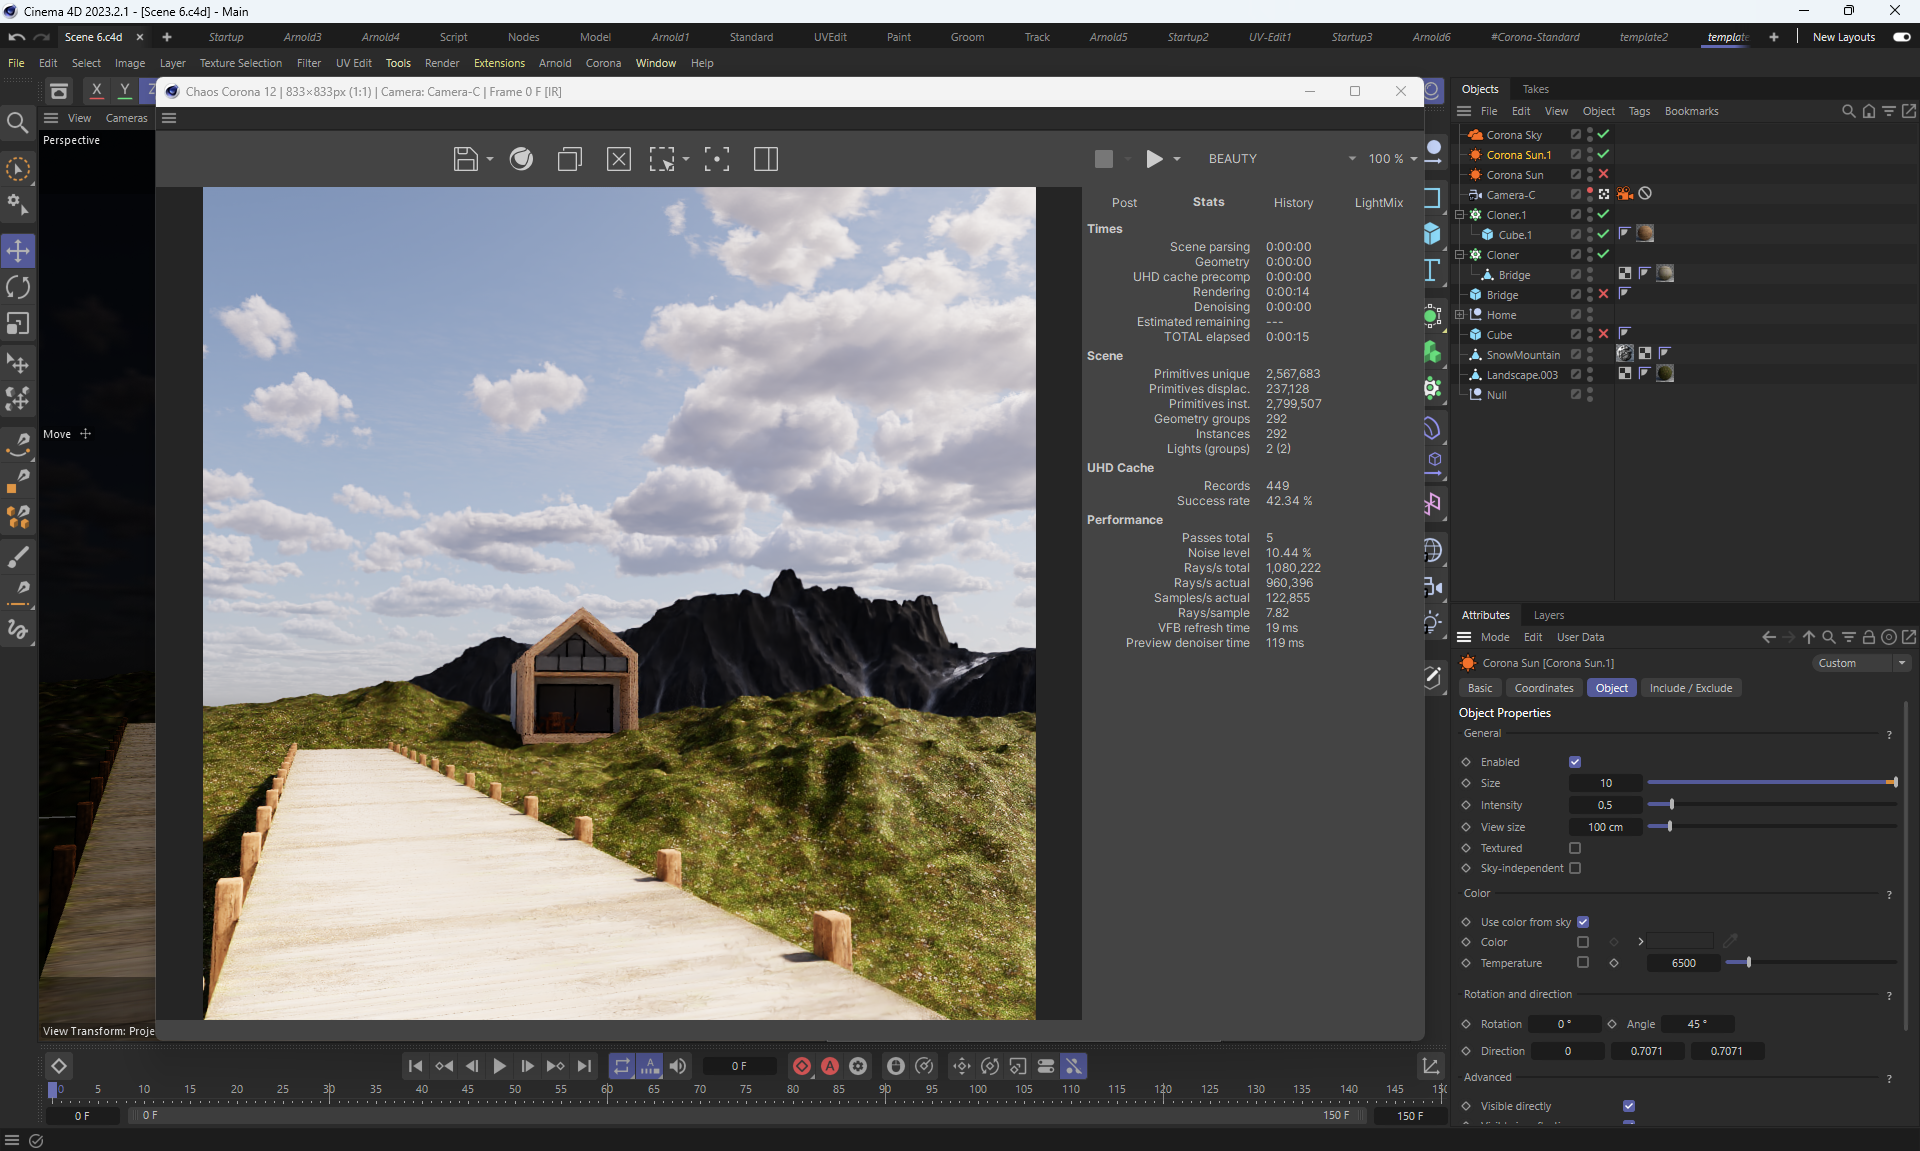
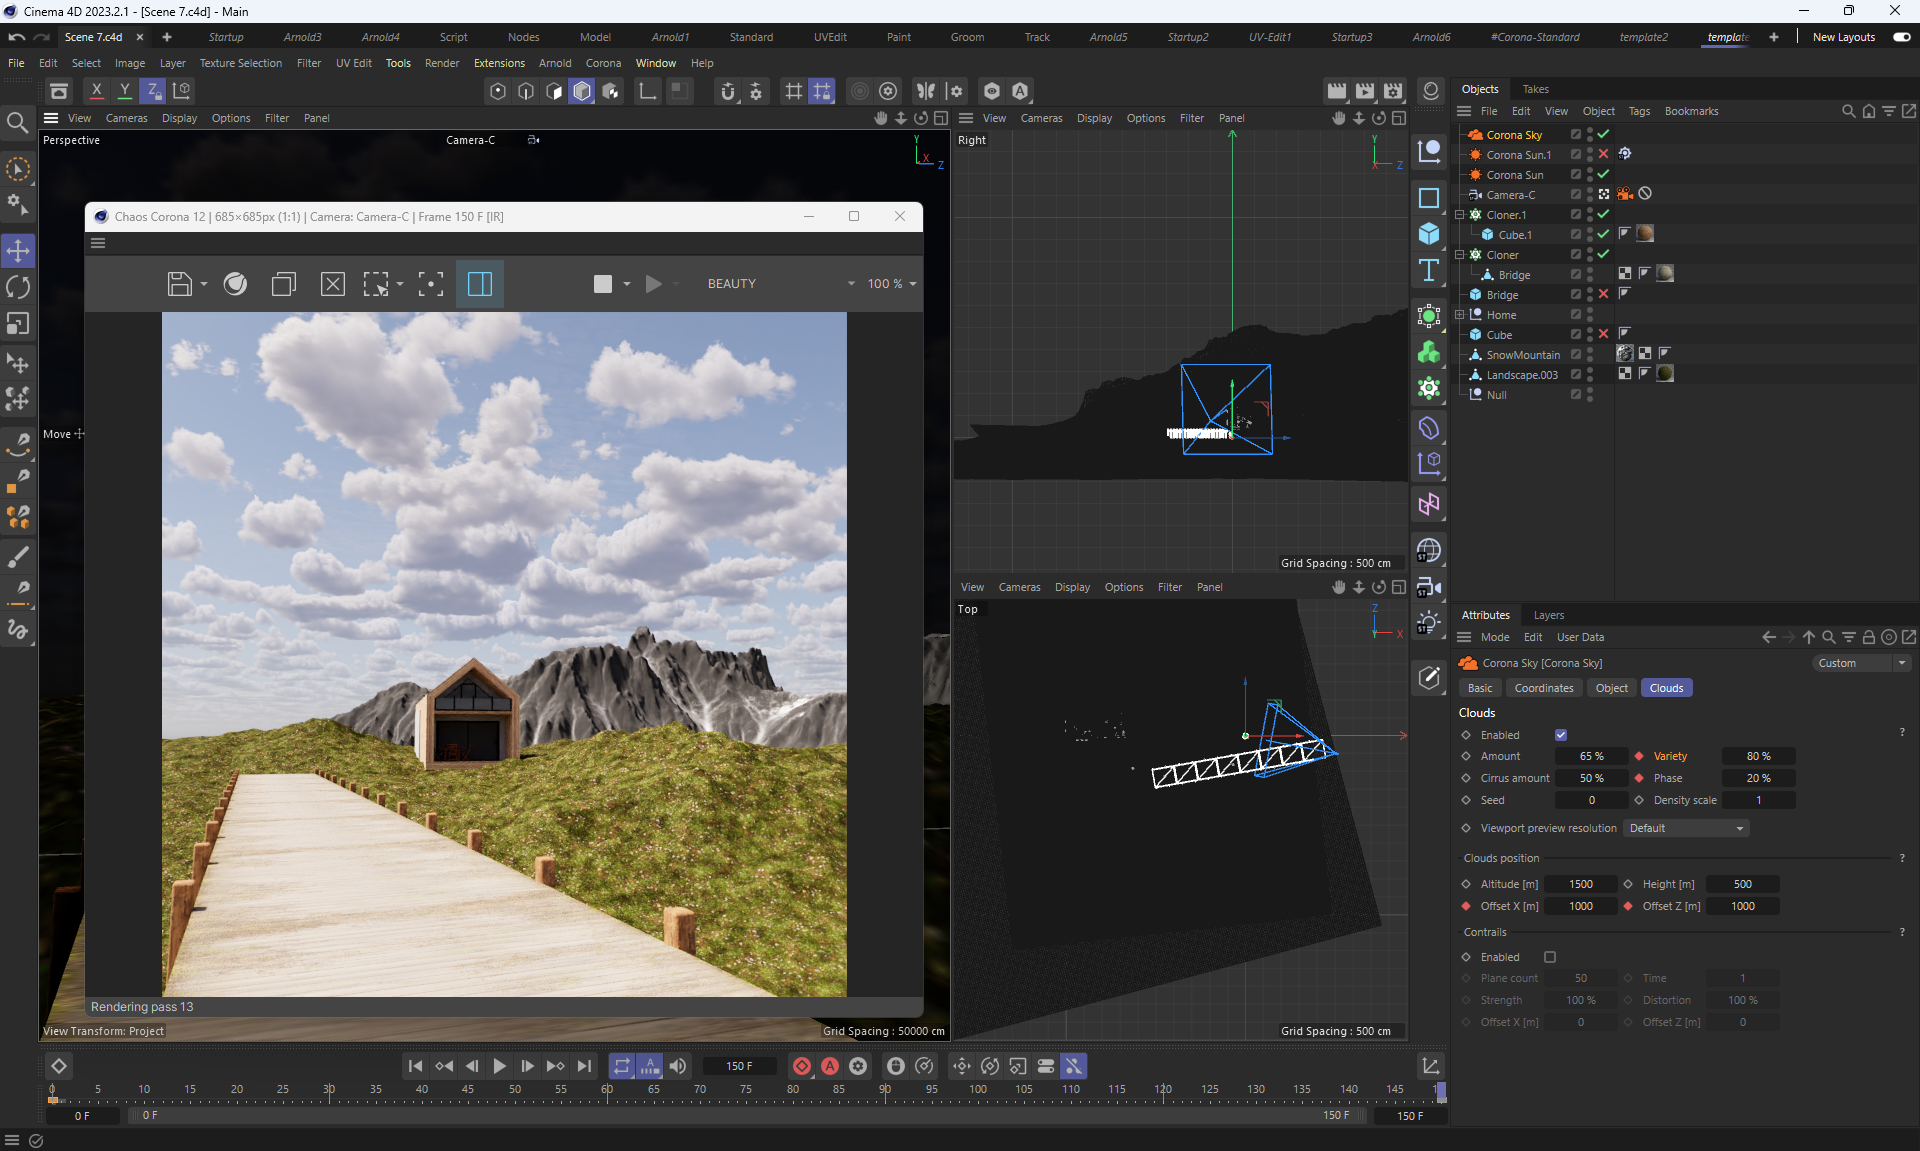
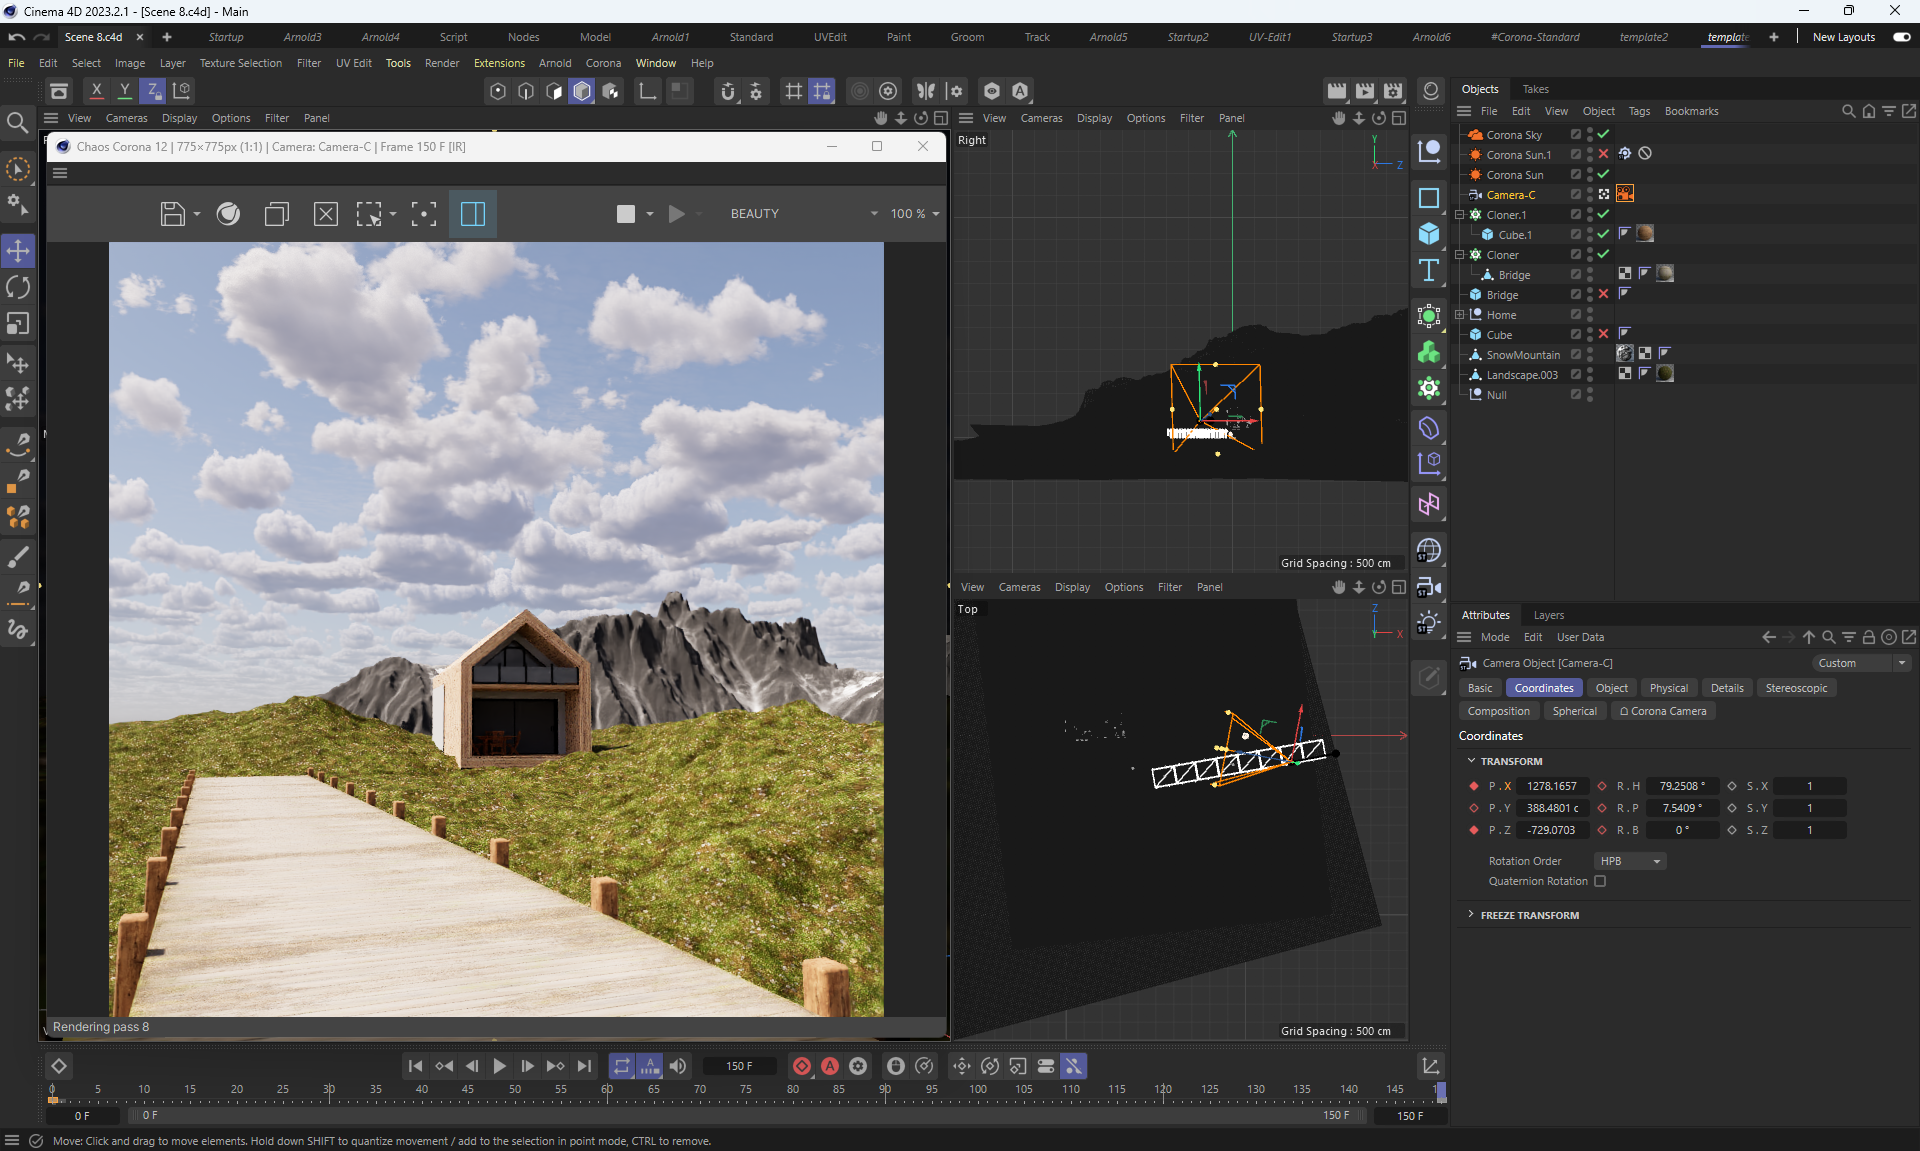
Procedural Clouds with Chaos Corona in Cinema 4D | Create an Animated Time-Lapse
Video (10.4mb)
image
More details according to this lesson
In this lesson there was no source, the goal of this lesson for me was to create a similar scene without detailing individual objects.
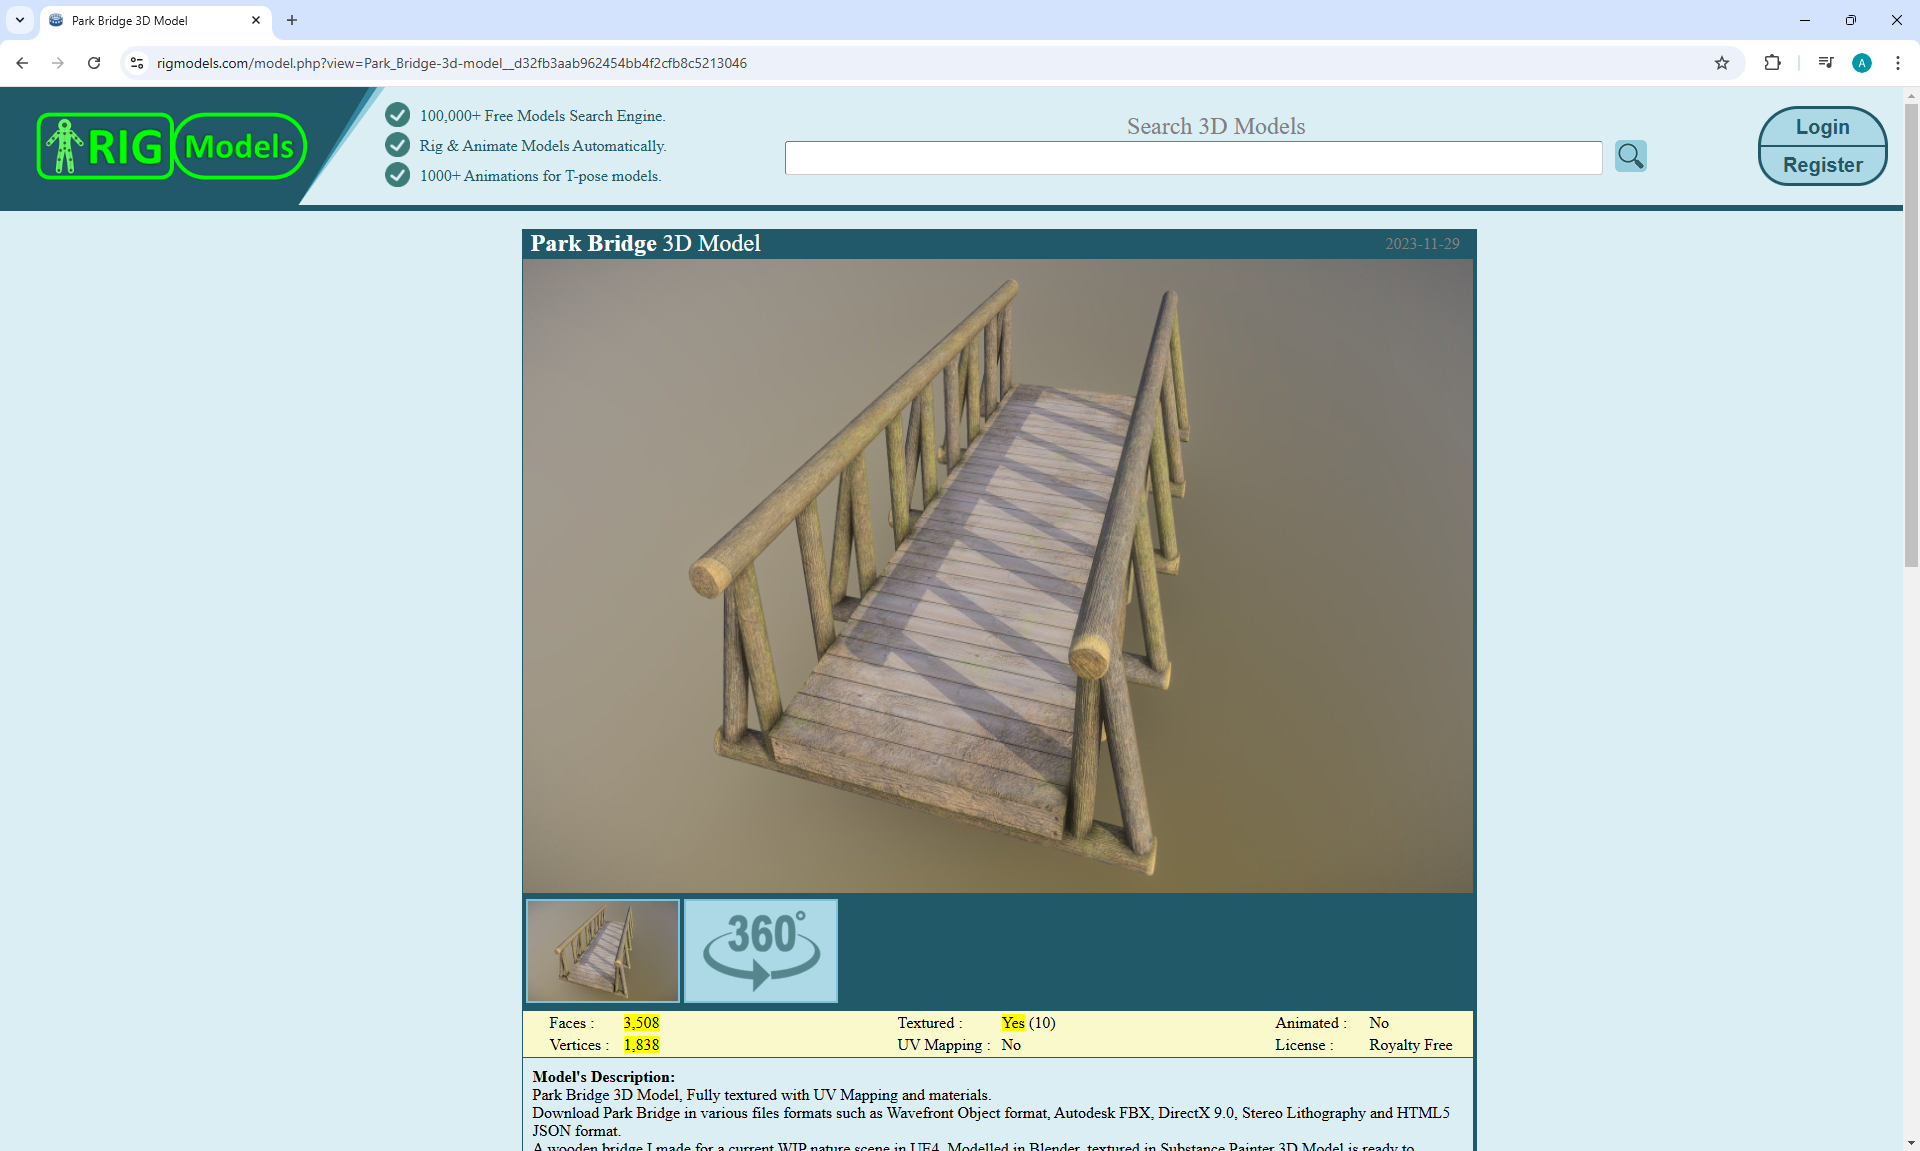
In lesson the author created a lake with water, filled a forest with trees, a road from a bridge, a hilly shore, but this is beyond the scope of lesson.
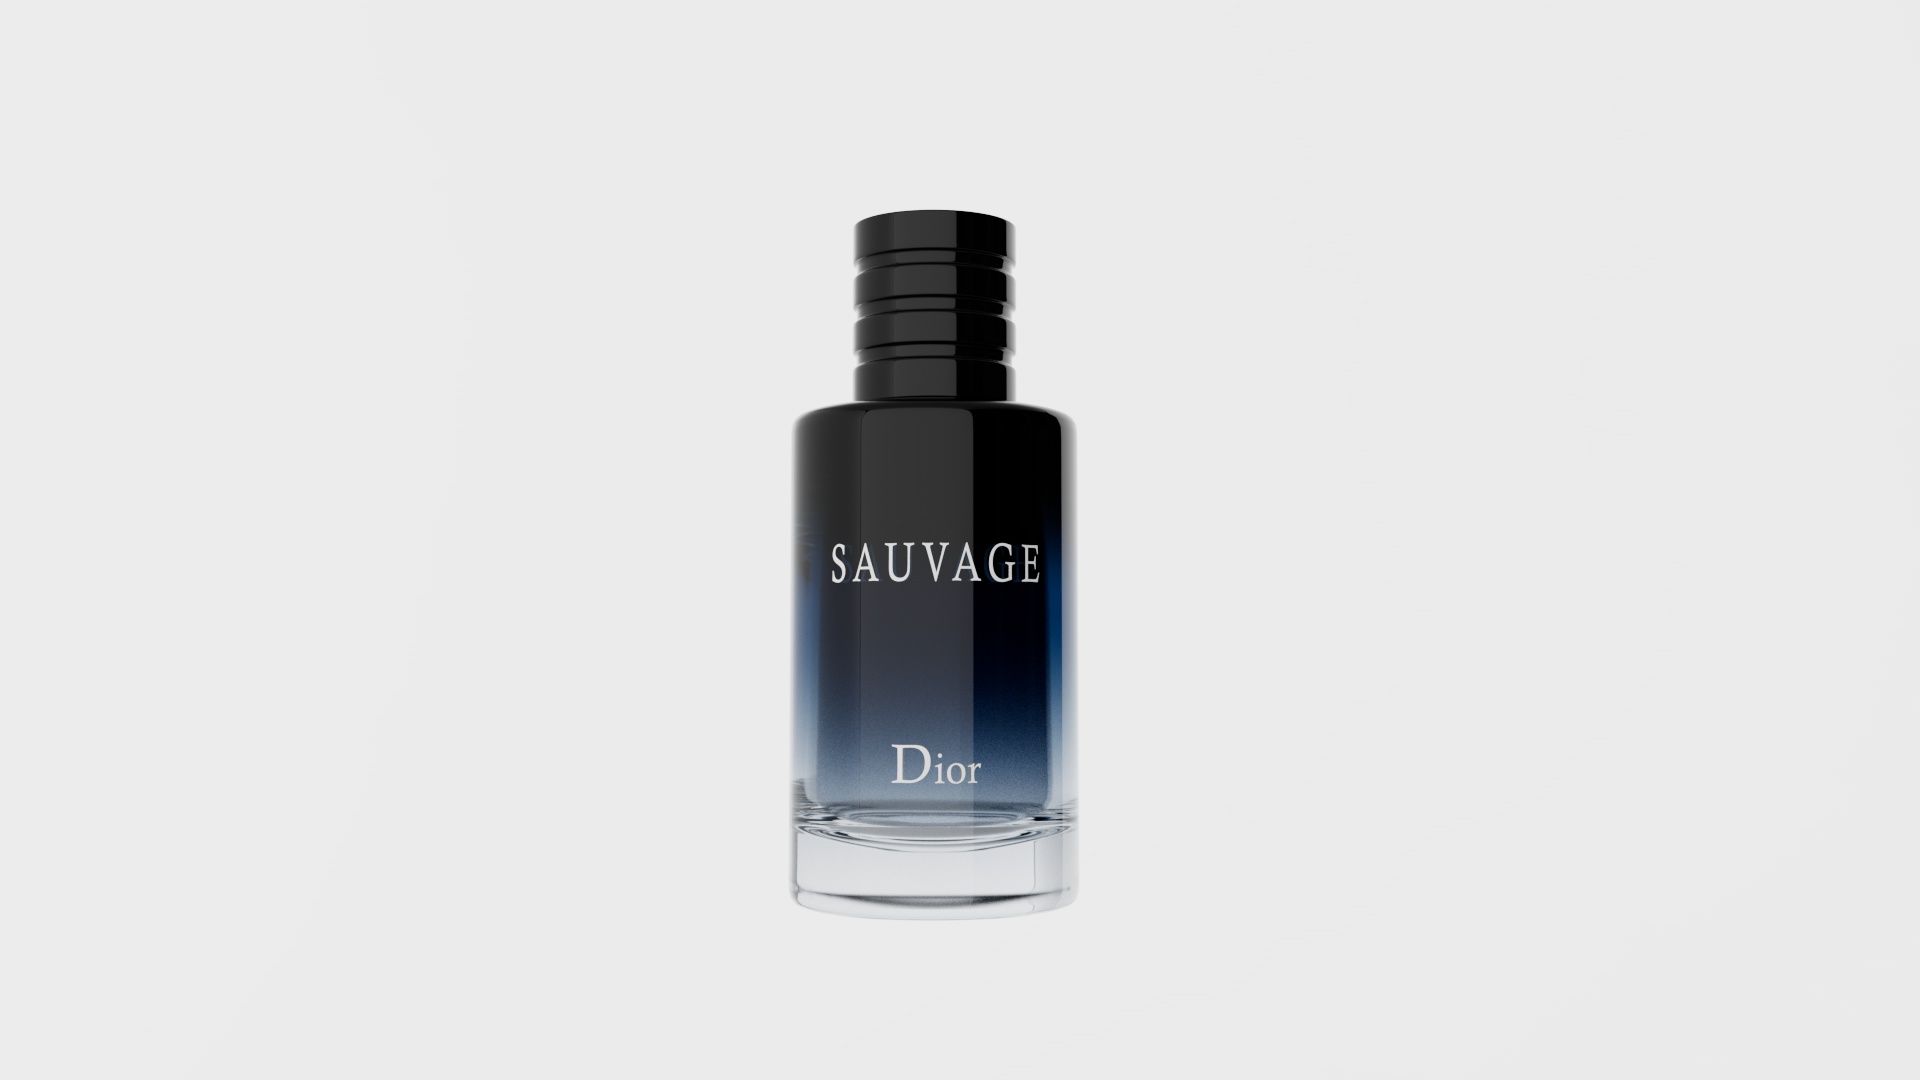
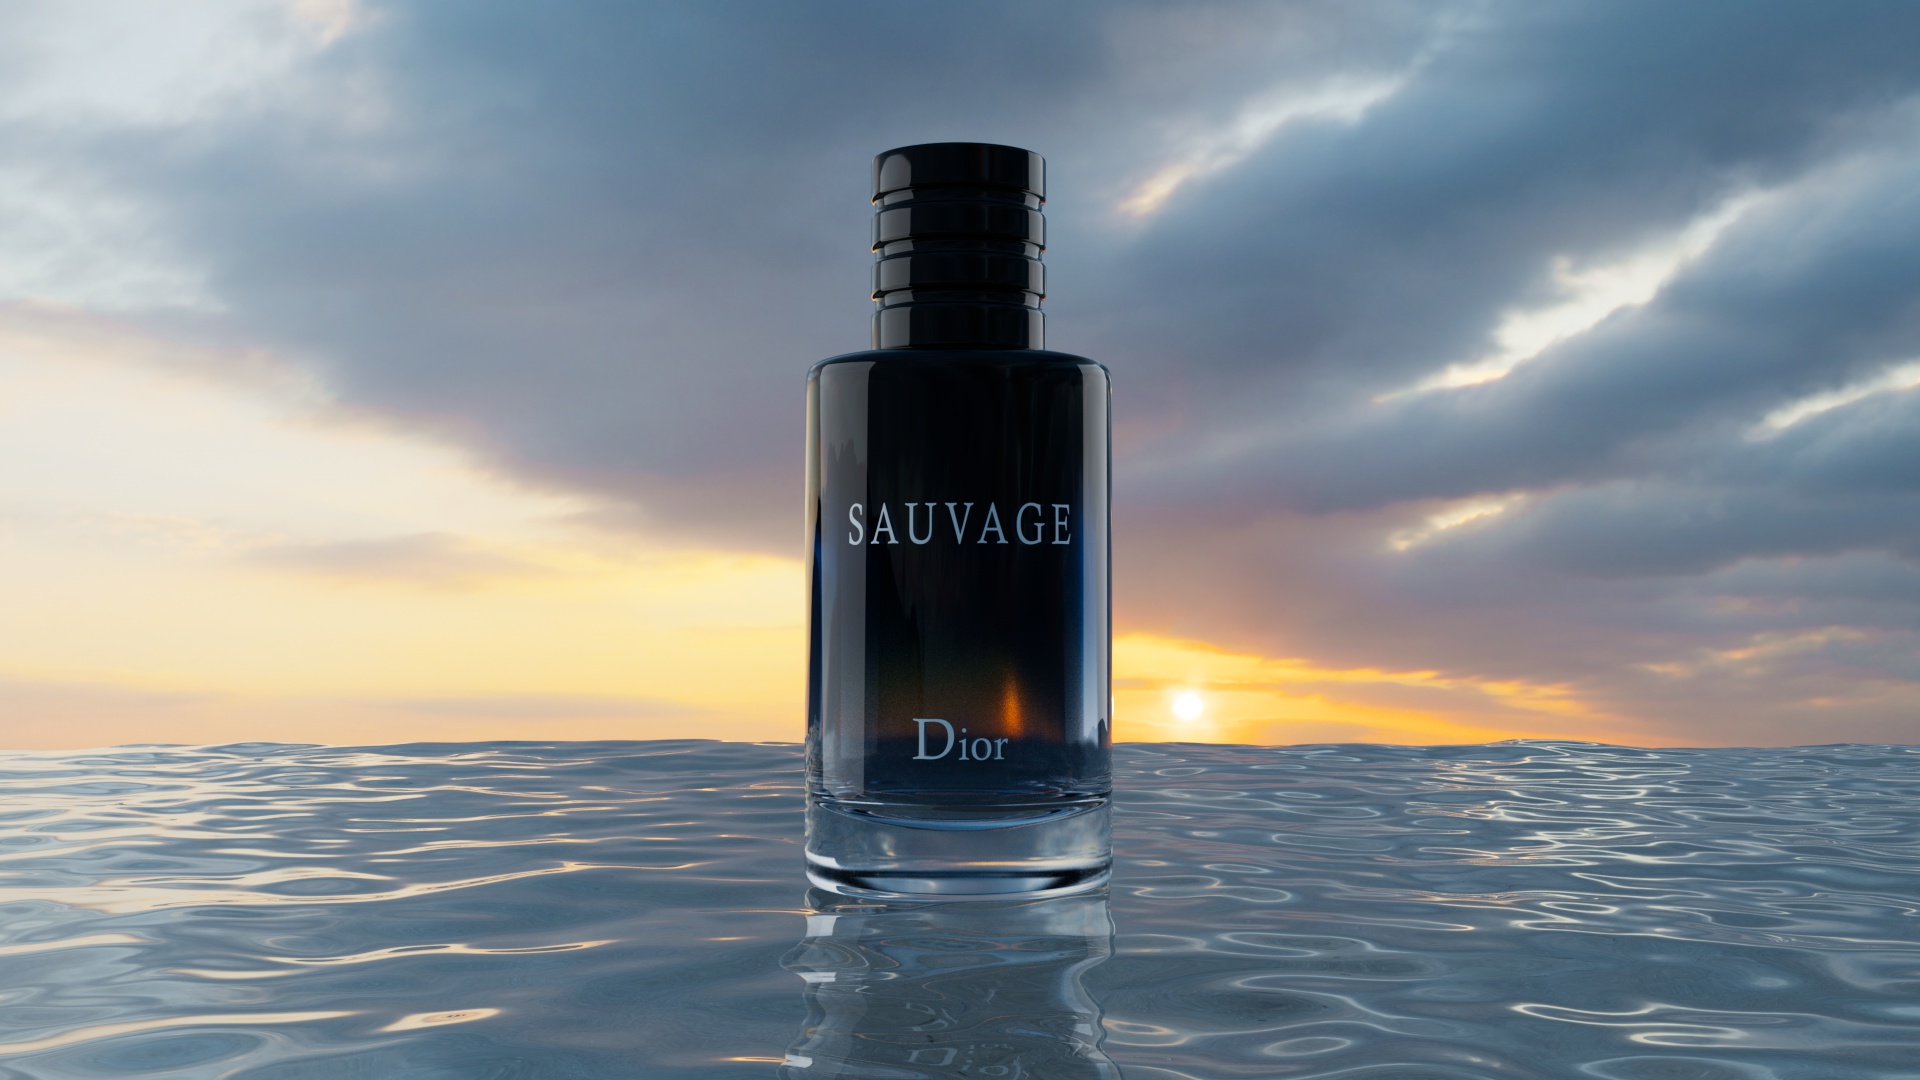
3D PRODUCT VISUALIZATION IN CINEMA 4D using CORONA RENDERER
Video (6mb)
image1
image2
More details according to this lesson
Scene materials:
Wall-based-lighting
Cloudy Sunset At Sandy Terrain
Link to 3d product images from the lesson I modeled the scene after.
I did not have a goal to repeat exactly the reflections of light and other subtleties in the image of the product. I watched the lesson and did it according to the author to learn what I didn't know. I did not fill the Dior perfume with liquid, because of which the walls of the bottle become more transparent and the dark color of the tinted glass with a transition to blue and white is not refined. In the original image, the glass is not visible in the cut at the edges, although it should be partially visible from below. Some details in the design of this perfume may have been overdrawn by the designer for a better look, such as the white-blue circular gradient at the bottom. To get such an image, it is also possible to specially illuminate from below with a small point light source and experiment with adding other light sources from different angles.
 Spline