After Effects
I studied and tested all the tutorials:
After Effects tutorials
I studied After Effects CC for the course Super Motion (2015)
link1
link2
List of Super Motion course lessons
Chapter 1. The basics of shape animation in After effects
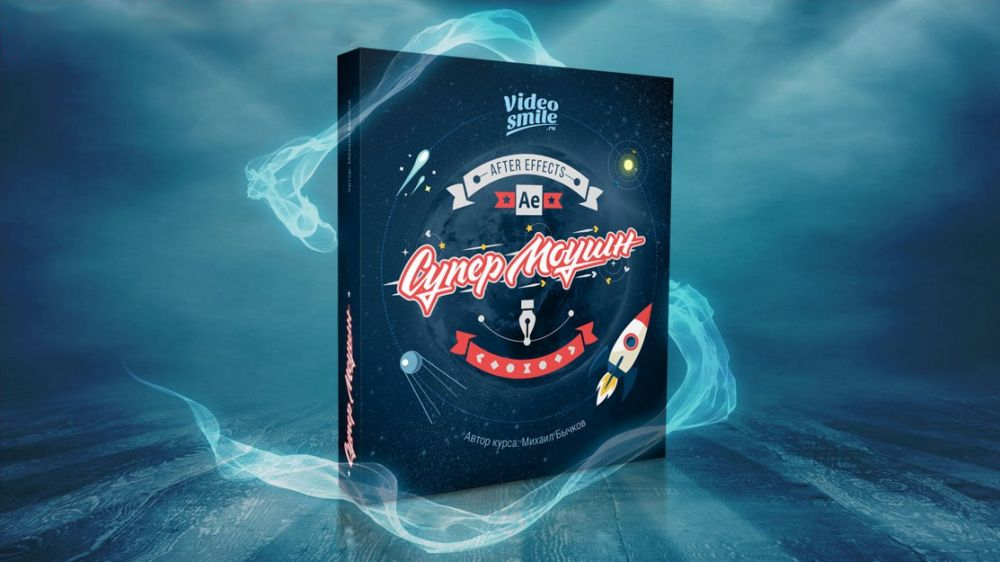
got acquainted with principles of good animation , created shape animations for the author
I created a 5-second shape video on my own from start to finish according to the lesson, honing my work with the After Effects program
Chapter 2. Useful Expressions in After Effects

01_EXP_05_LoopOut Advanced_2.mp4
loopOut(); == loopOut("circle");
loopOut("pingpong");
loopOut("continue");
loopOut("offset");
loopOut("circle",2);
loopOut("pingpong",1);
loopIn("pingpong");
loopOutDuration("cycle", framesToTime(10));
02_Control_Bounce.mp4
02_Control_Colors.mp4
harmonic attenuation
// amp = .06;
// freq = 2;
// decay = 5;
amp = thisComp.layer("Control_Bounce").effect("Amp")("Slider");
freq = thisComp.layer("Control_Bounce").effect("Freq")("Slider");
decay = thisComp.layer("Control_Bounce").effect("Dec")("Slider");
n = 0;
if (numKeys > 0){
n = nearestKey(time).index;
if (key(n).time > time){
n--;
}
}
if (n == 0){
t = 0;
}else{
t = time - key(n).time;
}
if (n > 0){
v = velocityAtTime(key(n).time - thisComp.frameDuration/10);
value + v*amp*Math.sin(freq*t*2*Math.PI)/Math.exp(decay*t);
}else{
value;
}
n = 0;
if (numKeys > 0){
n = nearestKey(time).index;
if (key(n).time > time){
n--;
}
}
if (n == 0){
t = 0;
}else{
t = time - key(n).time;
}
if (n > 0){
v = velocityAtTime(key(n).time - thisComp.frameDuration/10);
value + v*amp*Math.sin(freq*t*2*Math.PI)/Math.exp(decay*t);
}else{
value;
}
using Expression Control
Color Contol
Variables and Values
content("Rectangle 1").transform.position;
comp("03_Variables_Values").layer("Shape Layer 1").transform.position;
content("Rectangle 1").content("Fill 1").color;
comp("03_Variables_Values").layer("Shape Layer 1").content("Rectangle 1").content("Fill 1").color;
r = transform.rotation;
r/10;
[100,100];
a = 100;
[100,100+a*2,100*a];
value; == transform.rotation;
[value[0],value[1]]; eigenvalues in x and y
binding the rotation of one shape to a parameter of another shape
S4_R = thisComp.layer("Shape Layer 4").transform.rotation; // rotation shape layer4
[S4_R,value[1]]
posGreen = thisComp.layer("Shape Layer 2").transform.position; // [x,y]
posOrange = thisComp.layer("Shape Layer 3").transform.position; // [x,y]
determining the distance between shapes
delta = posOrange[0] - posGreen[0]; // number
if (delta< 0){delta*(-1)};
Math.round(delta);
Functions index
index - layer number
(index-1)*30;
(index-1)*(-90);
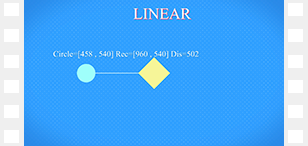
linear(t, tMin, tMax, value1, value2);
ease(t, tMin, tMax, value1, value2);
Kof = effect("Kof")("Slider");
posCircle = thisComp.layer("Circle").transform.position[0]; //x
ease(posCircle, 280, 960, value, value*Kof);
// Kof = effect("Kof")("Slider");
// posCircle = thisComp.layer("Circle").transform.position[0]; //x
// ease(0, 280, 960, [0],[360]);
valueAtTime(time);
04_ValueAtTime.mp4
animation by two keys: offset by position,
offset layers and three compositions
posMain = thisComp.layer("Main_Bar").transform.position; // [x,y]
delay = thisComp.layer("Delay").effect("Delay")("Slider");
OneFrame = thisComp.frameDuration; // duration of one frame
newY = posMain.valueAtTime(time-delay*OneFrame*(index-2));
[value[0],newY[1]];
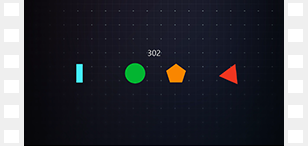
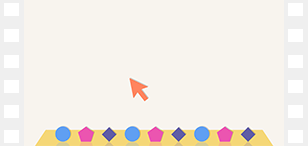
Animation of the scale of icons when hovering an object-cursor without using keys.
iconP = transform.position; // [x,y]
iconS = transform.scale; // [x,y]
ArrowP = thisComp.layer("Arrow").transform.position; // [x,y]
scaleF = thisComp.layer("Control Dock Effect").effect("Scale Factor")("Slider"); //num
Dis = thisComp.layer("Control Dock Effect").effect("Distance")("Slider"); //num
delta = Math.round(length(ArrowP,iconP));
//ArrowP = thisComp.layer("Arrow").transform.position;
//'Arrow Position ' + Math.round(ArrowP[0]) + ' ' + Math.round(ArrowP[1]);
linear(delta, 0, Dis, iconS*scaleF, iconS);
////////
iconP = transform.position; // [x,y]
iconS = transform.scale; // [x,y]
ArrowP = comp("DOCK_Effect_L").layer("Arrow").transform.position; // [x,y]
scaleF = comp("DOCK_Effect_L").layer("Control Dock Effect").effect("Scale Factor")("Slider"); //num
Dis = comp("DOCK_Effect_L").layer("Control Dock Effect").effect("Distance")("Slider"); //num
delta = Math.round(length(ArrowP,iconP));
linear(delta, 0, Dis, iconS*scaleF, iconS);
https://helpx.adobe.com/ru/after-effects/using/expression-basics.html
http://motionscript.com/
https://vk.com/ae_exp
Additional scripts
pt_ShiftLayers.jsx
https://aescripts.com/pt_shiftlayers/ (possible at a price of 0)
Paste Multiple Keyframes
https://godownloads.net/paste-multiple-keyframes-2-0-6-for-after-effects-free-download/
Duik - working with animation graph settings
https://rainboxlab.org/tools/duik/
ft-Toolbar2.jsxbin
https://www.youtube.com/watch?v=gGtmXYp7_Os
AdvancedCompGrids
https://aescripts.com/advanced-composition-grids/ (possible at a price of 0)
isometric grid
zl_ExplodeShapeLayers
http://zofile.com/kstgky8155f0/zl_explodeshapelayers_v3.3.1_monter.rar
when working with illustrations allows exploding layers
RepositionAnchorPoint.jsx
motion 2 paid
bindings anсor point
Other scripts
https://www.premiumbeat.com/blog/free-after-effects-scripts/
Chapter 3. Effective shape transitions in After effects
while studying this chapter, there were different options for combinations of effects, created all of them according to the lessons,
I collected the final composition from them, partially according to the ready keys in time as in the author's source
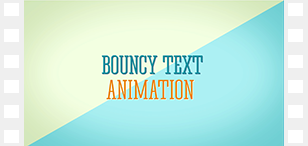
Chapter 4. Animating text
created text animations with different effects, used scripts
DecomposeText.jsx and
pt_ShiftLayers.jsx to speed up work
in the animation of texts by position, scale, rotation, the oscillation script was used
amp = .06;
freq = 2;
decay = 4;
n = 0;
if (numKeys > 0){
n = nearestKey(time).index;
if (key(n).time > time){
n--;
}
}
if (n == 0){
t = 0;
}else{
t = time - key(n).time;
}
if (n > 0){
v = velocityAtTime(key(n).time - thisComp.frameDuration/10);
value + v*amp*Math.sin(freq*t*2*Math.PI)/Math.exp(decay*t);
}else{
value;
}
amp, freq, decay values were placed in a separate layer with sliders to control these values for all letters at once
studying the text layer, text animators, creating an animation preset
created a text animation without keyframes with Amortype script
animation of individual letters, this work of the author of the course for studying how such frame-by-frame animations are created, studied it
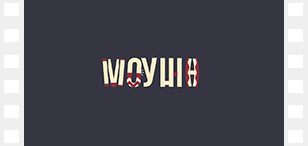
On the letter M, masks were used to break into parts of the letter, Linear Wipe effect transition effect.
The O used the CC Jaws jagged effect, anchoring the top of the o to the bottom.
The letter U is cut by masks into two parts. Used CC Bend It effects on the letter U.
Also a CC Jaws effect with Waves with a fall-off paint effect.
At the end of the letter Y added particle animation using the CC MR plugin. Mercury.
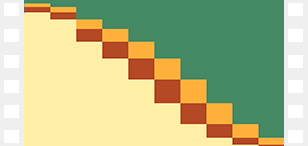
The letter Ш is broken into separate shapes, bars are animated on the Y scale at different intervals.
Added Ease and Wizz crashes to make objects fall on a fictional floor.
// Ease and Wizz 2.0.4 : outBounce : All keyframes
// Ian Haigh (http://ianhaigh.com/easeandwizz/)
// Last built: 2013-07-05T11:46:51+10:00
// some defaults
var p = 0.81; // period for elastic
var a = 50; // amplitude for elastic
var s = 1.70158; // overshoot amount for "back"
function easeandwizz_outBounce(t, b, c, d) {
if ((t/=d) < (1/2.75)) { return c*(7.5625*t*t) + b }
else if (t < (2/2.75)) { return c*(7.5625*(t-=(1.5/2.75))*t + .75) + b }
else if (t < (2.5/2.75)) { return c*(7.5625*(t-=(2.25/2.75))*t + .9375) + b }
else { return c*(7.5625*(t-=(2.625/2.75))*t + .984375) + b }
}
function easeAndWizz() {
var n = 0;
if (numKeys > 0) {
n = nearestKey(time).index;
if (key(n).time > time) { n-- }
}
try {
var key1 = key(n);
var key2 = key(n+1);
} catch(e) {
return null;
}
// determine how many dimensions the keyframes need
var dim = 1; // It's gotta have at least ONE dimension
try {
key(1)[1];
dim = 2;
key(1)[2];
dim = 3;
} catch(e) {}
t = time - key1.time;
d = key2.time - key1.time;
sX = key1[0];
eX = key2[0] - key1[0];
if (dim >= 2) {
sY = key1[1];
eY = key2[1] - key1[1];
if (dim >= 3) {
sZ = key1[2];
eZ = key2[2] - key1[2];
}
}
if ((time < key1.time) || (time > key2.time)) {
return value;
} else {
val1 = easeandwizz_outBounce(t, sX, eX, d, a, p, s);
switch (dim) {
case 1:
return val1;
break;
case 2:
val2 = easeandwizz_outBounce(t, sY, eY, d, a, p, s);
return [val1, val2];
break;
case 3:
val2 = easeandwizz_outBounce(t, sY, eY, d, a, p, s);
val3 = easeandwizz_outBounce(t, sZ, eZ, d, a, p, s);
return [val1, val2, val3];
break;
default:
return null;
}
}
}
(easeAndWizz() || value);
The letter H. First, the Trim Path of the lines is animated. Then a circle is animated with a non-standard transition into swirling contours.
Animation of CC Bend It effects and CC Jaws wavy effect is used.
created an animation of the letter A with a wavy CC Jaws effect and added a Simple Choker effect that hides part of the outline
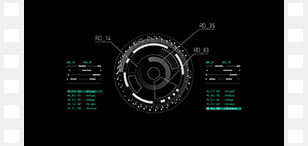
Chapter 5. Animated Hud / UI Interfaces
Create interface animation with effects.
I consistently performed all interface animations according to the author's lessons, studied the intricacies of creating interface animations and creating expressions. The interface was created in Illustraror GUI_Elements_Lesson.
I imported it into After Effects and split the layers into compositions.
Created animations of individual elements, text animators for opacity, character offset.
Save individual animation keys for reuse.
Creation of an expreshen for generating random text.
seedRandom (100, true); // starts the generator of random numbers, the counter stays in place according to the timeline and does not change
random (10,100); // constantly generates values in the range from 10 to 100
Math.round (value); // round up
Math.floor (value); // round down
// random generator of numbers from 10 to 100 according to the timeline with an interval constantly every 0.4 seconds
number = 0.4;
r = Math.floor(time/number);
seedRandom(r,true);
a = random(10,100);
Math.round(a);
// random generator of numbers from 10 to 100 on a timeline with a random interval
g = Math.floor(time/0.2); // counter that is updated at intervals
seedRandom(g,true);
c = random(0.2,0.8);
number = c;
r = Math.floor(time/number);
seedRandom(r,true);
a = random(10,100);
Math.round(a);
looped animation of individual keys
loopOut("offset");
loopOut("cycle",4);
creating a Time Remap key - stopping a looped animation
loopOut (); // animation repeats from the beginning
loopOut ("cycle", 1); // animation repeats for two keys
using script
Slim Panel - Script for After Effects
https://gumroad.com/l/TYAs
using script
Explode Shape Layers
loopOut ("continue"); // continues animation at the same speed as on the last key
value + time * (- 50); // expresse for rotation
a linear function that modifies a parameter
animation Wiggle Transform by position
and Trim Path by end
added Repeater
animation by position and scale
ee - open expreshen in timeline
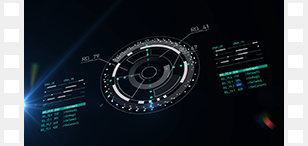
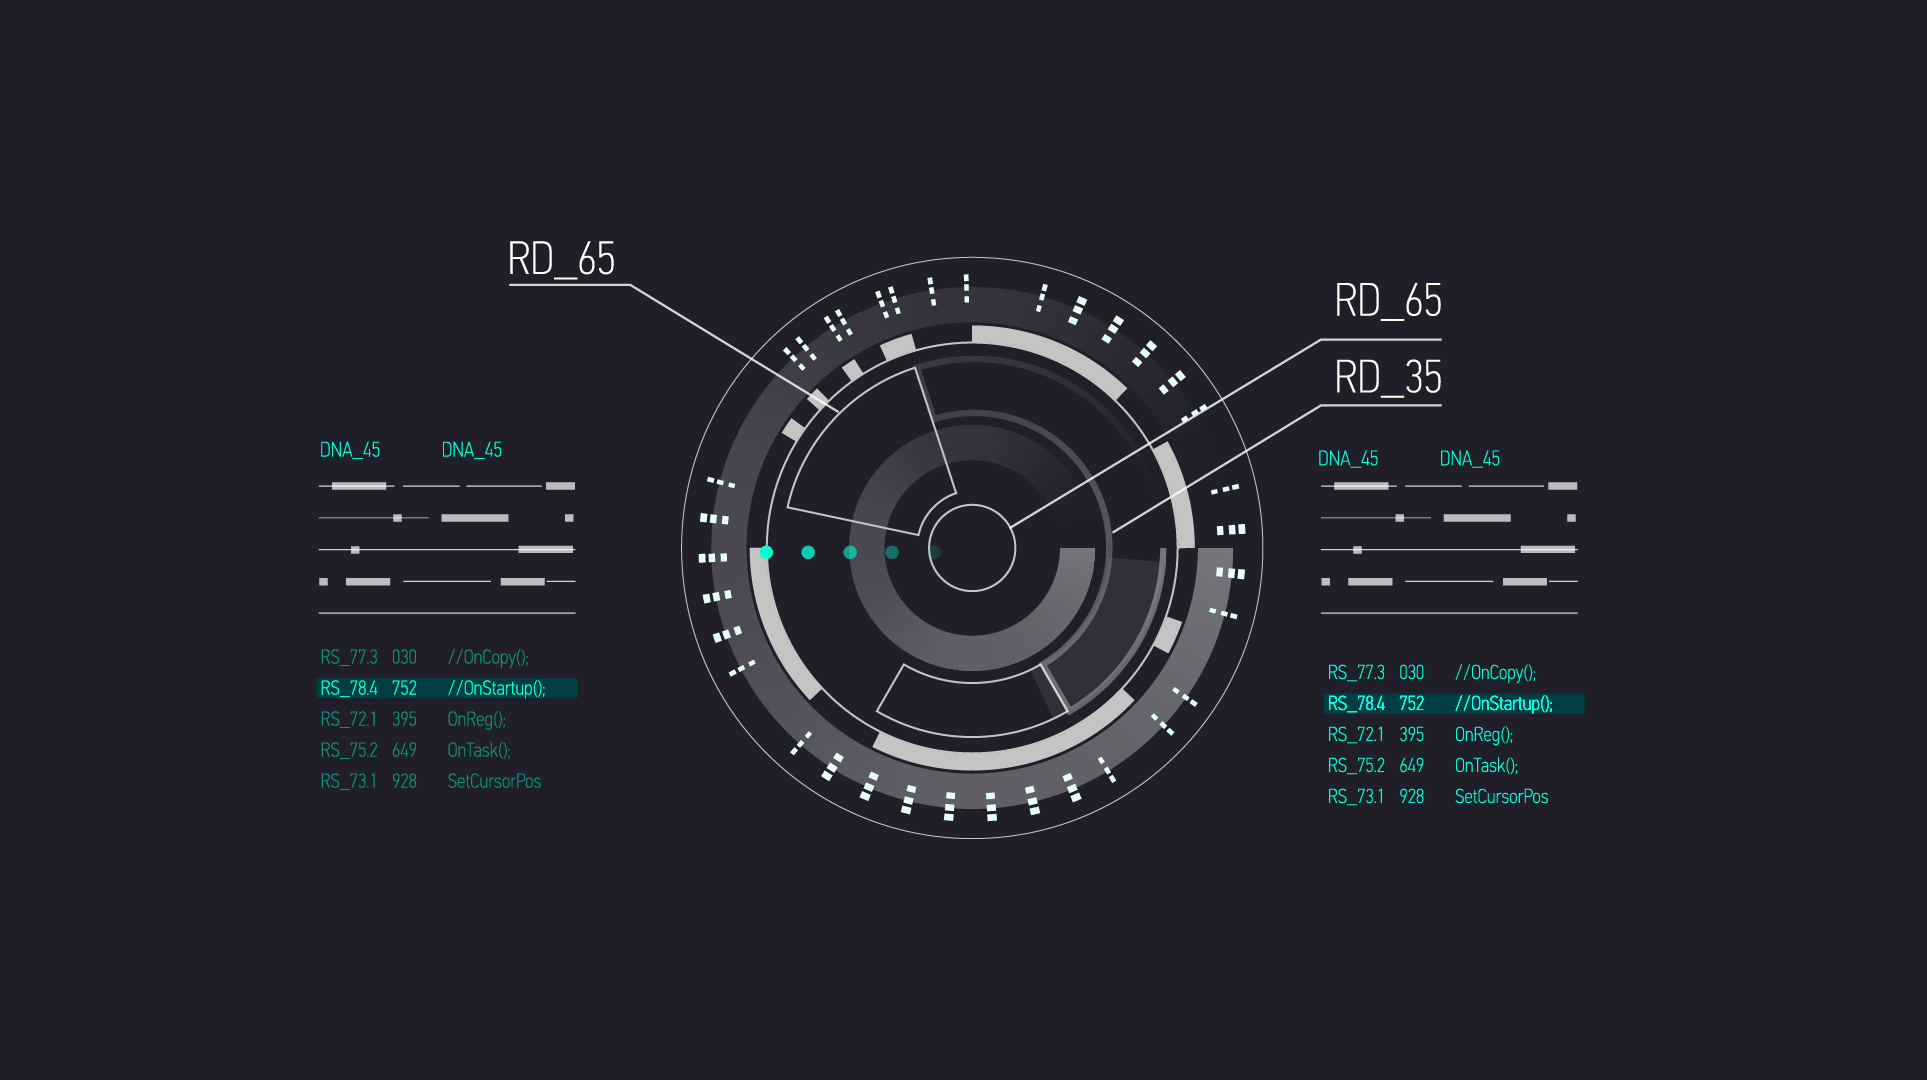
creating pointer lines with text using null points, beam effect and express
creating a Beam effect for lines with text,
Starting Thickness to Ending Thikness,
Inside color to Outside color
snapping lines to null objects
creating express for pointer lines
so that the line is always horizontal is created
anchoring the y-coordinate of the first point of the Null_Angle line to the y-coordinate of the first point of Null_length
A_null = thisComp.layer ("Null_Angle"). Transform.position;
[value [0], A_null [1]];
// create an anchor of the angular Null_Angle to the main
M_null = thisComp.layer ("Master_Null"). Transform.position;
[value [0] + M_null [0], value [1] + M_null [1]];
// bind the coordinate of the first point of the horizontal line, taking into account the length of the length
A_null = thisComp.layer ("Null_Angle"). Transform.position;
[value [0] + A_null [0], A_null [1]];
In this tutorial, I used Optical Flares, Particular effect.
I installed the trial version, studied the possibilities.
https://www.redgiant.com/products/trapcode-particular/
https://www.redgiant.com/products/trapcode-particular/free-trial-download
780 mb archive is being downloaded
Trapcode Suite 15.1.8 Installer.exe
List of all plugins upon installation:
3D Stroke
Echospace
Form
Horizon
Lux
Mir
Particular
Shine
Sound Keys
Starglow
Tao
Studied the capabilities of Trapcode Particular
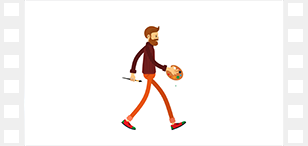
Chapter 6. Character animation
Character gait animation. I performed all the animation myself, repeating the course by the author of the lessons.
Import into After Effects AI file created in layers for individual parts of the character's body.
The author recommended reading the book "Animator: Survival Kit" for 2002,
downloaded for 2019
https://obuchalka.org/20190228107271/animator-nabor-dlya-vijivaniya-sekreti-i-metodi-sozdaniya-animacii-zd-grafiki-i-komputernih-igr-uilyams-r-2019.html
Animator: Survival Kit
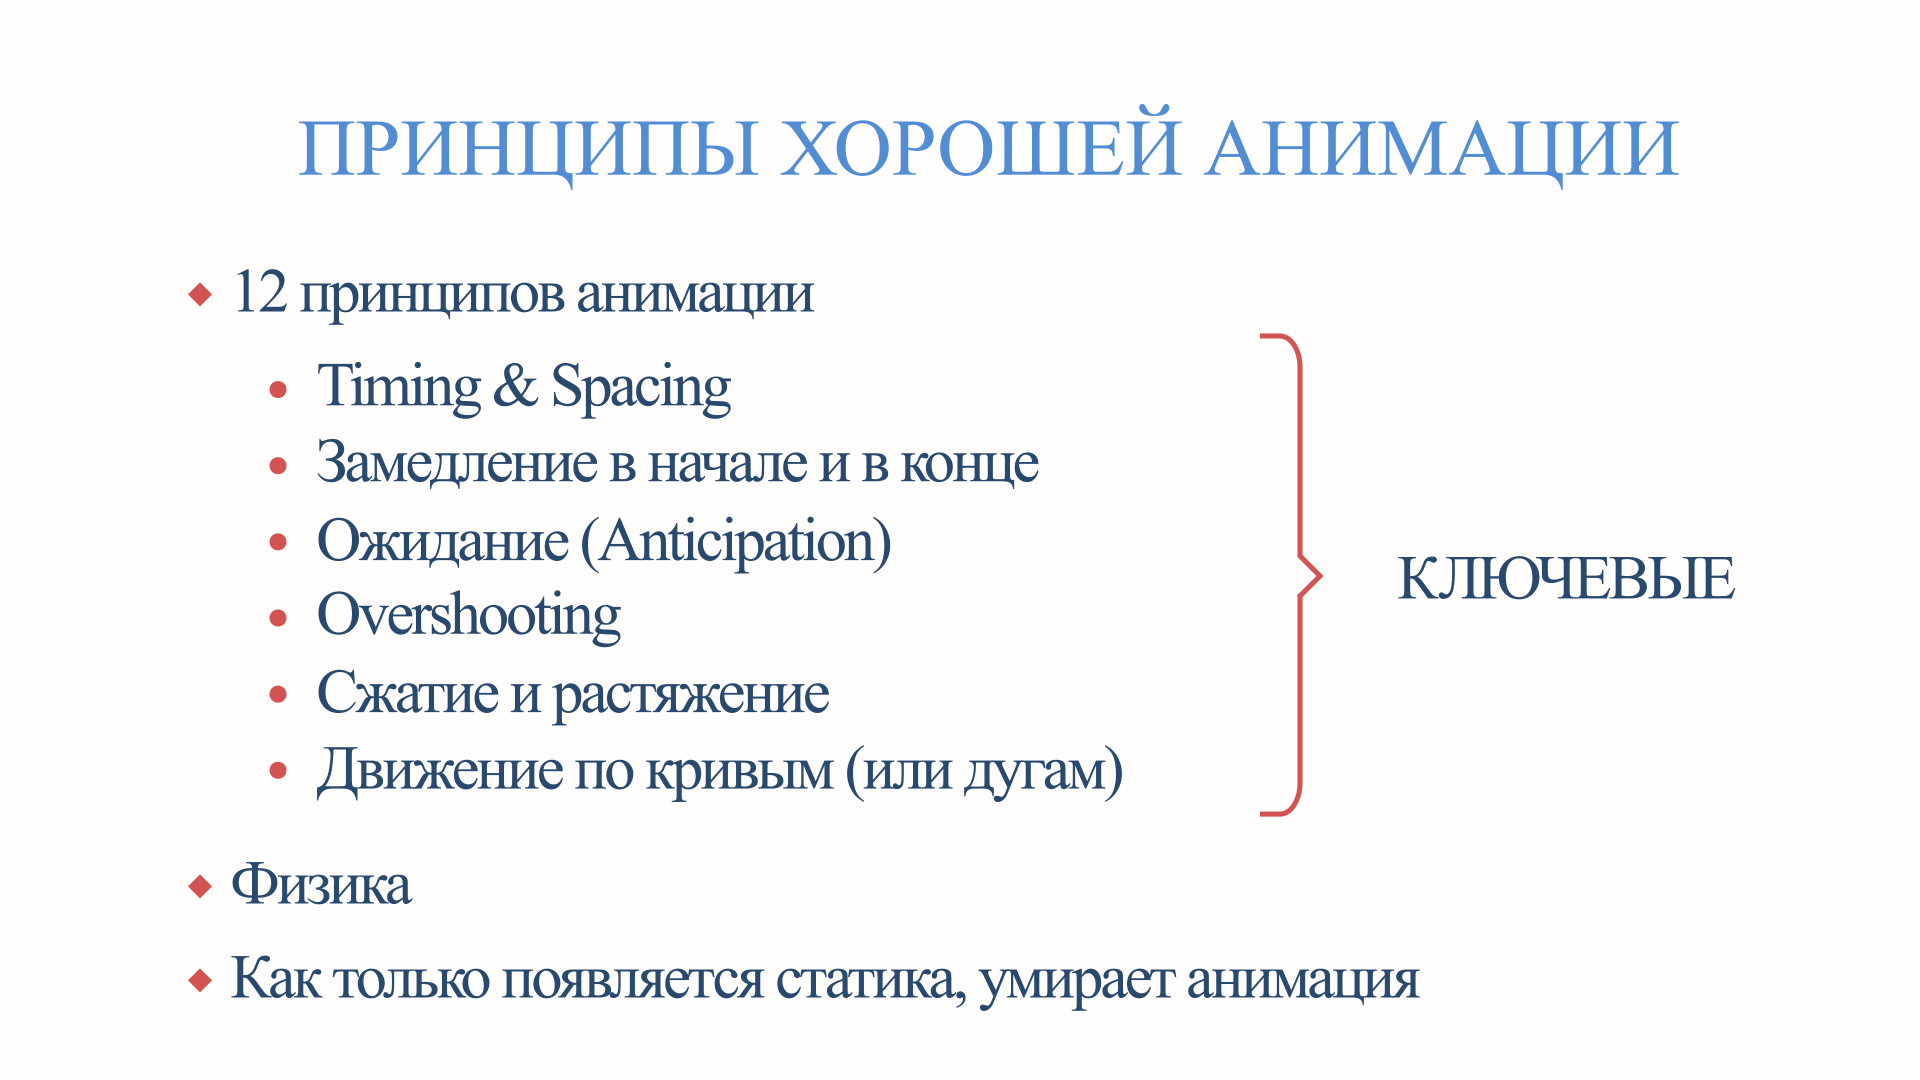
Adding intermediate phases with images from the lesson and working out the correct positions of body parts at different moments of movement.
Adding a slight animation of the bangs on the head and a slight rotation of the mustache.
In the animation of 16 frames with 4 phases, a fast gait was obtained,
stretching 16 frames by 24 frames.
All frames in all layers are selected and with holding alt stretches any right frame from 16 to 24, stretching all frames proportionally.
Checking all phases and half phases for correct positions and curvatures of the legs, arms, body
creating a slowdown in phases when the character rests on his feet while taking a full step.
All keys were linear, f9 easy ease keys were added in full step phases, this creates easing from linear keys.
Create smooth hand movements with decelerations by moving the position of the hand point along the bisier curves.
When you press alt + ctrl, handles are created on the points, which allow you to make bezier curves.
On all frames, except for the phases, on the keys, click with ctrl twice to round keys to create a smoother animation. And also on the legs, all linear keys are highlighted with ctrl round beziers.
Adding a brush, palette and drop drops.
Added out-of-sync animation of arms and legs, added looping of all animation
loopOut ();
The author also advised reading books by British animator, designer Fraser Davidson, a character animation course from Roma Vyshyvanov and Anton Pinkevich.
Chapter 7. Stunning Corporate Graphics
Animation of flat infographics.
The purpose of this chapter is to study on a finished project how to create such videos correctly.
This is the last chapter of the course, it consists of 9 hours of video lessons in which the author created this video, showed a lot, explained.
Everything was clear to me, so I did not do this animation for the author, I analyzed all the compositions.
This video is the work of the author of the course, I can do such animations.
There was an error while opening the source of the video.
After Effects error: There was an error processing this PDF document (1074397201)
After Effects error: cannot reopen an open file.
After Effects was closing, this was due to the crash of one AI file,
investigated this bug .
The video consists of a large number of layers, composition, nested composition.
To fix the crash, I deleted individual layers, ran the animation and checked where the crash occurred when adding layers.
Then I found the layer where this error occurs.
The error ended up in nested compositions somewhere deep inside, in an AI file that was not used and was in a hidden layer, after removing this layer the error was gone.
The author of the course tells how to properly organize the structure of a video, folders, nested subfolders, compositions so as not to pile up all the animations in one composition, break them into subcompositions and easily understand where everything is.
Sometimes in files from Ai, layers have extra areas that fill all the space and are inconvenient to work with.
To get rid of unnecessary layers, use the SlimPanel script, click on the star with the alt pressed, the extra frame disappears.
To split one shape into separate layers, use the ExplodeShapeLayers skip, also SlimPanel can split into layers by pressing ctrl and the asterisk icon.
Move through keyframes j - backward, k - forward
Slice layer ctrl + shift + d
Using the Grid Wipe effect, duplicating the effect, animating the completion parameter.
Creating looped expressions: loopOut ("cycle, 6"); the number of keys to repeat from the last one.


